“Fairies and pirates, pixie dust and buried treasures… how do I capture that in a cake?” That was all I could think of in my jet lagged, exhausted head. My daughter’s 4th birthday party was 3 days away, and I had just landed after a 24h flight, and was devising a strategy on how to prepare for a 50 person birthday party in the least amount of time possible.
TIME: According to my calculations the maximum amount of time I was able to invest in the cake making and decorating was 5 hours.
FLAVOURS: It was end of June, and strawberries were in peak season. What is better than strawberries and whipping cream on a hot summer day? So, I decided to make my foolproof, loved by all – Strawberry Custard Torte, covered with light refreshing whipping cream.
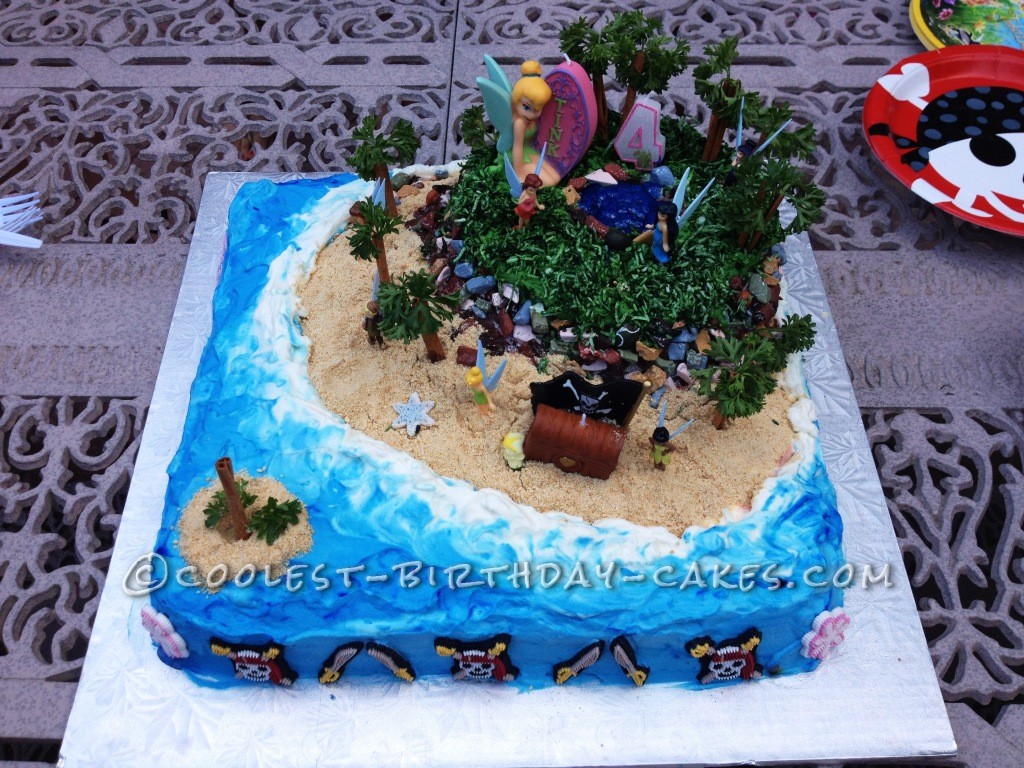
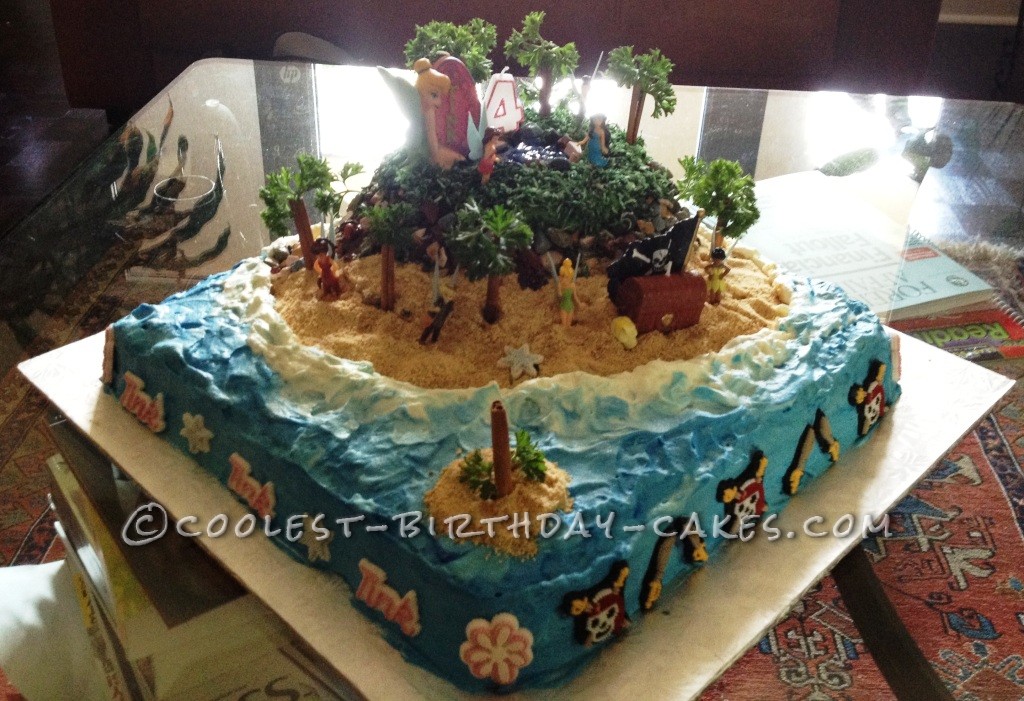
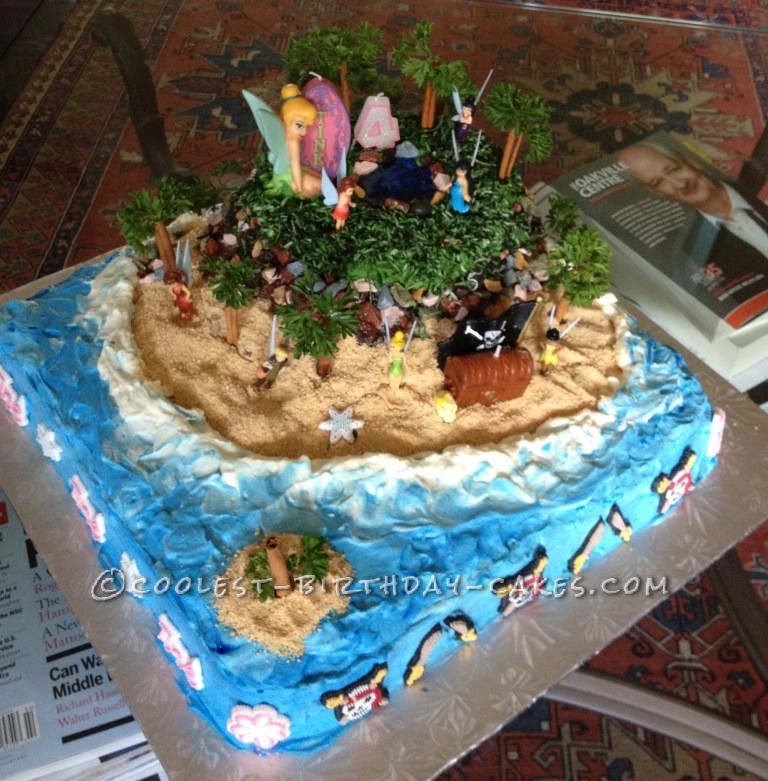
FORM: In the interest of time, I had to minimize the opportunity for decorating errors, and this is where an idea of an enchanted island inhabited by fairies, hosting a lost pirate treasure, came to be.
Here are the steps I followed:
Decorating Ingredients:
– 1 l of whipping cream (+ royal blue, and green fool coloring)
– Neverland Fairies figurines from my daughter’s play set
– 1 Tink candle, 1 Treasure Chest candle, 1 number candle
– Sparkly blue gel (for the water in the pond)
– Chocolate (rocks for the island and the pond)
– Cinnamon sticks and curly parsley (to make the palm trees)
– Graham crumbs (or any ground biscuit for the beach sand)
– Long shredded coconut (for the ground foliage, once it is coloured green)
– Tinkerbell Edible Cake Icing Decoration (for the edge of the bottom layer)
– Pirates Edible Cake Icing Decoration (for the edge of the bottom layer)
Steps:
1) Bake the 2 cakes: 15in square bottom, and 9in round top, let cool. Slice in half, soak the cake with strawberry juice, ice with custard and layer strawberries on the custard, repeat with the next layer. Stack the round cake on top of the square base and repeat. Insert 4 skewers (cut to size) to secure the round top from sliding off. Refrigerate overnight. (3h, with cooling etc.)
2) Decorate:
The next morning (day of the party), whip up 1 l of whipping cream. Mix 1/2 with royal blue food coloring but don’t strive for even tone – leave streaks of dark and light in. Mix 1/3 with green coloring, and leave the rest white (will need white for the sea foam).
Prior to icing with whipping cream, shape the island so it slopes down and create the beach by spreading graham crumbs around the front side of the island. Also if you want a small lookout sand bar, use cookie crumbs for that as well.
In the middle on the top create a small indentation and fill with blue sparkly gel to simulate a spring. Border with chocolate rocks.
Then use green icing to cover the rest of the island. Use the rest of chocolate rocks to form the edges and the back side of the island.
Color coconut green, and spread on top of the island around the spring, and in between the rocks on the sides of the island.
Ice the sides of the square base with the darkest whipping cream, and start working the icing process towards the beach of the island, make sure that you use lighter icing as you are approaching the beach. Once you have all the blue in place, start playing with the white to make the illusion of waves and sea foam. Also dip in the tooth pick into the food coloring and start creating darker swirls to better emulate the look of water.
Once you are happy with the look of water, add the palm trees. Stick cinnamon sticks in and add parsley to make the palms.
Finally it is the time to add the fairies, candles and side decorations.
The decorating process took me less than 2 hours. Everything came together perfectly, and it held well in the fridge for the next 5 hours before we cut the cake.
My daughter and all of the guests were thrilled with both, the look and the taste of this cake.
Bon Appetit!
Related cakes:
 12 Cool Beach Birthday Cake Ideas
  12+ Coolest Castle Cake Ideas – Awesome Homemade Castle Cake Designs!
 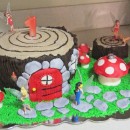 Coolest Tinkerbell and Fairies Cake for a First Birthday
 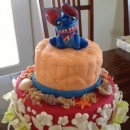 Coolest Stitch on the Beach Birthday Cake
 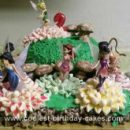 Coolest Tinkerbell and Fairies Birthday Cake
  12+ Coolest Peppa Pig Cake Ideas
  12+ Coolest Disney Princess Cake Ideas – Awesome DIY Cake Decorating!
 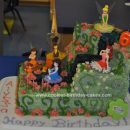 Coolest Fairy Tinkerbell Birthday Cake
Your comment has been sent successfully.