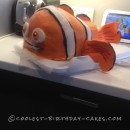
I made this 3D Finding Nemo birthday cake for my son. I am very passionate about making my children’s birthdays very memorable and special, and one of the ways in which I try to make them memorable is to make cool birthday cakes for them. It also helps that I find cake decorating very enjoyable, though.
I made my first 3D birthday cake two years ago for my son’s 2nd birthday party, and the guests, and most importantly my two year old, were in awe. That was when I decided I would always attempt to make my birthday cakes 3D.
My second son just turned two, and because he has yet to talk much and expresss/request what cake he wants, I got to choose for him!
I decided a Nemo cake would be fun, as it is summer, my son loves to swim, and we’ve also watched the movie so he is familiar with Nemo.
I got a lot of ideas on how to pull off a 3D Nemo cake from this website, Google, and Pinterest.
3D Finding Nemo Birthday Cake Instructions
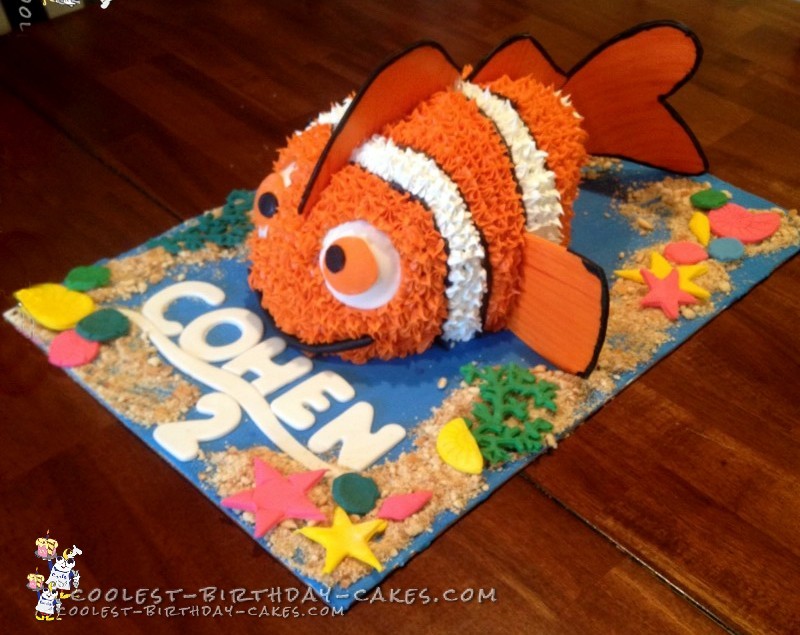
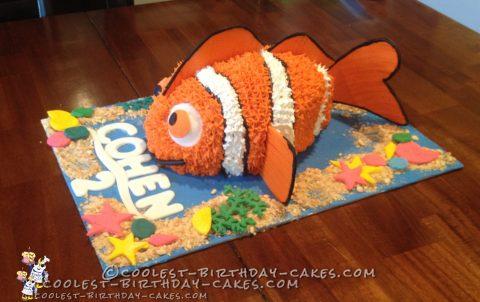
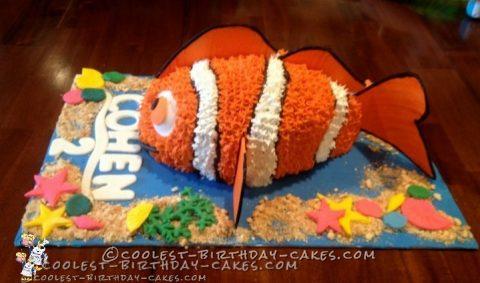
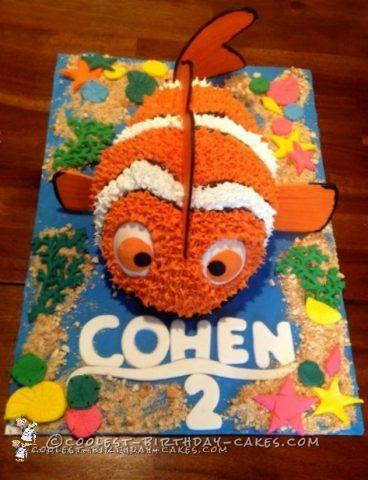
- I used the Wilton football pan that I already had (although anything oval shaped would work the same) and baked two cakes. I made pound cakes, as they are better for carving and for crumb control.
- Once the cakes were cooled, I leveled and stacked them together with a layer of frosting between, of course.
- Next, I began carving. This was the first cake that I had attempted carving, and it wasn’t too bad! I simply carved the cake to look like a fish shape (tear drop shape).
- After I was satisfied with the shape, I did a crumb coating.
- I placed the cake in the fridge and let the frosting harden a bit before moving forward.
- Once the cake had chilled, I removed it and began the final decorating.
- I used a toothpick to trace out where the stripes should be (it helps to look at a picture of Nemo for more precision).
- I started with the black frosting, and did a straight line (small circle if using Wilton decorating tips) that separated the orange and white stripes.
- Next, I used the Wilton star tip and did the white sections.
- Then I used that same star tip to frost the rest of the cake in orange.
- I used fondant for the fins (remember to make one fin smaller aka Nemo’s “lucky fin”), eyes, décor, letters in my sons name, and also to cover the cake board. I did all my fondant work ahead of time, to allow enough time to dry out and stiffen.
- I used food coloring mixed with a tiny bit of water to paint on the black and orange detail on Nemo’s fins.
- To make the eyes rounded (to give them the appearance of “popping out” like Nemo’s do), I placed them in a shallow, rounded dish while drying.
- I crushed up Nilla wafers to give the appearance of sand.
- The fondant décor (i.e. sea shells, starfish, etc.) were made from a mold I purchased at Michaels’.
I had SO much fun making this cake and it was a total hit with all. My little two year old’s eyes just sparkled as he looked at it and we sang “Happy Birthday” to him. It was definitely a birthday our family won’t forget!
Related cakes:
 Coolest 3rd Birthday Nemo Cake
 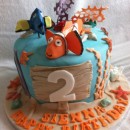 Coolest Finding Nemo Birthday Cake
 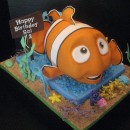 Awesome Homemade 3D Finding Nemo Birthday Cake
  Cool 10-Layer 3D Finding Nemo Cake
 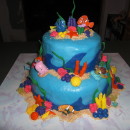 Coolest Nemo Birthday Cake for a 3 Year Old Boy
 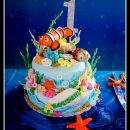 Coolest Underwater Nemo Cake!
  15+ Cool DIY Monkey Cake Designs for the Birthday Cake Enthusiast
  12+ Coolest Frozen Birthday Cake Ideas for the Ultimate Frozen Theme Party
This is awesome! The cake is spectacular, and all of the other details put it over the top. Nice job!
This is awesome! The cake is spectacular, and all of the other details put it over the top. Nice job!