I wanted to try an idea that I had about sculpting butter cream. Most people I know, don’t like the taste/texture of fondant. So, I wondered if I could try something I never heard of before…..sculpting butter cream. I only use a crusting butter cream on my cakes because it tastes great and is easy to work with. I never use whipped cream or any icing that is too soft or fluffy. Those types of icing can’t hold up to what I do with my cakes. So, just how far can one manipulate butter cream? I decided to find out.
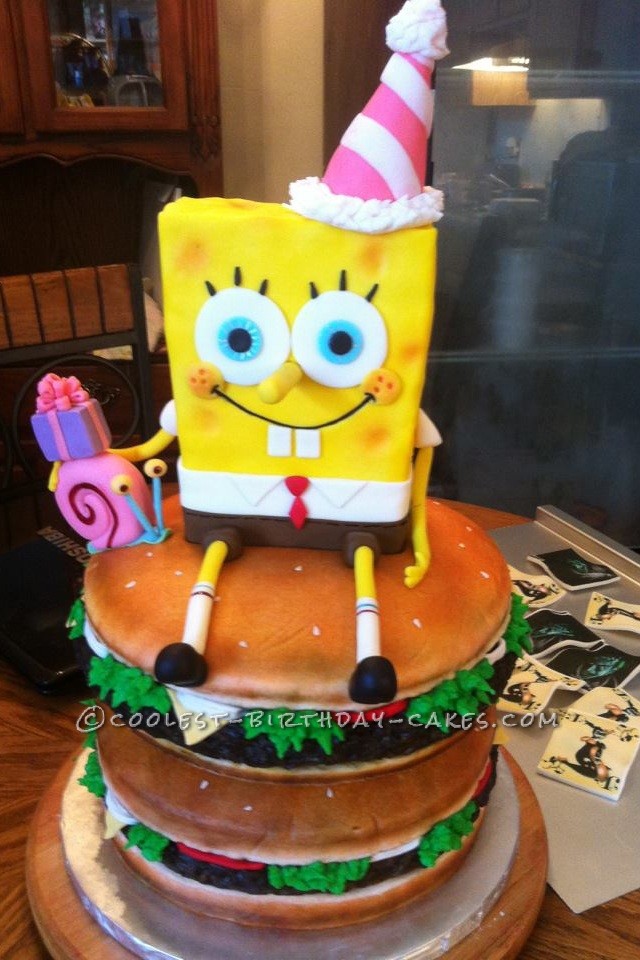
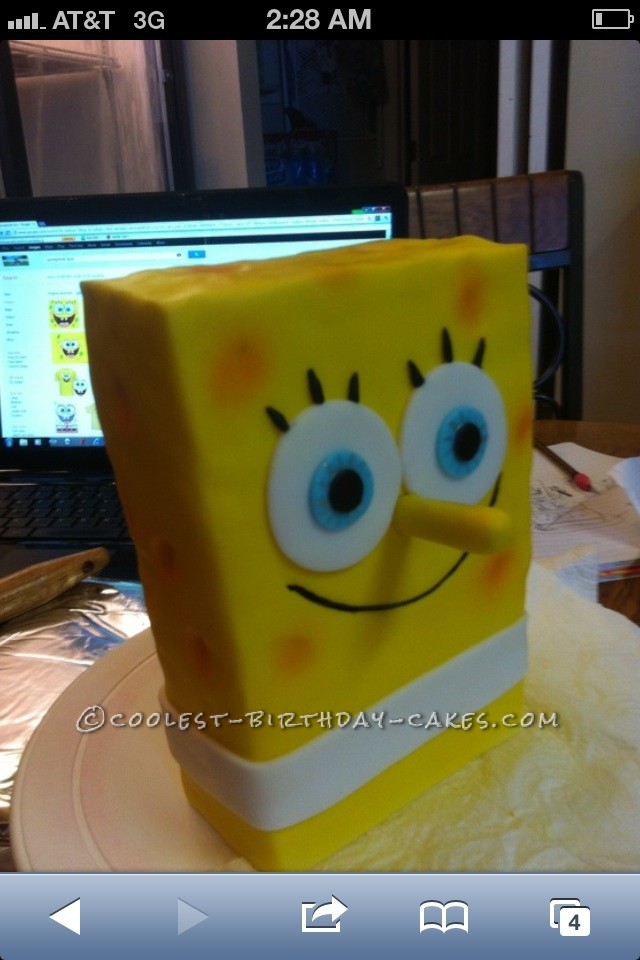
I had an order for a 3D Spongebob, and I thought this was a great opportunity to I test my luck. First off, the Spongebob is rice cereal covered in fondant. He was pretty easy since he is just a square. I pressed my thumbs slightly into the fondant to create the “sponge” look. Then I airbrushed him his classic yellow color, and then airbrushed dips with very light peach color. I added his eyes and the rest of his face. I then added his clothes. I did not make his arms and legs yet, because I wasn’t sure how I was going to arrange him yet. They would have just dried out and cracked-so I saved it for later. He wasn’t too difficult to do and I was pleased with how he was coming along.
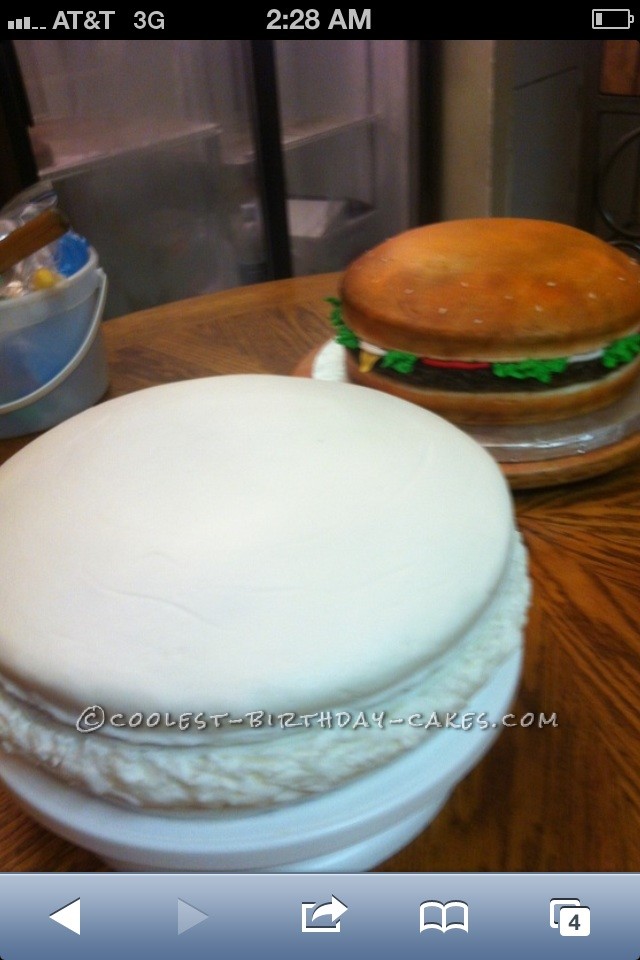
When I finished, I set him aside to dry so I could handle him easier. For the actual cake I made a total of four 10″ round cakes which would become two crabby patties. This is where the sculpted butter cream comes in…when the cakes were completely cooled, the cut the tops of the cakes to level them, added strawberry filling, and crumb coated both cakes (two cakes with filling in between equals one Crabby Pattie).
For the final icing, I iced the cakes slightly thicker on the sides than on normal cakes to allow for the sculpting. I took a ruler and with the edge of the ruler, I started to carefully separate the butter cream to make the appearance of the top and bottom buns and in between the buns, I added a little extra butter cream to make it appear that the Pattie is bigger than the bun. Now I had a white sculpted butter cream Crabby Patty! It looked good, so I did the second cake the same way.
Now…airbrushing. Since the Pattie and buns are so close together, I could not airbrush from a distance. I had to airbrush very close to the cake to keep the colors from touching. Use the lowest air flow for this or you will blow holes in the icing. For the bun, I used flesh tone, yellow, and brown. For the Pattie, I used dark brown. I then added white fondant for onions, red fondant for tomato, and piped some green butter cream for lettuce. Then I stacked them using plastic dowels.
Now time to add Spongebob. Since he was heavy, he needed to have his own support. I cut cardboard to fit his shape and added more dowels to the top cake. Then, I placed Spongebob on top of the top Crabby Pattie. I then sharpened a wooden dowel and staked him all the way through to the bottom cake. I then made Gary with a present out of fondant. His eyes are tooth picks covered in fondant. I added Gary and the present by hammering a long skewer as far as I could to secure him. Then made Spongebob’s arms and legs and added them to the cake.
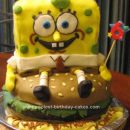
Last, I made his birthday hat and secured it with one last skewer, then I was finally done!! The whole process took a couple of days. This cake is not for beginners, but it was fun to see it come together. It was such a hit! No one could believe it was a cake! The kids thought the Crabby Patties were real hamburgers! They had to cut into it so they could see it was a cake! It was great….and I am very proud of my sculpted butter cream. I would love to hear comments and questions.
Related cakes:
 Coolest Spongebob Birthday Cake Idea
  15+ Cool DIY Monkey Cake Designs for the Birthday Cake Enthusiast
  12+ Coolest Frozen Birthday Cake Ideas for the Ultimate Frozen Theme Party
  5 Dinosaur Cake Ideas of Jurassic Proportions
 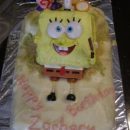 Coolest Easy Spongebob Square Pants Toy Cake
  12+ Coolest Peppa Pig Cake Ideas
 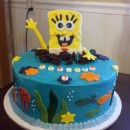 Spongebob Surprise Birthday Cake
 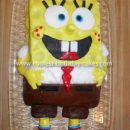 Coolest Fondant Spongebob 4th Birthday Cake
Oops….that should read…”Completed Spongebob Cake.” Sorry…Denise P.
hey how much do u charge for a 3D SpongeBob SquarePants cake done please let me know