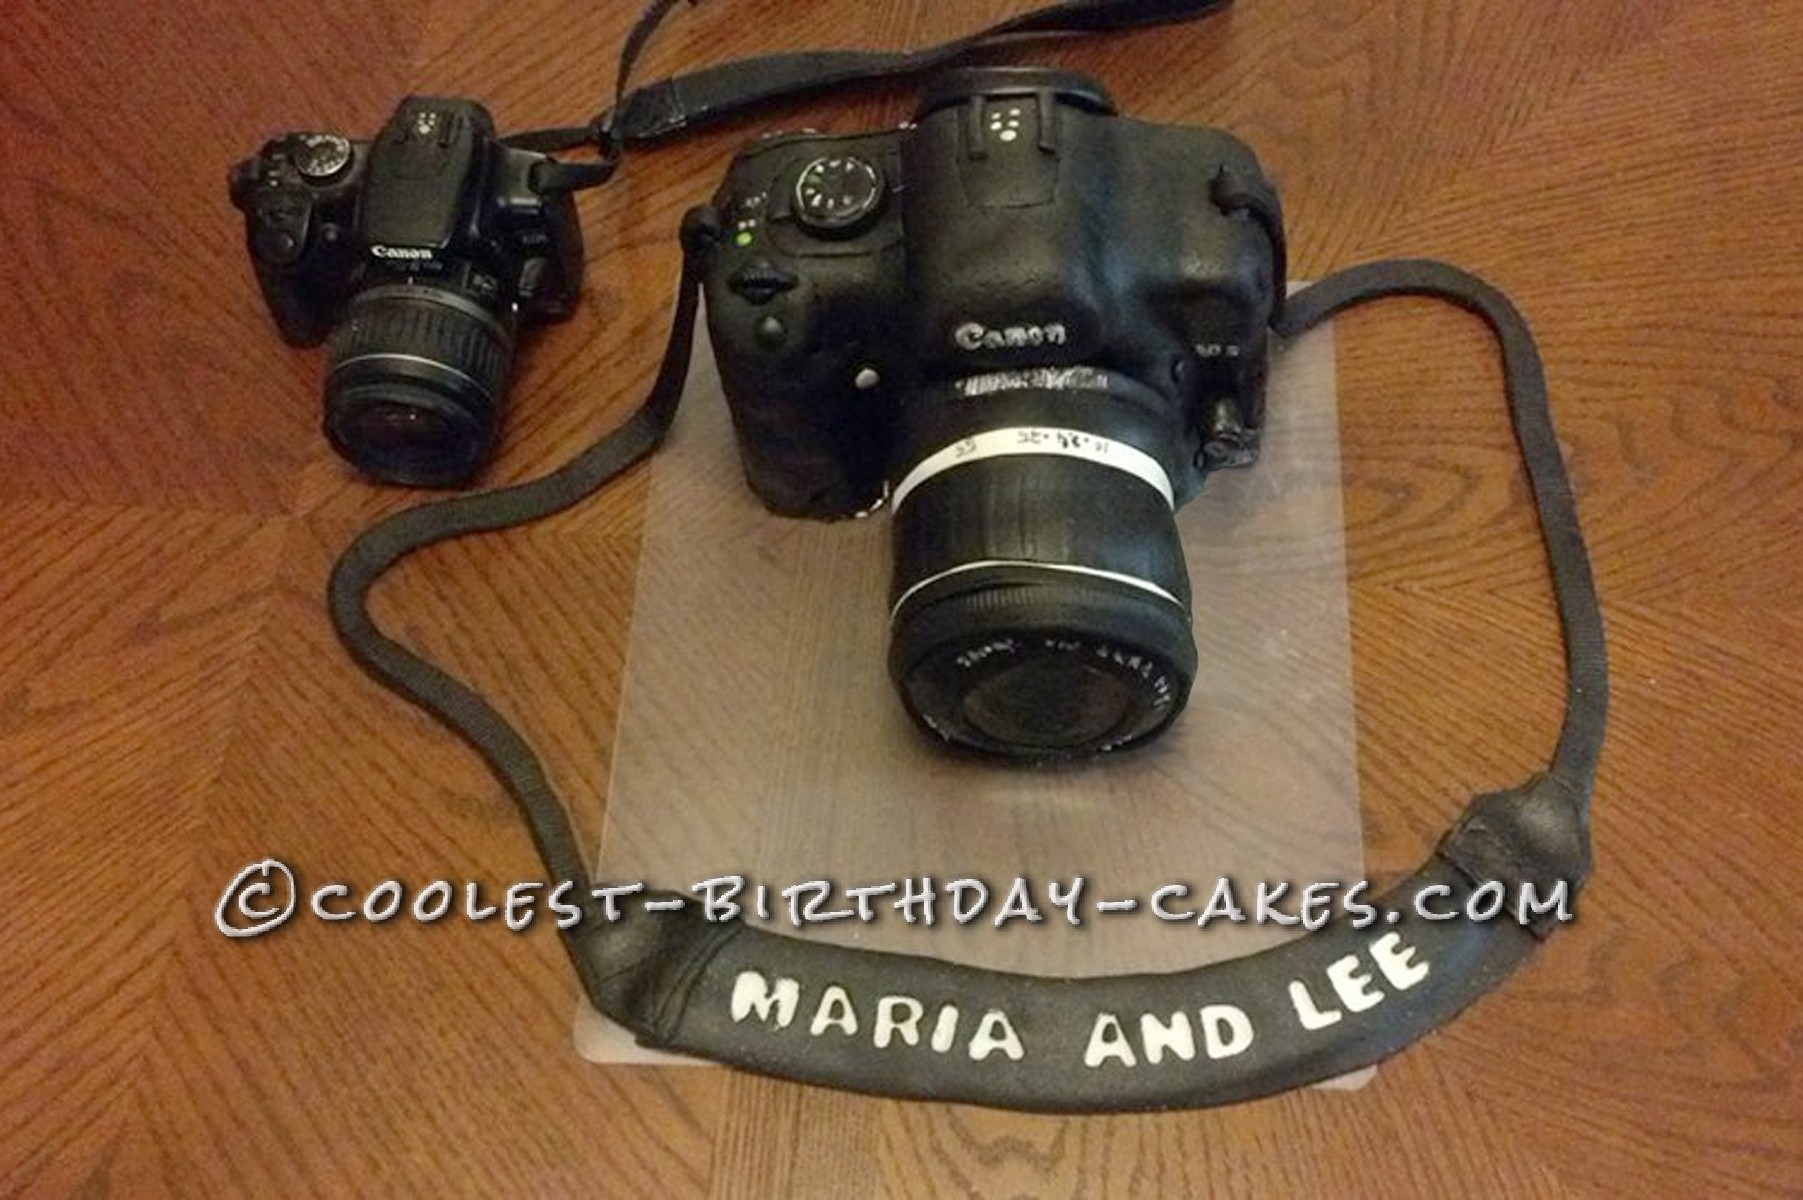
My daughter and her boyfriend’s birthdays are only a week apart and they both love photography so I decided to do a cake for them similar to their cameras. This took me about 3 days, (hey, my nick name was “Snail” as a child…).
The first day I went on the internet and found pictures of the camera from every angle and enlarged them and printed them out. My daughter had brought home an “orangecicle” cake mix and frosting and said she wanted that as her cake flavor. I realized I’d needed an additional cake mix, but my store did not have orange, (I have no clue where she even got it) so I got chocolate and figured it could be layered.
To make black marshmallow fondant I had read that you use cocoa powder and powdered sugar with chocolate marshmallows, it would taste like chocolate and be brown, and you wouldn’t need so much black food coloring gel to get it darker. Well, my store had no chocolate marshmallows, so I just got a big bag of regular ones. I decided to make my fondant ahead of time. I mixed up white first, and set a small ball aside, because I’d be needing a little white fondant later. To the rest I added cocoa powder and black gel food coloring and mixed and kneaded and mixed and kneaded and mixed and kneaded (at least I could watch TV while mixing). I had started out wearing plastic gloves to keep my hands clean but as time went by the gloves got holes in and my fingers were stained black anyhow (I looked as though I had been working on cars). When it was finally black and mostly lump free, I put a thin layer of Crisco on the ball and wrapped it up and plopped it in the fridge.
The next day I baked the cakes. I only had 1 9×13 pan, so I had to wait until the first cake cooled to take it out and use the same pan again to make the 2nd cake. Meanwhile I traced the bottom silhouette of the camera picture onto some heavy cardboard to make the cake board and covered it in tinfoil. I leveled both cakes, (cut the rounded humps off) but saved the scraps in case I needed to build up parts. I took the same silhouette of the camera body, minus the lens barrel, (basically a 4” x 8” rectangle) and used it as a template to cut around. I cut 2 orange and 2 chocolate, I spread orange frosting on the tops and stacked the 4 on top of each other, and some more scraps on top of that in the shape of the flash, carved a smoother shape, then iced it in chocolate frosting.
For the lens barrel I used an empty tin can to trace and cut around, 2 orange and 2 chocolate, and stacked and layered those, carved a smoother shape and iced that in chocolate frosting too. (I left the stack standing as I didn’t want to lay them down until they were covered in fondant for fear they’d slide apart).
The 3rd day I made the “glass” lens and view finder. Found a recipe for glass candy, 1 cup of sugar, 1/3 cup light corn syrup and 6 tablespoons water. Boil to 300 degrees (use a candy thermometer). I poured it into a glass pan sprayed with non-stick spray (hindsight, it would have been easier to just peel them off greased tinfoil, but I wanted to see through the bottom of the pan so I could see the sizes I had traced on paper underneath the pan that I needed to cut out).
I had a small tomato sauce can as the size of the lens and had drawn out some small squares 1″ as the view finder size. When the candy started to harden a little bit, I stamped the empty can to make a bunch of circle shapes, and used a knife to press down and make the small square shapes for the view finder. I made extras because these crack easily; and it was a good thing too because most of them did crack by the time I was able to pry them out of the pan, but there was at least 1 good set (I spent way tooo much time trying to get them out of that dang pan!)
I got my black fondant out of the fridge and it was hard as a rock. Luckily I was able to microwave it for a few seconds to soften it up. I greased my fondant mat and started rolling it out, then realized I needed to measure my camera body cake to see what size I needed. I found I needed my fondant to be at least 19” wide, and that wasn’t even including the lens barrel. I barely had enough black fondant to cover the camera body and I didn’t have any more marshmallows! And on top of that, my daughter had my car so I couldn’t just run out and buy more. (Hindsight: always have extra ingredients on hand). I had to call my daughter and tell her to pick up a few more bags of marshmallows and powdered sugar on her way home.
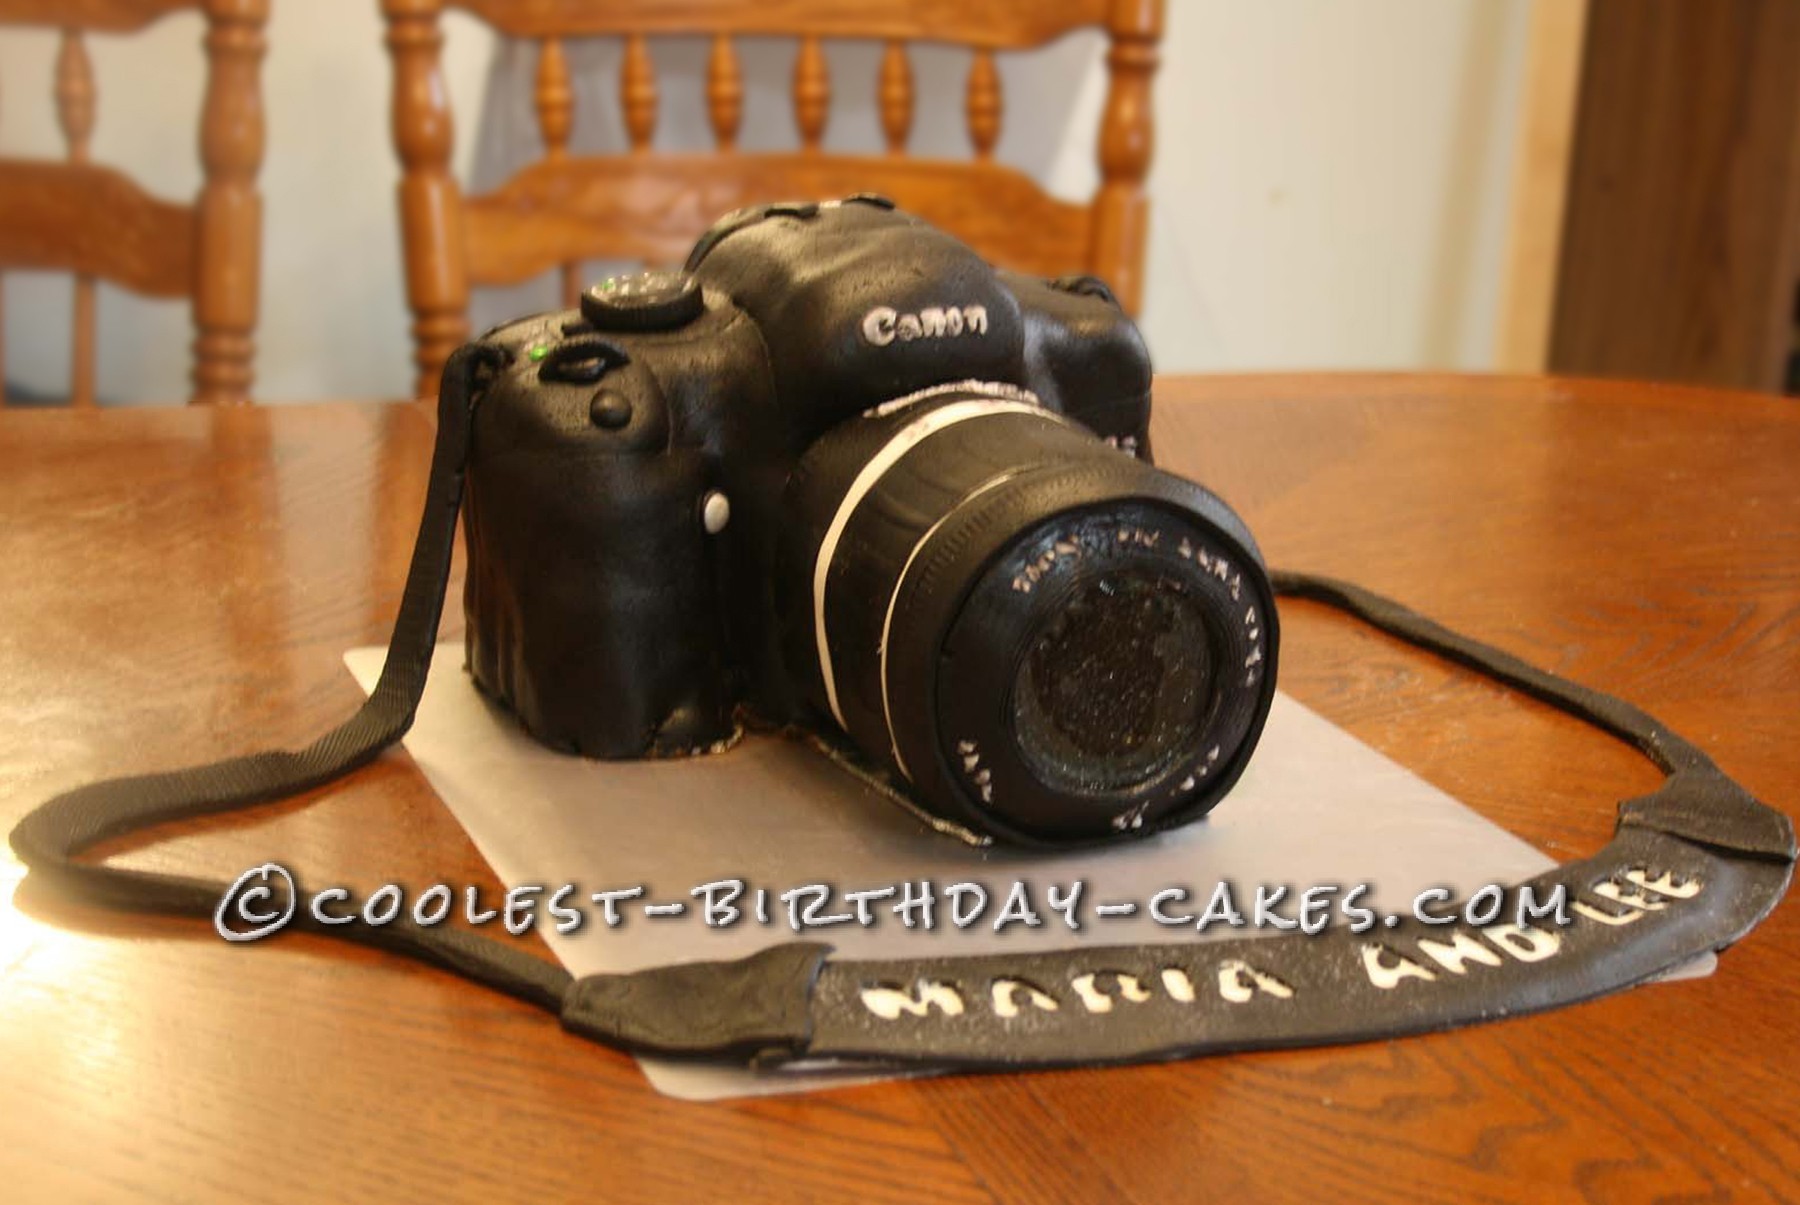
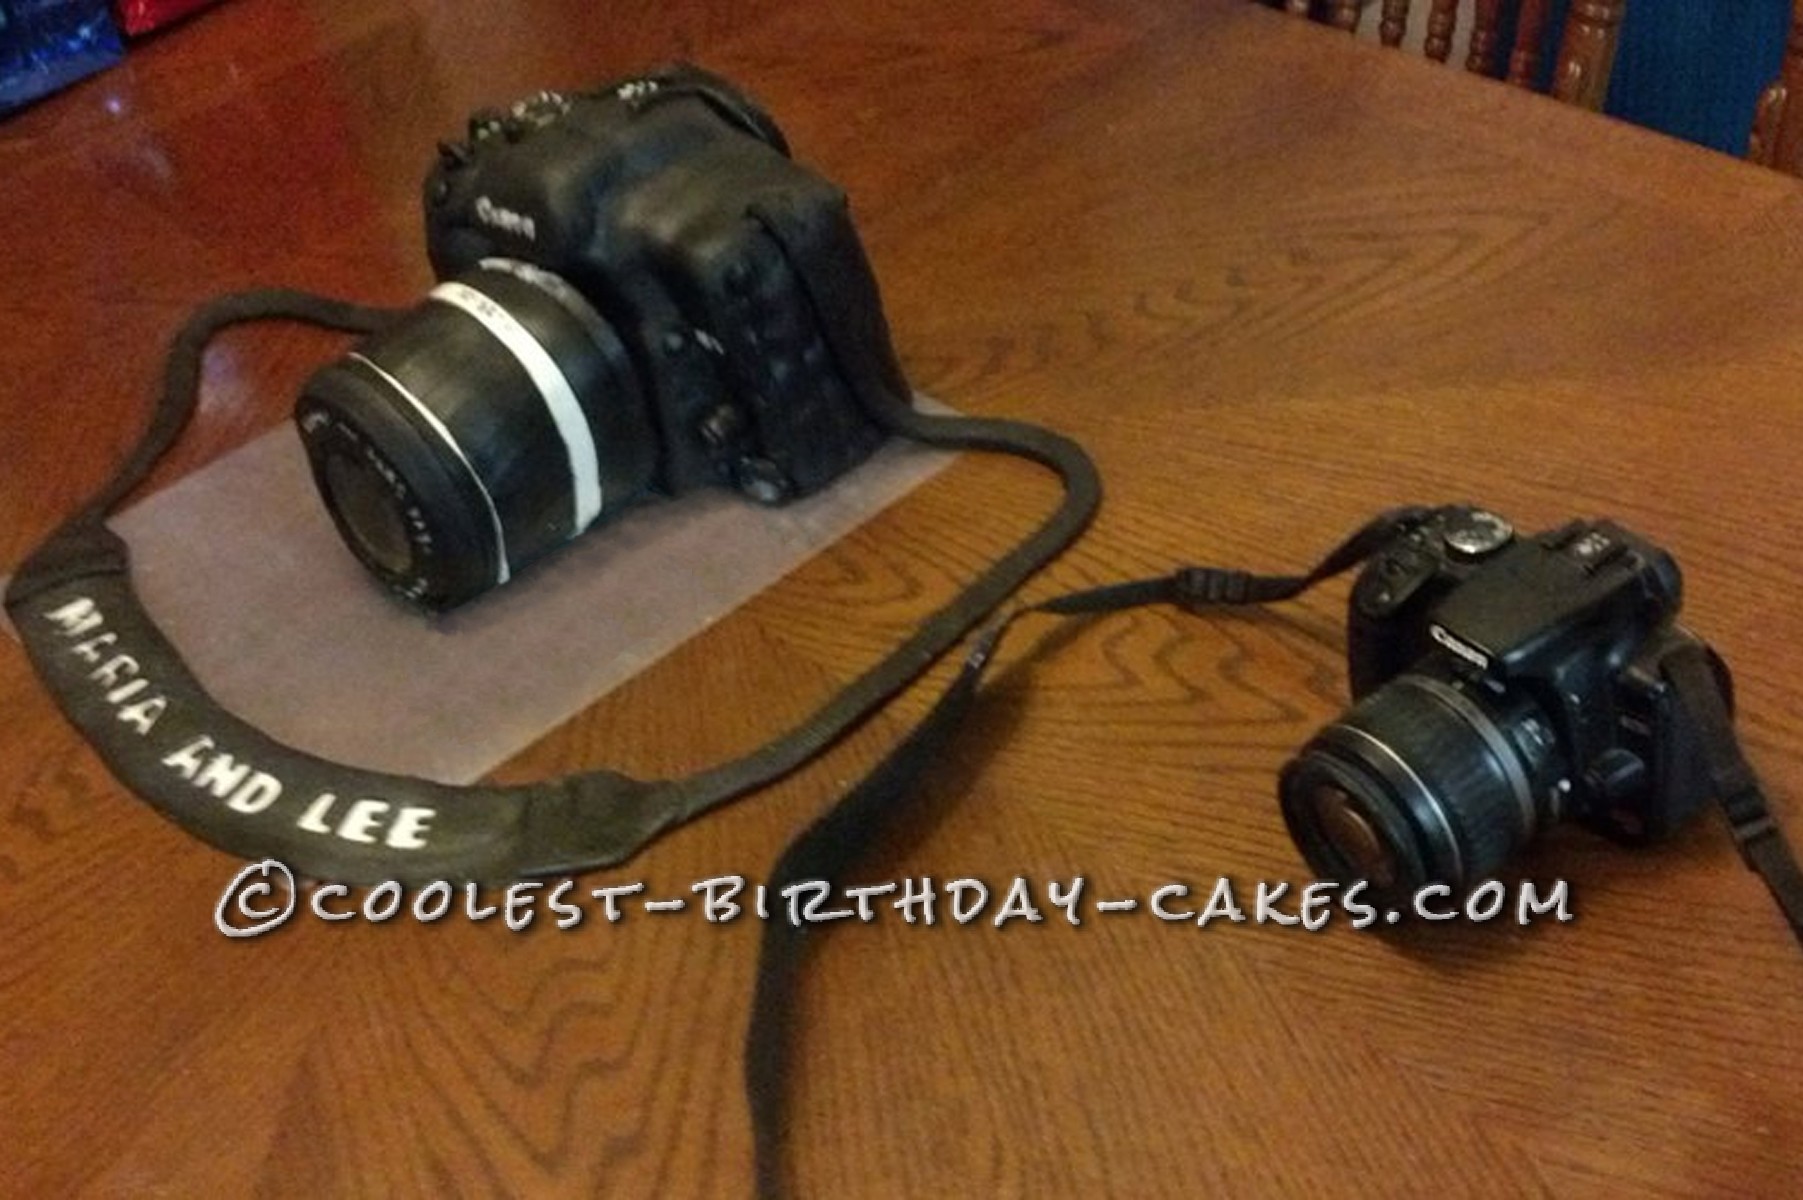
So instead I went to work on the lens barrel first while I was waiting for the marshmallows. I decided it would be easiest to have 2 layers of fondant on it; the first layer would pretty much just hold the stacks together. I measured the amount I needed and wrapped it around the barrel and put the seam on the side where it would be hidden on bottom when it laid down. I used the empty soup can and cut out a fondant circle for the end, put the “glass” lens on top of that. I cut out another fondant circle with a smaller circle cut out of that and put that over the “glass” lens to hold it on. I cut a strip of black and rolled the ridged edge of a medicine bottle cap along one edge of it to give the ridges. I cut a bigger strip of black and rolled a glass with dents on it over it to simulate the ridges on the barrel. I cut a thin strip of white and laid that next to the black and then another strip of black. I tried to get these strips to stick together so I could pick it up in one piece and wrap it around the barrel, it didn’t really work out that way, so I ended up wrapping each piece separately right next to each other.
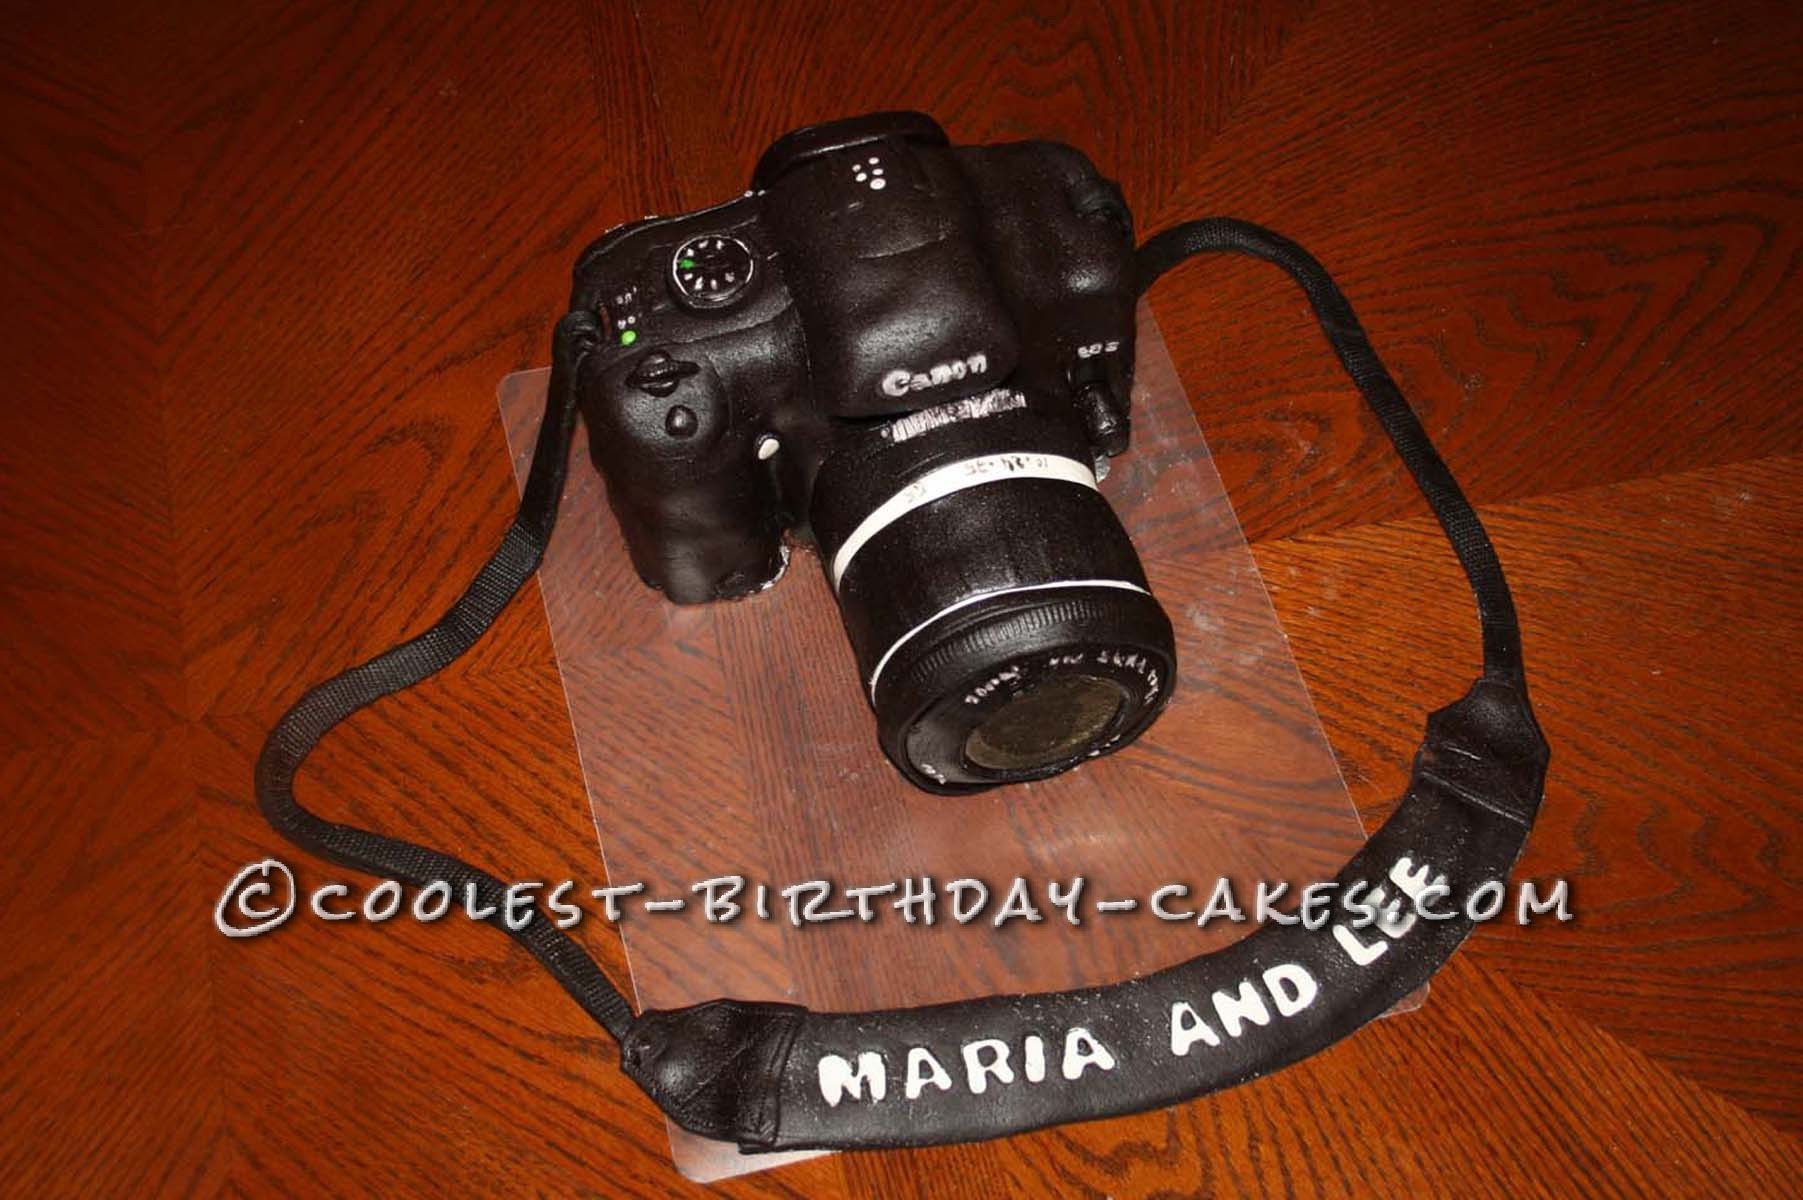
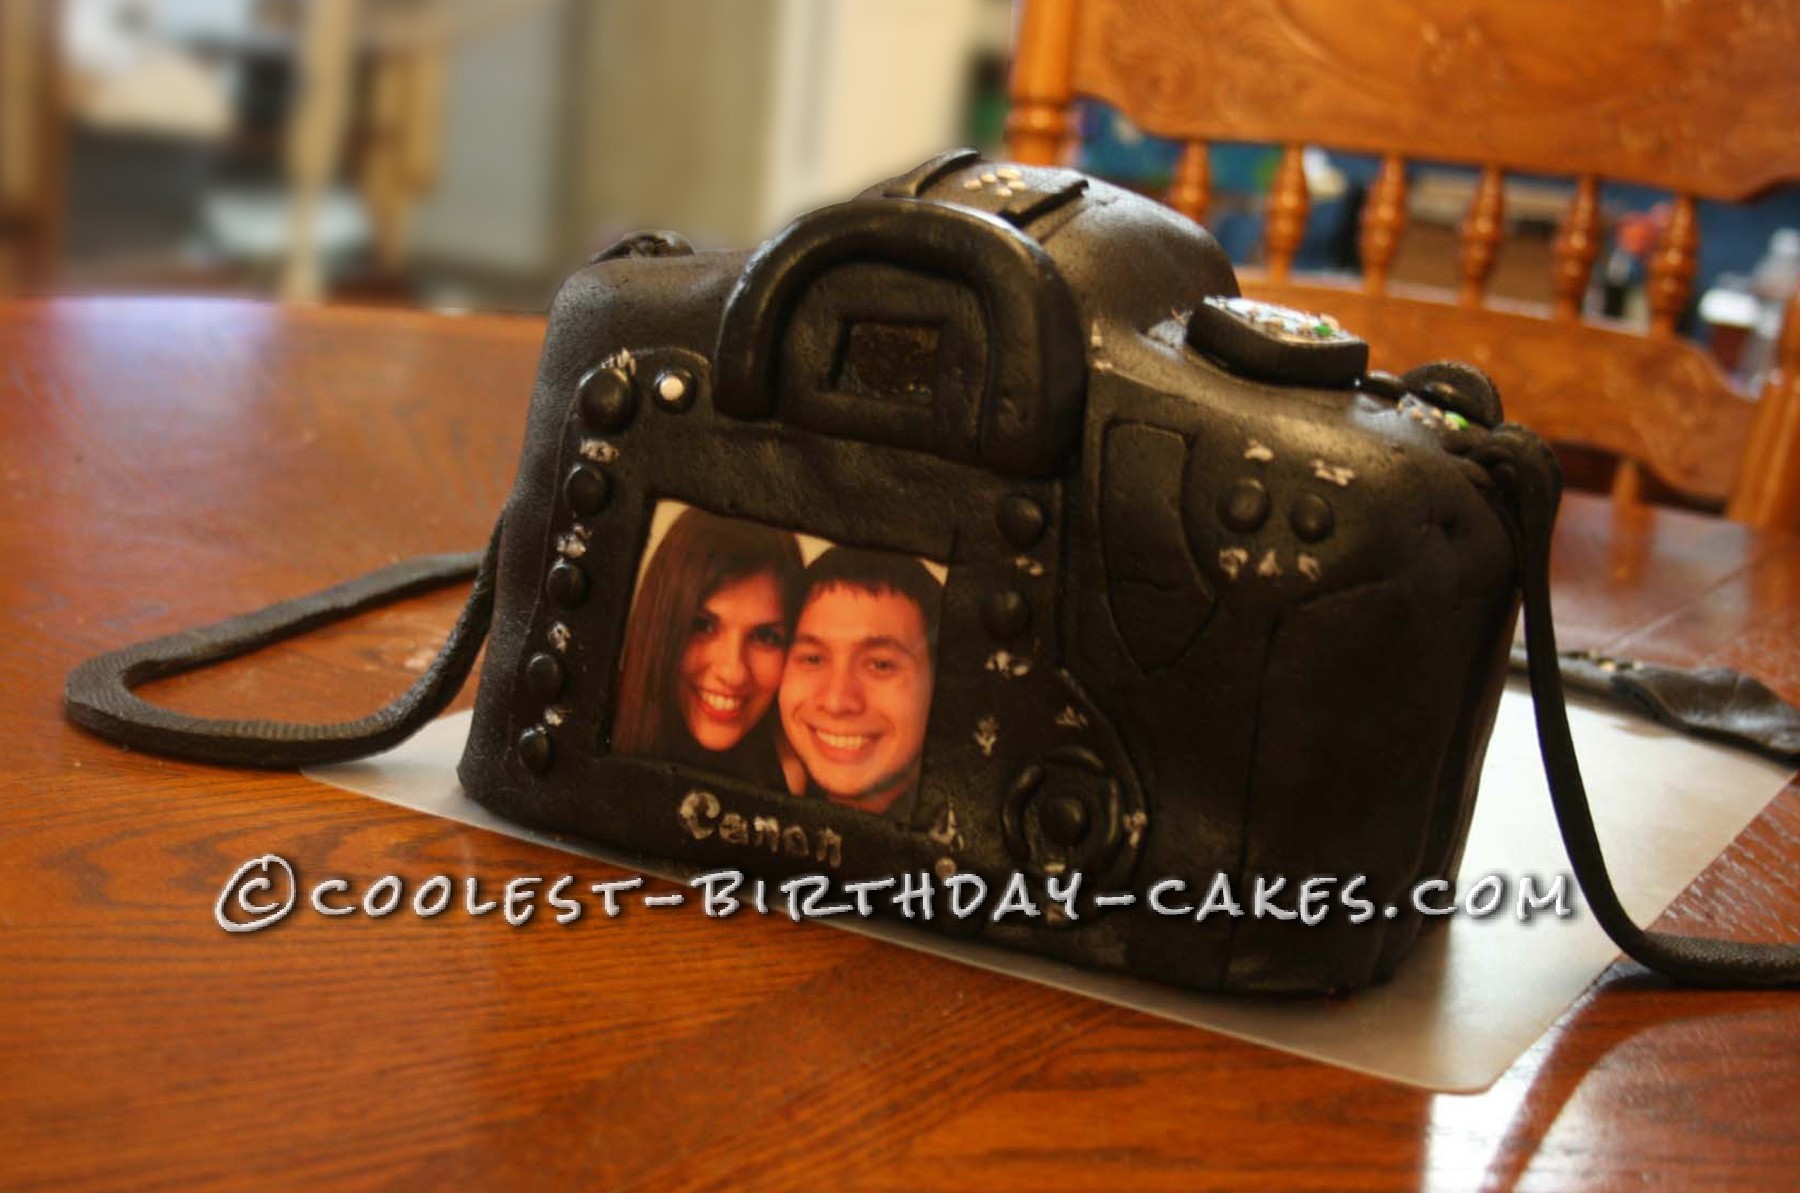
By then my daughter came home with my marshmallows, so I made another batch of black fondant and that wasted a couple of hours because it takes forever to get it all black and lumpless. My “helpful” husband said, “Wouldn’t it be easier to just buy a cake?” Grrr! After a dinner break, (and a margarita which I desperately needed by then!), I went to work rolling out the new batch of fondant for the camera body. I laid it over it and molded it to the cake and trimmed off the excess. I molded the view finder out of fondant and pressed the square “glass” behind it and stuck that to the back of the camera with a dab of frosting. I molded all the buttons and dials and stuck those on too.
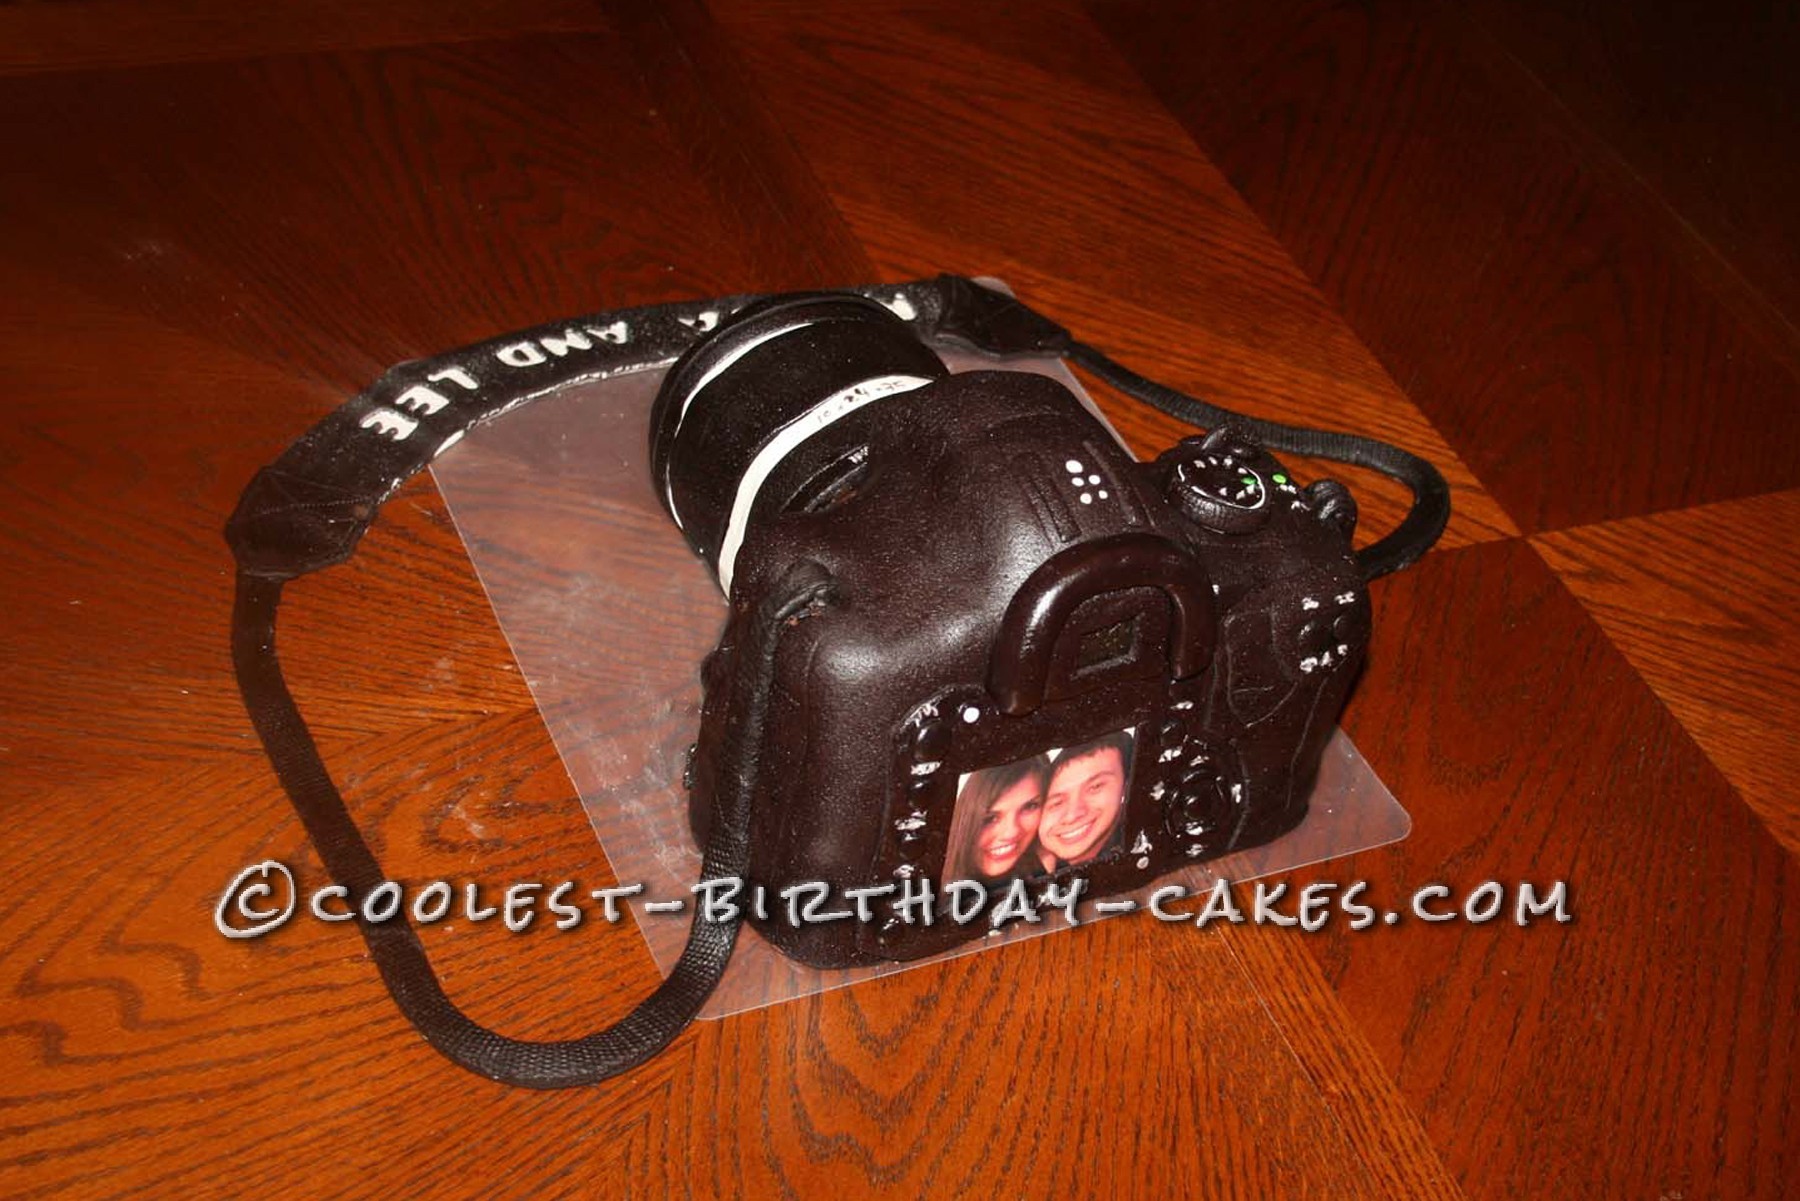
I printed out a photo of the kids and put it inside a plastic bag and trimmed it and taped it down and put it behind a fondant cut out of the LCD viewing area, (I was originally going to put it behind a “glass” viewing area but those broke.) I stuck the lens barrel to the front of the camera with a smear of chocolate frosting. There was no way I could actually pipe the little white writing on the camera, so those are just simulated by tiny dabs of royal icing, (shhh don’t tell anyone!). For the “Canon” word, I used an xacto blade and cut out the letters on some plastic and just used it like a stencil, dabbing royal icing on.
For the camera strap I took the leftover scraps and rolled them out. I used fondant letter cut outs for their names. I was originally going to fill in the cut outs with white letters, but my white fondant was too sticky to come out of the cutters, so instead I just rolled out a strip of white and laid my black right on top. (hey I was tired!) The thinner straps had a texture to them that I made by rolling in between some back pack straps, (ick, don’t eat those; I’m sure they’re pretty germy but they look realistic, lol!). It was literally midnight when I finally finished it and everyone had already gone to bed. I was just going to go to bed too, but the birthday kids came out to check on me and the cake and were able to see it and were quite impressed. It actually turned out better than I thought it would. We decided to wait until the next day to cut it so the others could see it too.


Related cakes:
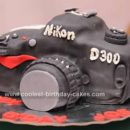 Coolest Nikon D300 Camera Birthday Cake Design
 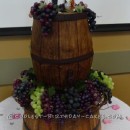 Unique Vineyard Wedding Cake
  Coolest Canon EOS 5D Mark 111 Camera Cake
  5 Coolest Homemade Anti-Gravity Cakes
  Stowford Cider 40th Birthday Anti Gravity Cake
  15+ Cool DIY Monkey Cake Designs for the Birthday Cake Enthusiast
 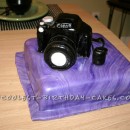 Camera Cake for a Photographer
  Coolest Camera Cake