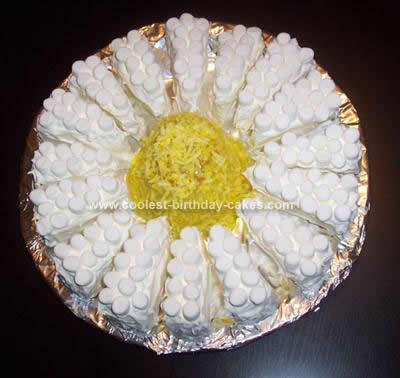
This Daisy Cake Design was very simple to make. I baked my cake in two round cake pans. I reserved a small amount of batter (about 1/3 to 1/2 cup), and baked that batter in an oven safe tea cup (you can use any dish that is oven safe and about the size and shape of a tea cup.
Remember that the cake in the smaller container will bake quite quickly, so check it early so it does not burn.
Once the cakes were cooled, I removed them from the pans, and I assembled the two round layers one on top of the other with frosting in between the layers. I frosted the entire round cake with white icing.
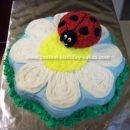
I frosted the smaller piece (the one I baked in a tea cup) with yellow icing. This piece will be the center of the flower. Next, I added a few drops of yellow food coloring to some coconut, and covered the small piece with yellow coconut.
I placed the yellow flower center in the middle of my serving tray. Next, I cut the larger, white frosted cake into 16 slices, and arranged those sections around the yellow flower center. These piece form the petals of the flower.
Finally, I covered each of the 16 white pieces with white mini marshmallows. The mini marshmallows add some texture, and if you use them, you don’t have to worry about getting your icing really smooth.
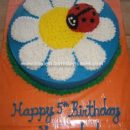
I made this daisy cake for an Easter party at my son’s school. It is a nice cake to serve to a group of kids because the cake is pre-sliced, which makes things a bit easier for the person who will be serving the cake.
Your comment has been sent successfully.