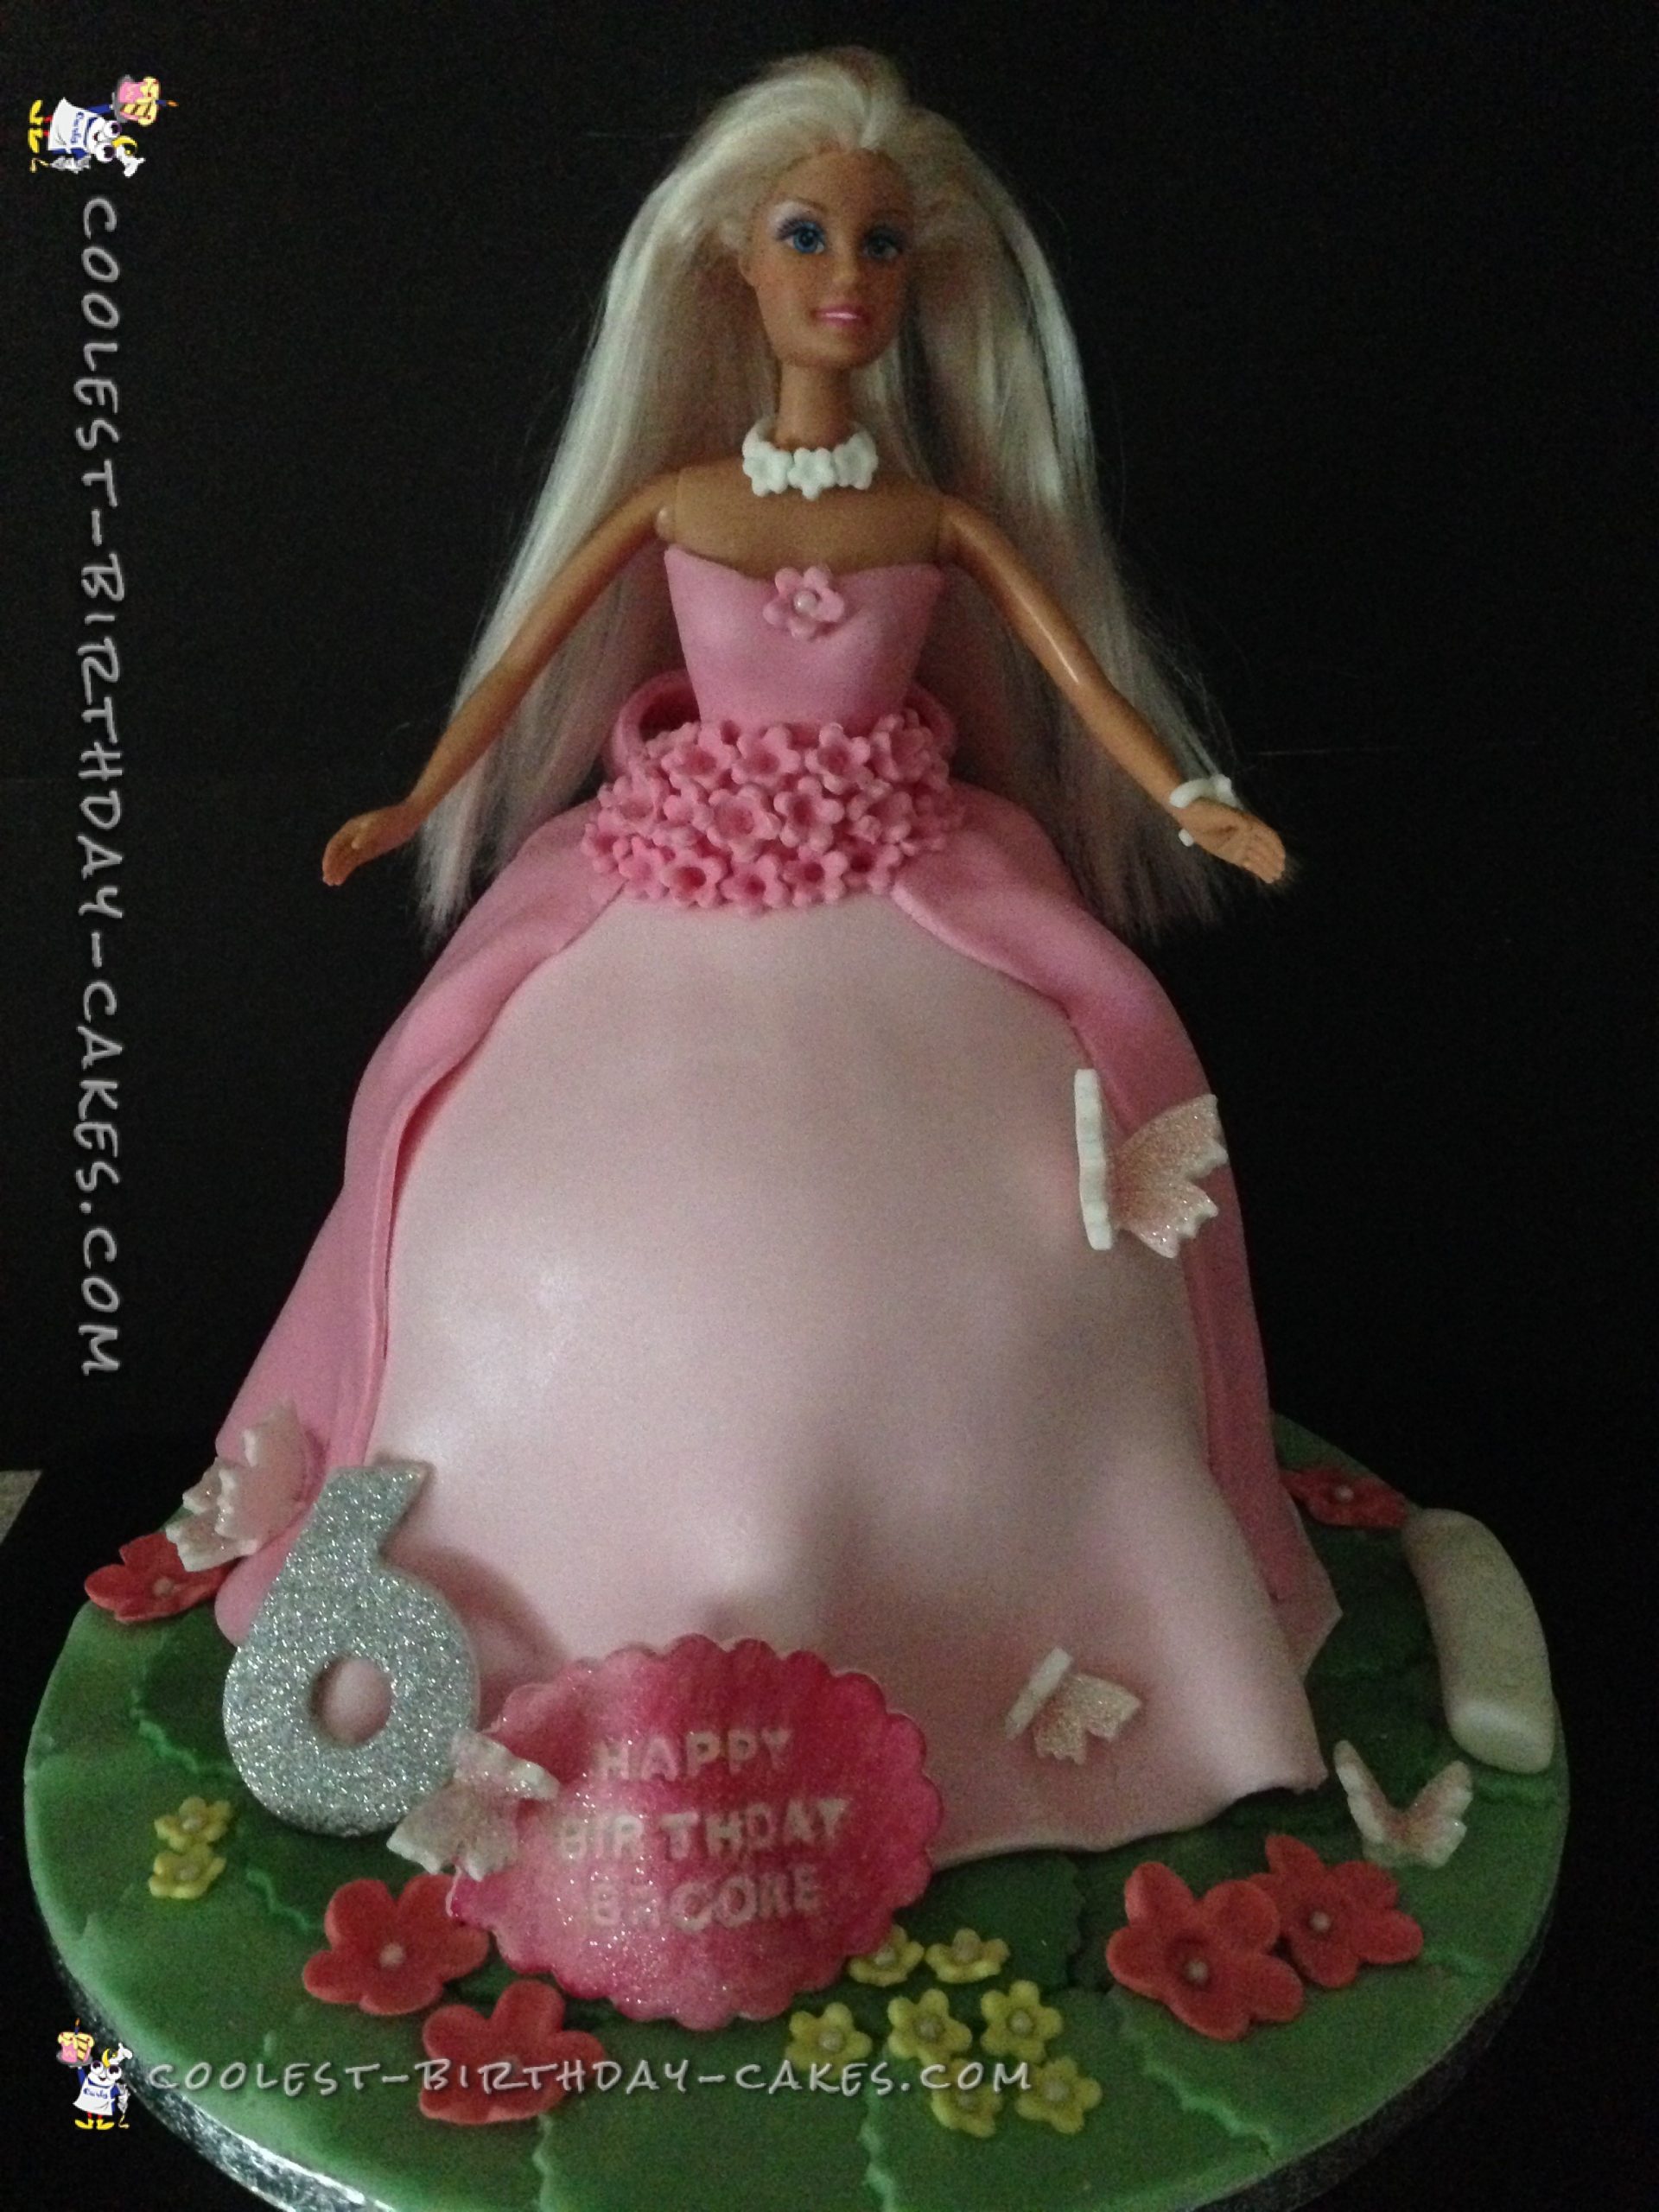
It was my granddaughter Brookes birthday November the 5th and she loves Barbie. She’s only 6. It’s Brooke who I learned to bake and decorate cakes for.
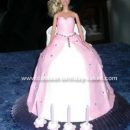
Well. I decided to make her a Barbie cake. I borrowed one of her Barbie’s and sprayed it with an antibacterial spray to make sure it would be germ-free for the cake. I then wrapped the dolls’ legs right up to the waist with cling wrap and then brushed the doll’s hair. I wrapped the hair in cling wrap also so I didn’t get any icing into the hair. I then rolled out some light pink modeling paste and cut enough to model the bodice of the dolls’ dress and attached this to the torso of the doll. I then rolled out a fat piece of fondant and attached it to the waist line of the doll and smoothed it out and set it aside while I made the cake.
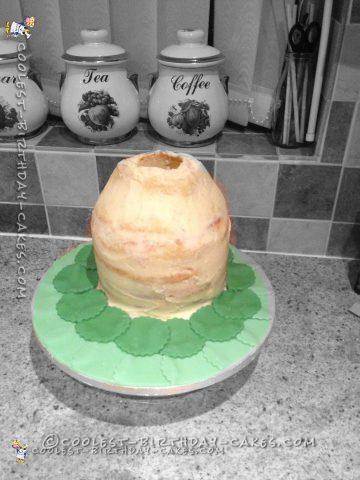
I baked 5 layers of vanilla sponge 7″ sandwich cake tins and set them aside to cool. When they cooled I cut circles out of the centre of each cake and attached to the cake drum using a little buttercream, then filled it with jam and buttercream as I sandwiched them together.
I then carved the cake into a dome shape for the dress and crumb coated and placed in the freezer to chill. When chilled, I added a second coat of buttercream and chilled again. I coloured some fondant in a light green and cut out circles and attached around the edge of the cake drum. Then I coloured some fondant in a darker green and attached this from the edging of the cake, ensuring there was no cake board showing.
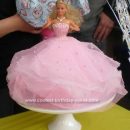
I now rolled out some pale pink fondant for the skirt of the dress and covered the cake, pushing some fondant into the hole in the top of the cake. Then I smoothed it out. Now I attached the doll into the cake and smoothed out the edges. I coloured some fondant in a slightly darker pink for the top layer of the dress and rolled this out. I cut three pieces out and attached the back piece first, then the two side pieces.
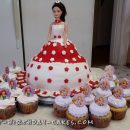
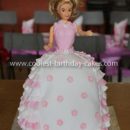
I now rolled out the dark pink icing and cut out three strips. I made the loops of the bow with one piece and the tails with the others, and attached these to the back of the cake. Now, using my flower cutter, I cut out small flowers and attached these to the front edge of the cake and a small flower to the neckline of the dress.
I then rolled out some white modeling paste and made a necklace and a bracelet for Barbie. I now made some dark pink flowers and some small yellow flowers and attached these to the cake drum. I made a number 6 and an oval plaque which I used a stamping tool to print out “Happy Birthday Brooke.”
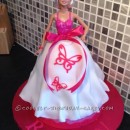
I placed the plaque over a rolled out piece of kitchen paper to give it shape when adding to the cake at the end. I then made 5 butterflies and placed these over some foil so they dried with their wings up. These and the number 6 were left to dry out. When they were dry, the number 6 was brushed with a little vodka and sprinkled with glitter and so were the butterflies and attached to the cake. For the plaque, I used a little vodka and some pink food colouring, and using a piece of sponge I lightly brushed the colour over the plaque so you could read the wording.
The cake was now finished. A proud little girl she was too, with her own Barbie cake.
Your comment has been sent successfully.