My lovely granddaughter Brooke was 4 years old on bonfire night. Brooke is my little cake maker in training. She loves baking and I’ve mentioned her before in my featured cake baker profile. Well, she loves the Doc McStuffins programs and asked me to make her a Doc Stuffins cake for her birthday. I told her I couldn’t do this as it was too difficult. Actually, I wasn’t sure I could do it.
Making the Doc McStuffins Figure
When making this cake, I had to begin with the Doc.
- I coloured some fondant in a brown flesh colour and I started by making the head.
- Then I added the hair and set these aside to harden before adding the facial features.
- Next, I made the shape of the body, but smaller because when this was dry I would add the clothes to it.
- When the body was dry and hard I made a skirt and then made the legs.
- I made some fondant into stripes for the top and added this to the front of the body only.
- I rolled out the white for the doctor’s coat and then made the arms and hands for the Doc.
- Next, I added the head to the body, supporting it with some dry spaghetti Finally I made the stethoscope.
- She was finished
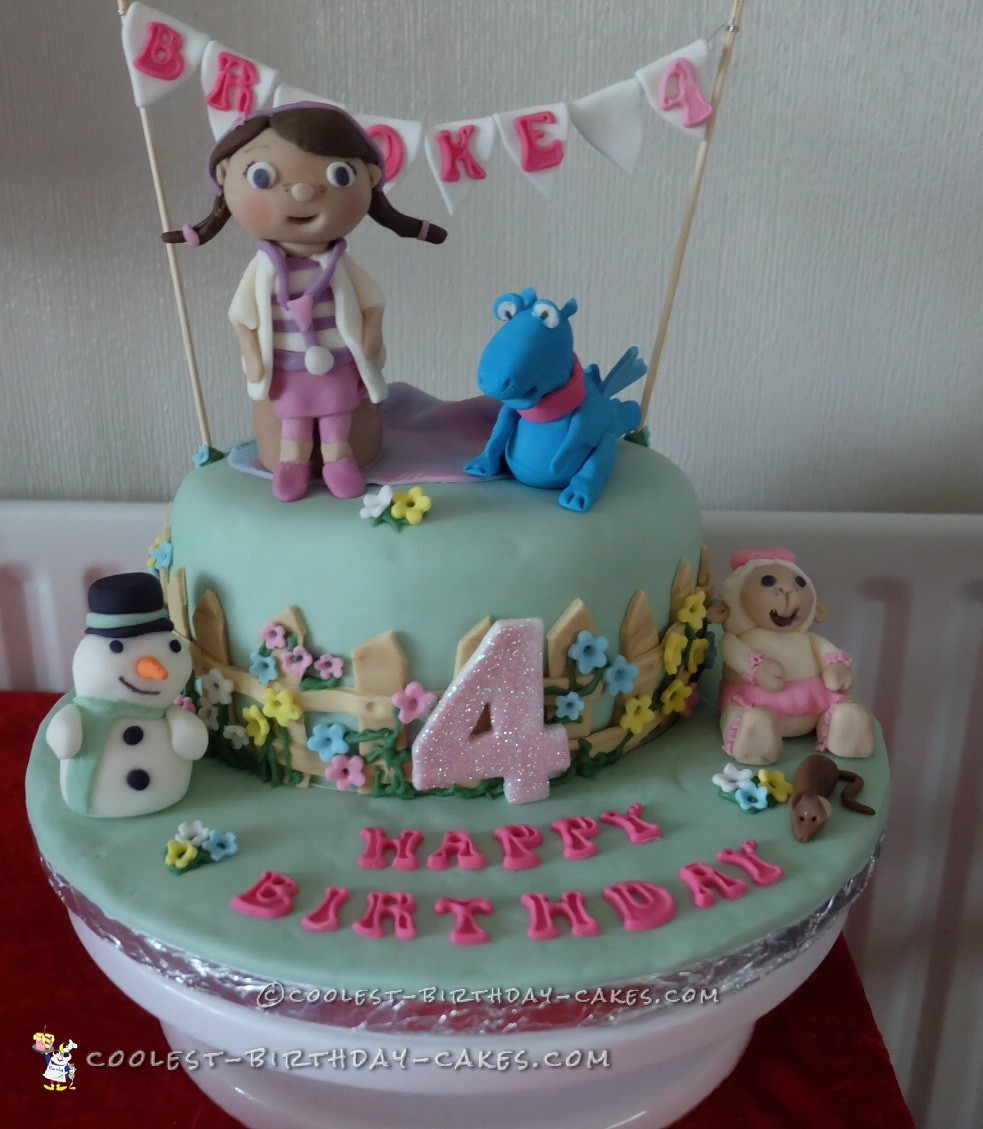
Doc McStuffins Cake Decorations
- I made a blue dragon, a snowman, and a lamb.
- I also made assorted flowers and let them dry.
- I made a number 4 and some pennant flags to be attached to a thin wire when they were hard. I put lettering on these with the name Brooke and the number 4.
Doc McStuffins Cake Base
- I baked an 8” cake in vanilla sponge and I filled with jam and butter cream.
- I then covered the whole cake in butter cream and placed it in the freezer to chill.
- Meanwhile, I coloured some icing in light green and rolled it out ready to cover the cake.
- Next, I covered the cake and cake board in green.
- Then I coloured some icing in light brown and added a small amount of dark brown colouring and kneaded it until I had a wood grain effect.
- I cut out the fence and attached it around the sides of the cake.
- When the fence was finished I mixed some royal icing in green and piped some stems and leaves around the fence and started attaching the flowers I’d made earlier.
- I placed the lamb and the snowman in position on the cake board and then piped some leaves on the cake board and attached a few flowers.
- I attached the number 4 on the front of the cake by the fence,
- Then, I cut out Happy Birthday letters and attached them to the cake board.
- I made a pink blanket and placed it on top of the cake.
- I got two wooden skewers and made a hole into the flat edge so I could attach a thin wire into the skewers to hang the flags.
- I then pushed the skewers into position on the cake.
- Next, I to attached the flags with Brooke’s name on them. I attached them into position using some white royal icing.
- Finally, I attached Doc and the dragon and a few flowers to the front of the cake.
- The cake was now finished.
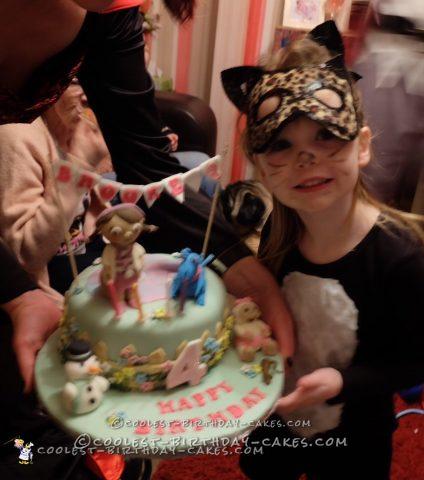
When Brooke saw it she was amazed she couldn’t stop staring at it and pointing at all the figures I had made. She kept repeating , “Nanny, it’s Doc McStuffins.”
It just melted my heart to know I’d made a little girl so happy.
Related cakes:
 Call the Doc McStuffins Cake
  12+ Coolest Peppa Pig Cake Ideas
  5 Dinosaur Cake Ideas of Jurassic Proportions
  Cool Homemade Minnie Mouse 2nd Birthday Cake
 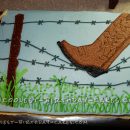 Barbed Wire and Cowboy Boot Birthday Cake
 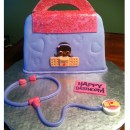 Coolest Doc McStuffins Doctor Bag Cake
  15+ Cool DIY Monkey Cake Designs for the Birthday Cake Enthusiast
 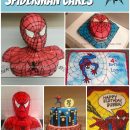 12+ Cool Homemade Spiderman Cake Ideas