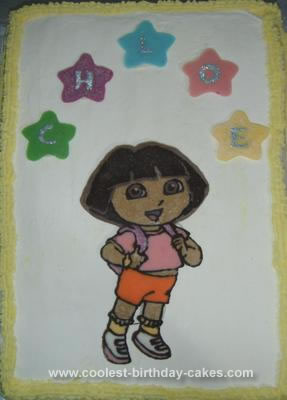
This Dora the Explorer Cake is an ice cream cake made in a rectangular 35cm x 25cm tin. I made the cake itself 2 days before I needed it. For the cake I melted 2 tubs of vanilla ice cream until they were at a consistency that I could stir in my daughters favorite sweet, in this case smarties. I then simply poured the ice cream mix back in the tin and placed it in the freezer until it was frozen solid again.
The day before the party I did this step. Once it was frozen, I turned it upside down on the platter I was planning on serving it on until it had melted enough to simply slide out. I then immediately placed it back in the freezer. While this was resetting I whipped 2 bottle of creams, the amount you need would depend on the size of tin you used. I set aside enough cream to color yellow for the trim, the remaining cream was spread over the cake. I then used a piping bag to pipe the yellow trim around the top and bottom edge and down the corners. I then put the cake back in the freezer again.
To make the decorations I decided to use melted chocolate. This was messy but fun. Firstly to make Dora I choose my daughters favorite Dora picture and traced it on to baking paper. I then turned the paper so the traced image was face down on a flat surface. The first step was to melt dark chocolate to make the outline and add facial features. Once this was done it was simply a case of melting white chocolate and then taking out small portions at a time, coloring them the desired shade and simply coloring in the picture using piping bags.
I used a tooth pick to help push the chocolate into the small corners and to prevent air bubbles. The only color that was difficult to get right was the skin color to make that I ended up melting white chocolate, adding a small amount of melted dark chocolate and 2 drops of yellow food coloring. Depending on where you live you will need to try and control the temperature of the environment while working with the chocolate, too hot it melts and doesn’t set, to cold and it sets to fast before you can get the air bubbles out.
I used the same technique to make the chocolate stars with her name in them. Except in this case I outlined first, put in the color I wanted for the star leaving the shape of the letter empty. Once the star color set I filled the letter shape with edible glitter and then piped white chocolate on top of it.
I made the chocolate decorations the night before and placed them on the cake just prior to serving. I used a thin layer of pre made icing on the back of the chocolate decorations to stick them onto the ice cream cake. Then just serve and eat, by the time you sing and take photos it will be soft enough to cut and eat. Enjoy.
You could use this idea to make any design you wanted such as Tinkerbell or Winnie the pooh.
Related cakes:
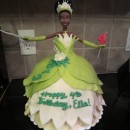 Coolest Ice Cream Tiana Doll 4th Birthday Cake
 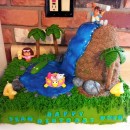 Coolest Diego and Dora Birthday Cake for 4 Year Old Twins
 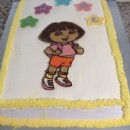 Yummy Ice Cream Dora Cake
 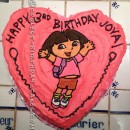 Heart-Shaped Dora Birthday Cake
 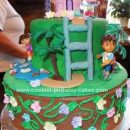 Coolest 360 Degree Dora Adventure Birthday Cake
  Coolest Dora the Explorer Standing Birthday Cake 116
 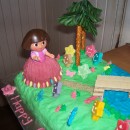 Coolest Dora Scene Cake for a 3-Year Old Girl
 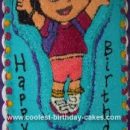 Coolest Dora Cake
Your comment has been sent successfully.