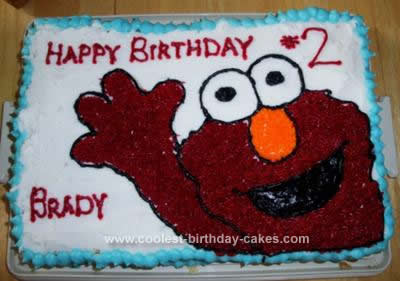
For my son’s second birthday, I decided to make him an Elmo Birthday Cake Idea. I searched this site for a way to make the cake without buying a special pan. I wanted to make the cake 13×9 for storage purposes. I found that the Elmo cake 71 and 39 gave me the best advice. I searched online for a picture of Elmo in the correct shape, then copied it to a word document before enlarging it to the size I wanted.
I printed the picture off and cut it out. In order to make Elmo as big as possible and give myself enough space to write happy birthday, my son’s name and age, I set Elmo off to the side.
After having read some of the instructions of cakes submitted, I make a trial cake and tried the method tracing Elmo onto a sheet of wax paper then poking a toothpick through to make the shape. This did not work for me at all. So, I cut the Elmo shape out of paper, laid the piece of paper on the frosted cake and traced around it with a toothpick. This made a ridge that I was able to follow for Elmo’s outline. Then I freehanded the nose, mouth and the juncture between his face and arm.
I made the cake out of my favorite pound cake recipe, cooled it on a wire rack then flipped it into my 13×9 cake container. I leveled the cake off some then frosted the entire cake, including the sides with butter cream frosting. Immediately, I laid the Elmo template down and traced his shape, then added the eyes, nose, mouth and arm/face separation with a toothpick. I used the Wilton tip for grass in order to give Elmo’s fur the correct dimension. I piped all the red in for his body and face. Then I used the Wilton smallest star tip to pipe orange for his nose. I changed to the Wilton smallest circle tip and outlined Elmo’s body, his eyes, mouth, nose with black frosting. Finally, I changed to the Wilton large circle tip and filled in his mouth.
In order to make his mouth appear smooth, I wet my finger slightly, then lightly pushed on the frosting ridges in his mouth. I wrote my son’s name, happy birthday and age in the Elmo red with the Wilton small circle tip. I piped blue ‘balls’ with the Wilton large circle tip around the top edge of the cake and the bottom of it.
I made all my frosting in advance. In order to achieve the right red, I heeded the advice of the other Elmo cake submissions and made it on Tuesday (I frosted the cake on Friday). The color changed dramatically in those 3 days. I used an entire container of the Wilton no-taste red and the frosting was a salmon pink when I initially made it. It was the perfect red by Friday night. I used the other Wilton tints for Elmo’s nose, mouth and the blue.
The cake took me approximately 1 hour to frost. I think I saved quite a bit of time by making the frosting in advance, although it was harder to pipe in cold frosting.
Related cakes:
 15 Cool Sesame Street Birthday Cakes
 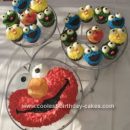 Coolest Sesame Street Cupcakes
 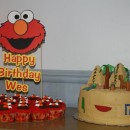 Ancient Egypt and Elmo collide for a Double Birthday Cake Bash
 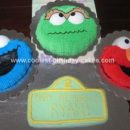 Coolest Sesame Street Birthday Cake
  Coolest Homemade Elmo Birthday Cake Made With Wilton’s 3D Cuddly Bear Cake Mold
 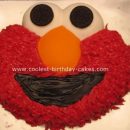 Elmo Cake
 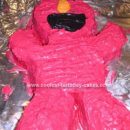 Easy Homemade 2D Elmo Cake
 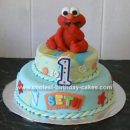 Awesome Homemade 2 Tiered Baby Elmo Cake
Your comment has been sent successfully.