I’ve been dabbling in cakes since I got married 30 years ago. My Aunt who made my wedding cake while in the hospital undergoing surgery in Denver Colorado inspired me. My four-tier wedding cake was then flown to Texas on dry ice to my parent?s house then driven to Arkansas where the wedding took place. Ever since I have had great pleasure in creating wonderful cakes.
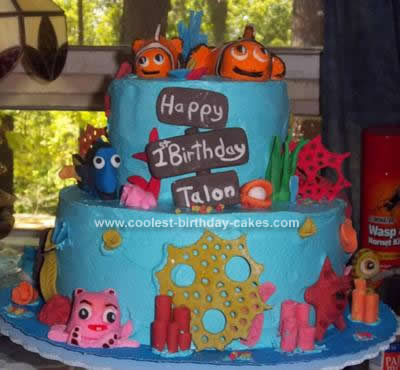
I had a request for a Homemade Finding Nemo Birthday Cake from a dear friend whose son was turning one and had repeatedly watched Finding Nemo (at least 100 times) only a month after I did a Mario cake for my grandson. I don’t like the taste of the typical fondant and I have recently found a recipe for marshmallow fondant that tastes great. All my cakes are made from scratch and The Finding Nemo cake was no exception.
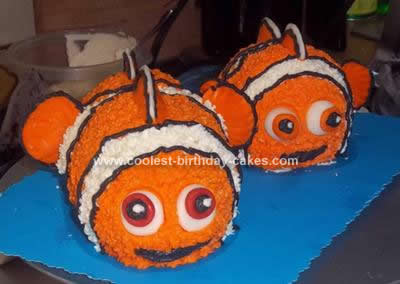
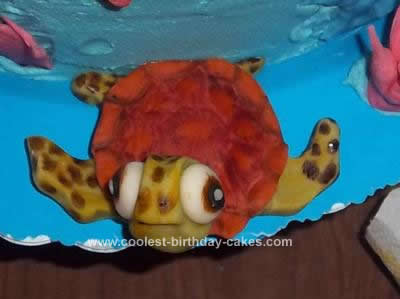
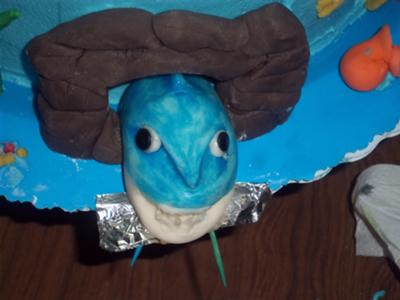
I made all the characters two days before the actual cake except for the shark, which was a last moment addition, which explains the toothpicks and foil. The marshmallow fondant was made from one bag of marshmallows placed in a microwavable bowl with one tablespoon of tap water and ½ teaspoon of three different favoring. Sometimes I add flavorings to match the persons taste. In this case it was Vanilla, Almond & Raspberry Extracts. I microwaved it for 15-30 seconds; just long enough to soften, not melt, the marshmallows. Then I added small amounts of powdered sugar at a time. Slowly mixing with my hands. I added sugar till I got a consistency of play dough. At first it was very sticky but I added sugar until it began to stick to itself. It helps to powder yours hands with sugar before and during mixing. I broke off pieces and added color. Using coloring paste (liquid colors will change the consistency) to the small pieces. The fondant when dried will hold its shape but is still flexible enough to eat. I usually leave it overnight. Sometimes using supports (such as tooth picks, aluminum foil, a bowl etc.) to get the desired shape. I used water and a small paintbrush to glue the pieces together.
The fondant will stay soft if stored in airtight containers and it does not need to be refrigerated. If it becomes to dry add water a drop at a time and knead it. Some details were painted on with a brush using paste colors straight out of the bottles or watered down like watercolors. I also used eatable markers by Wilson.
The bottom layer consisted of white cake, the top layer was German chocolate and the mash cakes were strawberry in which I added ½ teaspoon of the three flavorings from above. All the cakes were covered in buttercream icing, which had the same flavorings. Then I placed all the fondant characters upon the layered cake and used butter cream to finish any details. I used two small doll cup cakes with centers trimmed out to get the two sizes of mash cakes and I glued them together with butter cream icing. They were covered with corresponding colored butter cream using star tip and small dot tip. The fins were made from marshmallow fondant.
The fondant & butter cream seals the moisture in the cake and the cake can sit at moderate to cool room temperature for several days. Extreme heat will make it sweat, colors will run and the fondant could actually slide off. The whole cake was totally eatable except for 3 wooden dowels and a separator plate in the center of the two-layer cake to keep the top layer from sinking. It was a hugh success. My favorite of all the characters was the sea turtle.
Related cakes:
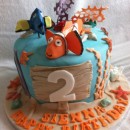 Coolest Finding Nemo Birthday Cake
 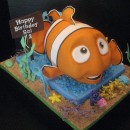 Awesome Homemade 3D Finding Nemo Birthday Cake
 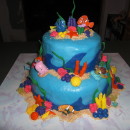 Coolest Nemo Birthday Cake for a 3 Year Old Boy
 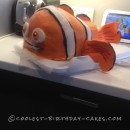 Coolest 3rd Birthday Nemo Cake
 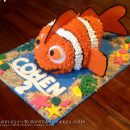 3D Finding Nemo Birthday Cake Makes A Splash
 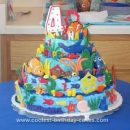 Cool Homemade 4 Tiered Finding Nemo Birthday Cake
 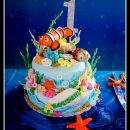 Coolest Underwater Nemo Cake!
  12+ Coolest Frozen Birthday Cake Ideas for the Ultimate Frozen Theme Party
Your comment has been sent successfully.