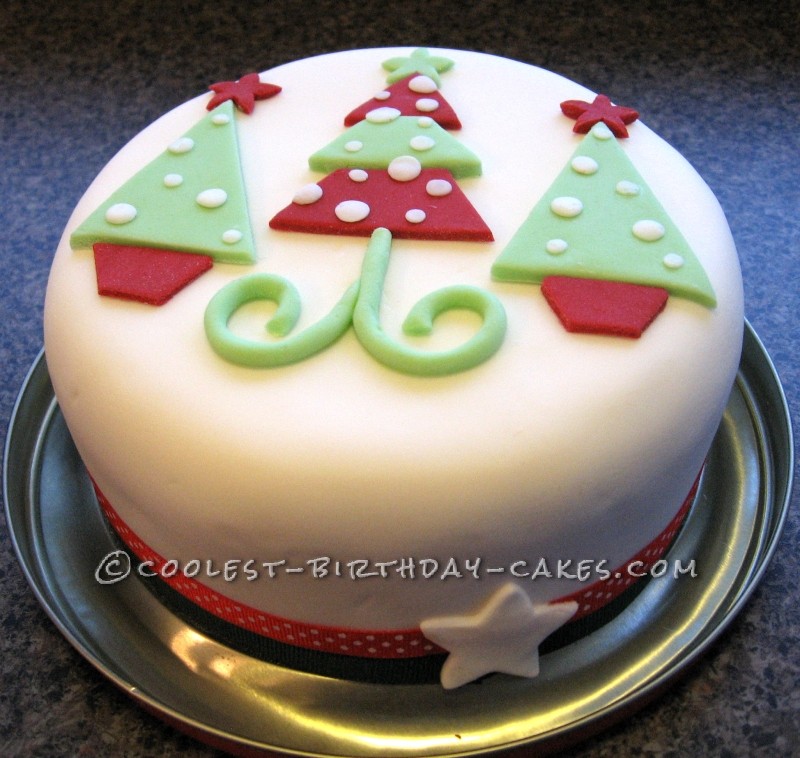
I made this cake for Xmas 2011. As is tradition in our family, my Mum makes a few cakes and we decorate them together. I always look forward to this time with my Mum, who lives in the next city to us.
I got this idea from Valerie Elizabeth Confections (online) and hers looks 100 times more amazing than mine – but then I’m not a professional with all the tools and knowledge!!
As usual, I thought it would be quick and easy and as usual, I was completely wrong! I really do need to buy some tool and get more realistic with how much time it takes! You need to allow a few days to a week for adding the almond icing part first as it can omit it’s own oils which you don’t want to happen once the fondant (white) layer is on top or it will slide off.
My Mum always does a traditional dense and rich fruit cake. I cut the top across to make it a little smoother at the top with a serrated bread knife (it helps here to have a ruler to make sure it’s level if you don’t trust your own eye)!! With fruit cakes, when the raisins etc get removed with the leveling part, you need to fill in those holes left afterward. I use a little marzipan (almond icing) that I just buy from the supermarket. Fill the holes and make sure the icing sits flat.
I usually just place the cake on the lid of the cake tin it will sit in, for decorating it. Dust your bench with icing sugar and roll the almond icing to approx 3mm thick – wide enough to fit right over the whole cake. Paint all surfaces of the cake to be covered with some runny apricot jam (just strain it if it’s lumpy or the lumps mean a bumpy finished icing surface on the cake). Then heat it slightly (the jam) in the microwave until it’s a little runny. This is your glue for the icing. Put the circle of almond icing onto the cake and smooth carefully all over the surface to make sure it is stuck to the cake. To get the icing on, I sort of roll it on to the rolling pin to transfer it carefully. To get it around the edges, just gently pull the sides out and smooth down with your other hand towards the cake sides. You can use a special icing smoother tool. Trim away any excess from around the base of the cake. I then leave the cake with the lid loose (ie not airtight) in a cool place (i not the fridge but not in a very warm room). Make sure it’s safe from bugs (or little people’s sneaky hands)!
I did the same process for the white fondant layer except I used a sugar water for the glue (I don’t like using egg white as you never really know if someone is pregnant or has lowered immunity). Just use a little boiling water with enough white granulated sugar to make a syrup.
For the decorations, I just rolled up some white fondant in balls of varying sizes and flattened them to make circles. I don’t own tiny cutters however a straw could work for some sizes and then blow them out the base of the straw. Even icing nozzles (round) could work. I also used a star cookie cutter I had for the star at the base of the cake (which hides the ribbon joins). Cut the star out from your leftover white fondant from the cake (ensuring it’s still flat). I used red gel coloring for the red bits (it’s the only type I’ve found to get a true red). I had to use tylose powder to firm the fondant back up though as you require a lot of dye and it makes it tacky and hard to deal with. You can get Tylose from cake decorating stores and online. Just use a bit as it does stiffen (and shrink!) your decorations if you don’t leave it to dry a little first. Too much makes it wrinkle.
This is the time consuming part and if I were wealthy, I’d just buy the already red fondant available at supermarkets around Xmas time. The big mistake I made is that I didn’t roll out both colors to the same exact thickness prior to cutting the shapes and it looked amateurish. Then the red shrunk from all the Tylose! I made my own shape templates for cutting out (just on paper). I used a tiny star cutter for the stars and I used sugar water as glue for all the decorations. The trunk on the main tree is just rolled like a sausage. Finally, I got 2 pieces of ribbon (plain green and spotty red) and placed them one on top of other around the base of the cake and secured them with a sterilized pin and covered with the star. I wouldn’t use a pin if gifting a cake though, I’m sure cake decorating shops must sell something more appropriate. I’ve found when I use icing to secure them, it shows through and isn’t enough to just secure at the ends.
I love people’s responses when they see my cake (especially my young daughter’s). She loves looking forward to seeing the next Xmas cake each year (just as I did with my family). The effort is made up for in the appreciation of the guests.
Related cakes:
 Awesome Funky Dinosaur Tree Birthday Cake
  Cool Rockin’ Robin Christmas Cake
  Coolest Shaun The Sheep Cake with Sheep Cupcakes
 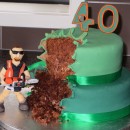 Awesome Chainsaw Forestry Birthday Cake
 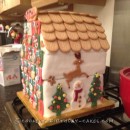 Christmas Advent Birthday Cake
  Coolest Christmas Cottage Cake
  Cool Christmas Cake Recipe Ideas and Cake Decorating Tips
  Cute Worm Bug Party Cake
Your comment has been sent successfully.