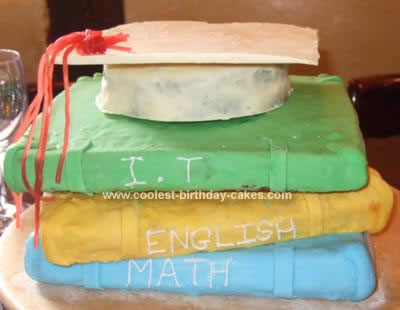
I was asked to make a cake for my brother in law’s graduation meal. I looked on the web and in books for some ideas for a graduation cake. I decided to make the cake into pile of books and put a mortorboard on the top.
To start I made three rectangle cakes, one chocolate, one lemon and one sponge. I also made an additional chocolate cake to use for the hat(it doesn’t matter what shape as you cut the correct size later). Using pre-made icing, which I coloured blue for the first book, I covered the chocolate rectangle cake. For the edges of the book I cut and rolled small piece of icing.
I used a mix of water and icing sugar to ensure that the icing stuck together. For the edges of the book (paper) I used edible sugar paper. I cut the paper into strips and again used a mix of water and icing sugar to stick to the cake.
For the second book I used yellow icing and for the third I used green. I made each book separately and then used jam to make the books stick together. I decided to place the books at different angles to give it a better effect. I then used a white icing pen to write the subjects onto the books.
For the Mortorboard I used a small saucer as a template. I cut the template again using grease proof paper, placed the template on the extra cake and cut around using a sharp knife. Although usually black, my brother in law loves white chocolate, so I decided to make it more personal to him. I melted 2 bars of white chocolate in a glass bowl over boiling water. I briefly heated the icing knife over the steam so the chocolate didn’t harden too quickly. I poured the chocolate over the cake and using a icing knife spread the chocolate so it completely covered the whole circle of cake.
I then put it in the fridge to stand. With the remaining chocolate I placed a grease proof paper onto a large square plate and spread the melted chocolate onto it. I put it into the fridge for about 30mins. I then repeated the melting of the chocolate and spread over the hardened chocolate on the plate. I repeated this about 5 times till I had a thick layer of chocolate.
Using a heated knife I carefully cut out a square, slightly bigger than the circle. Using a little melted chocolate I placed the square onto the circle and then using the chocolate again placed it onto the top of the books. To complete I used red shoe lace tied together to make the hat tassels and used the last of the chocolate to attach it to the hat.
It took about 5 hours to complete, but I think it was worth it!
Related cakes:
 15+ Coolest Graduation Cakes – Awesome Graduation Cake Ideas!
 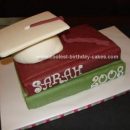 Coolest Graduation Cake
 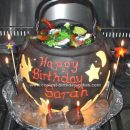 Coolest Witch Cauldron Birthday Cake
 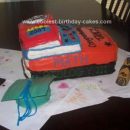 Coolest Book Graduation Cake
 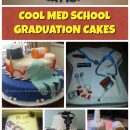 7 Cool Graduation Cake Ideas for Med School Graduates
 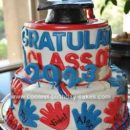 Cool Homemade Red, White and Blue Graduation Cake
 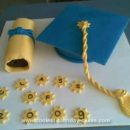 Coolest Hat and Scroll Graduation Cake
  Coolest Snowman Birthday Cake
Your comment has been sent successfully.