I made this Jewelry Box cake for a friend’s daughter’s 12th birthday! She’s a diva and that kind of cake her mom wanted for her so I thought that a jewelry box would be PERFECT!
A couple of days before I trimmed 2 10×14 to 9×13 size to make them the same size as the 9×13 cakes that I intended to bake for the base. I made a batch of royal icing in the color of choice to use to make the lid for the jewelry box. I then covered the top one of the boards with pleated side of tip #789, I overlapped the rolls a little to prevent gaps.
I piped a shell border along edges of lid to cover any visible cardboard with tip #16. For the other board, I glued the 2 pillars to hold lid open with hot glue, after letting it dry, I iced the board just flat with a large spatula, leaving about a 1″ space in the back to be able to attache the top lid. I let those both dry for a couple of days to get nice and hard. I then flipped the lid over (the one with pleated lines) and flat iced it with the spatula! After letting that dry for a day or two, I piped the birthday girl’s initials on the outside with tip 16. After it dried, I flipped it over and piped her first name on the lid with tip #16.
After these lids dried, I attached the top lid to the back portion of the slanted lid with hot glue and the gently layed it on top on pillars and glued it with hot glue also! After letting those dry I covered the glue with royal icing…a lot of royal icing to let it set and to ensure that it stayed!
While the lid dried I back my 2 9×13 cakes, let them cool, cut off dome, and thin iced them. Luckily I did not have to trim any excess cake off sides. I final iced cake with tip #789 around all 4 sides and top! After letting crust over, I smoothed cake with viva paper towel and my fondant smoother! I put a bead border along bottom, seams and edges of cake with tip #12. I then created ‘drawers’ on front cake with tip #47 by piping about 5 lines and then outlined tip#5. I then created a ‘knob’ with tip #12.
Once lids had dried I set then on top of cake, I then filled in any gaps with the bead border.
Turned out great!
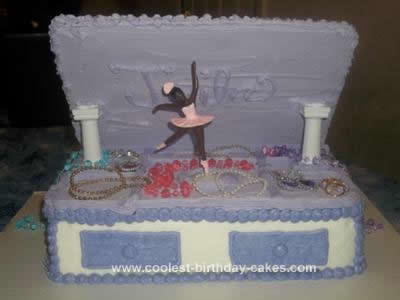
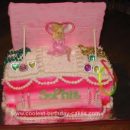
Related cakes:
 Coolest Ballerina Jewelry Box Cake
 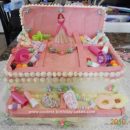 Coolest Jewelry Box Birthday Cake
  Cool Homemade Ballerina Jewelry Box Cake
 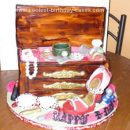 Coolest Jewelry Box & High Heel Shoe Birthday Cake
  Coolest Jewelry Box Birthday Cake
  Cool Homemade Jewelry Box Cake
 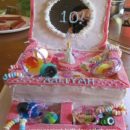 Coolest Jewelry Box Birthday Cake
 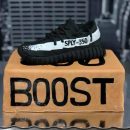 Awesome Yeezy Boost Sneaker and Box Cake
Your comment has been sent successfully.