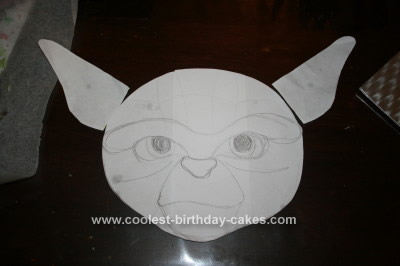
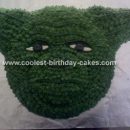
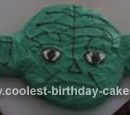
I started this Master Yoda Birthday Cake by getting my large rectangle tin and making a paper cut out exactly the same size. Then drew my image of Master Yoda’s face in an oval shape,
then drew my ears using the remaining space around the oval from the representation of the cake tin.
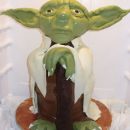
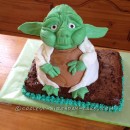
Using my paper template I started with the 3D element. I used pre packaged fondant icing.
I had my drawing flat on the bench, with baking paper on top so I could see the image, but the baking paper stopped it from sticking and ruining the drawing.
I set aside a small amount of fondant needed for the eyes to keep white. From that I took a tiny amount for the yellow in the eyes, and even less for the black parts of the eyes. Then I coloured the rest of the fondant green, using Wilton’s moss green icing colouring. I divided up the remainder into groups for the eyebrow wrinkle, nose, chin and mouth.
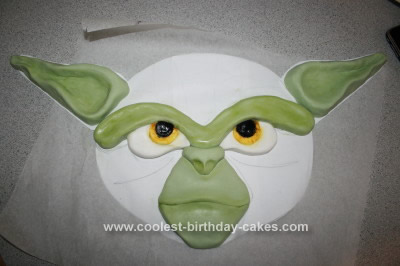
I made his eyebrow wrinkle first, then ears, then nose, and chin, and finally the top of his mouth.
His eyes were next. I shaped the white of his eyes first, and then on a separate circles for coloured bits.
Instead of kneading in the colours for the eyes I painted on liquid food colouring with a paintbrush. Once I was happy with the painting I layered the circles on the white parts of the eyes. At this point I moulded the circles up against the eye brow wrinkle.
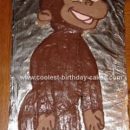
After I was happy with the shaping and colour I set the 3D element aside. Once I had my rectangle cake, I cut out the 3 separate pieces. Oval for the face, and 2 ears. I positioned my drawing so the top of the face was at the very top of the cake, and that gave me the best shaped leftovers for the ears, and also meant the chin would be on the flat edge of the cake.
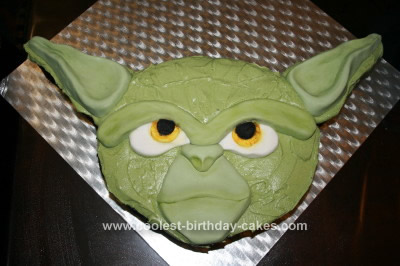
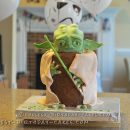
My cake came out fairly flat, if your cake is rounded on top you may need to cut the top off to flatten it out. Once the pieces were cut out, I glued the ears to the oval with buttercream icing, covered the top with buttercream icing,
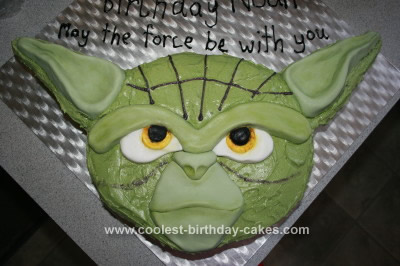
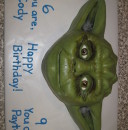
then carefully placed the 3D parts onto the cake. Iced the sides, and drew the wrinkles with glitter writing gel. I covered the sides in butter cream icing, and then piped the wrinkles in with a glitter gel pen.

Your comment has been sent successfully.