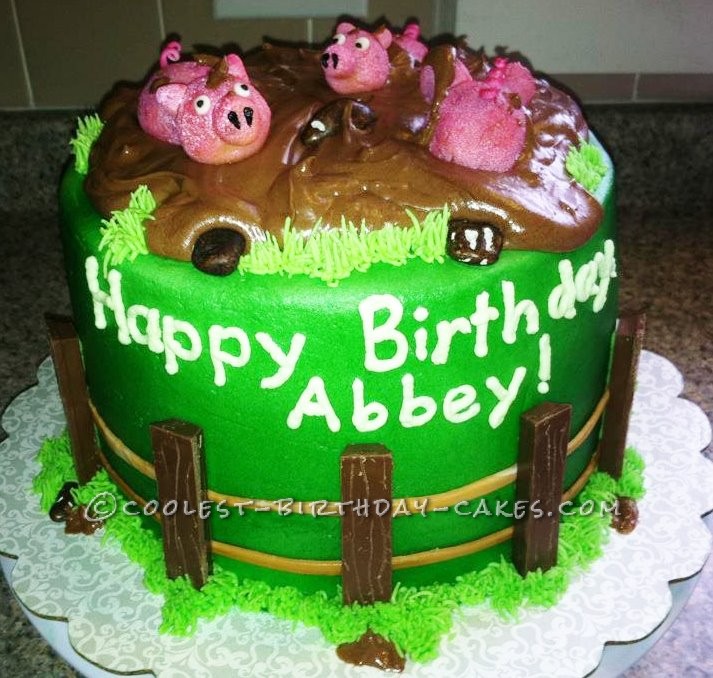
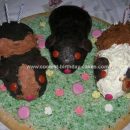
Who doesn’t love to see little pigs rolling in the mud? For this muddy piggies birthday cake, I wanted to try a few new recipes and techniques. I went online and tried to search ways of creating miniature sculptures out of cake, then I went straight to my kitchen to play! I discovered that I enjoy smashing baked cake.
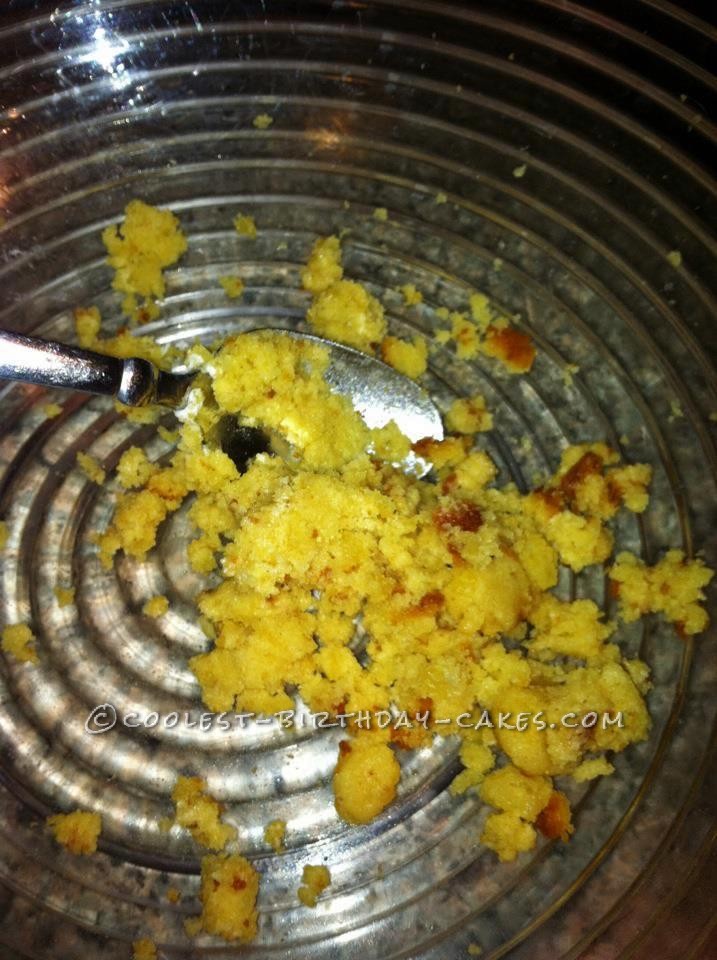
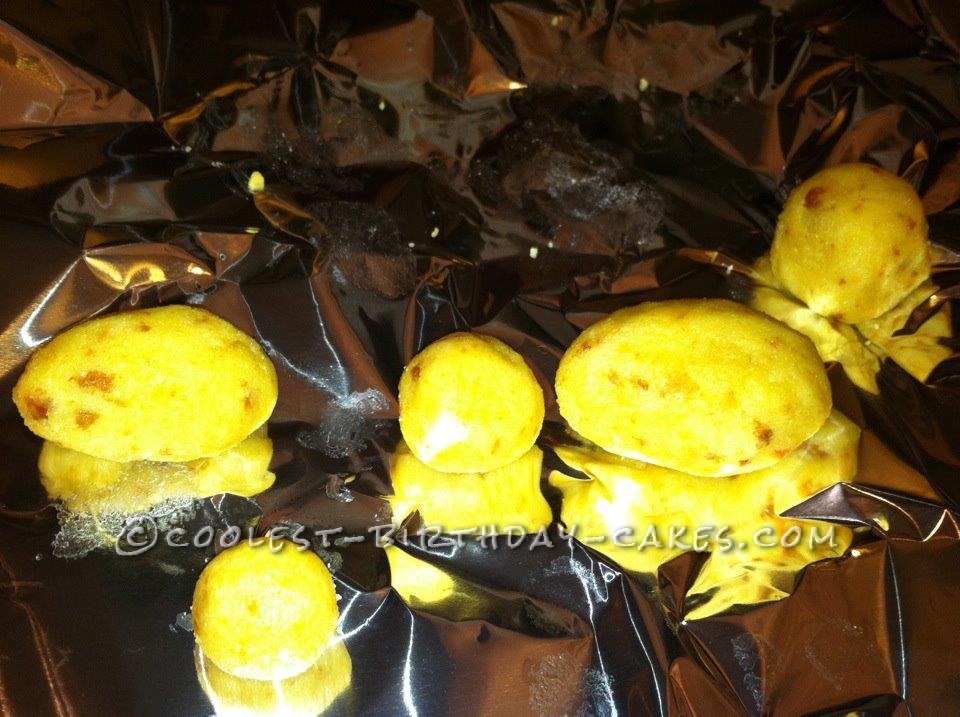
To create the little pigs, I took two sections of cake that had already cooled and rubbed them together to create crumbled cake. Then I added a little bit of butter cream frosting to the crumbled cake and stirred it until it had disappeared into the cake crumbles. Next, I put a little bit of shortening on my hands to keep the cake pieces from sticking to me. I grabbed a small handful of the cake crumbles/frosting mix and rolled it into circles and ovals.
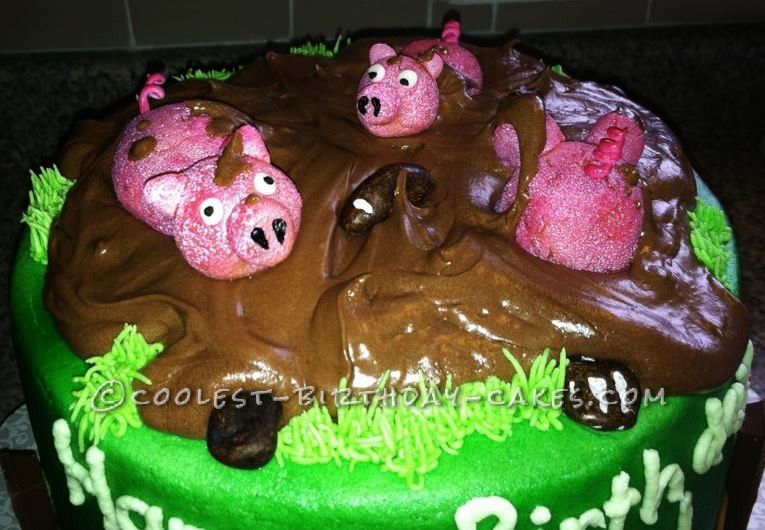
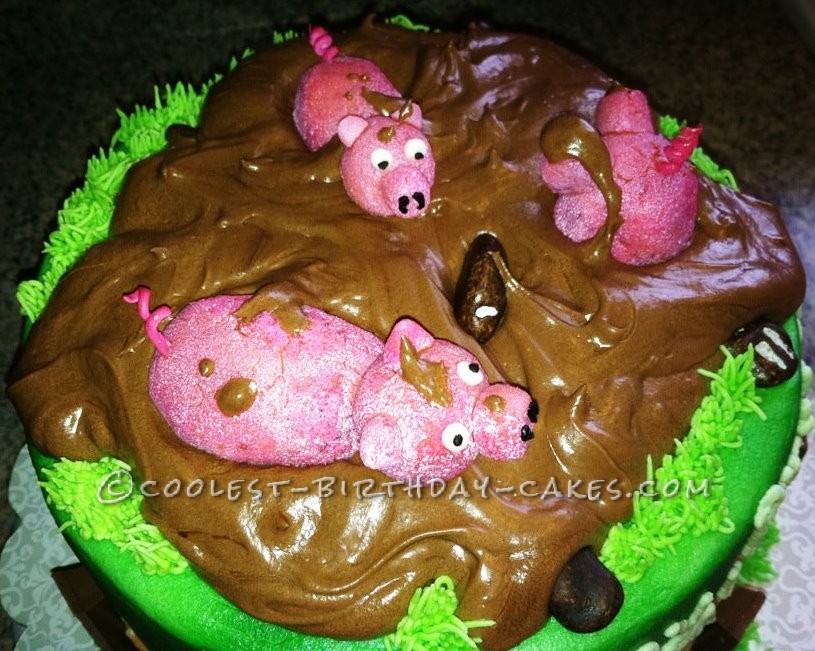
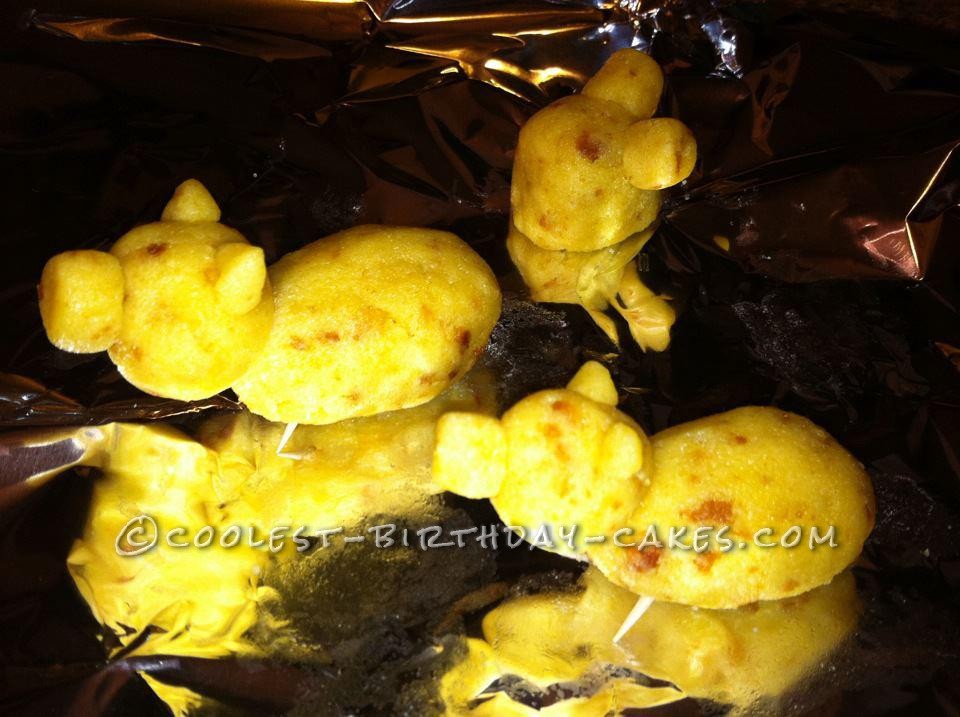
I also needed a few smaller pieces to create what would become the feet and ears. I put the balls of cake into the freezer to get them firm. Once they were hard enough, I stuck toothpicks into the various parts and assembled the piggies. They looked so cute as soon as they were standing! I made curly pig tails by wrapping small strips of gum paste around wooden dowels. Once the tails hardened, I stuck them into the cake pigs very carefully. (I made many extra tails because the small pieces of gum paste can break easily!).
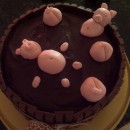
I used an airbrush to spray edible pink food coloring on each pig (I did have to put some of my piggies back into the freezer before spraying because when they got warm, they lost noses and legs… and that broke my heart)! I made eyes and nostrils out of gum paste and added them to the pigs. The small details can be hard to handle, so I always put them on and make adjustments with a toothpick.
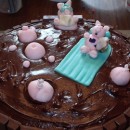
To create the base of the cake, I stacked four, 8″ round cakes and filled them with butter cream frosting. I used a cake board between the second and third layer, to give the cake support. I also used wooden skewers (like the ones used for BBQ’s) to secure the layers together. I added green butter cream frosting to the cake and smoothed it with a paper towel and a fondant smoother.
I wanted to create a fence around the base of the cake, so I used kitkat bars as fence posts. I used homemade marshmallow fondant that I colored brown between each of the posts to look like wire. I scraped each of the kitkat bars a little (with a fork) to make them look like they had wood grains. I added green butter cream frosting to the base of the cake and around the fence posts to look like grass. I used chocolate rocks to add detail to the grass.
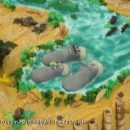
The next step was fun and a little nerve wrecking! I made a chocolate fudge butter cream frosting to look like the pig’s mud. It was thick, so I thought if I poured it on the top and used a spoon to place it in just the right places – it would look like real mud. I went really slowly because I was afraid the fudge butter cream might drip all the way to the base. That was not the look I was going for. After I placed each spoon of fudge butter cream near the edge of the cake, I placed the cake in the refrigerator to cool and keep the fudge frosting from dripping too far. It worked! I placed each of the piggies into their muddy pen and put a few splashes of fudge frosting on them. I also stuck a few chocolate rocks in the mud.
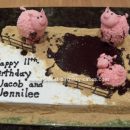
The piggies in their mud were a huge hit! The birthday guests also enjoyed eating the fence and rocks!


Your comment has been sent successfully.