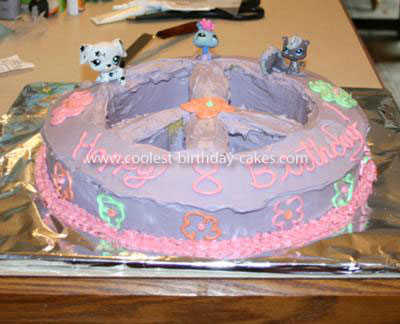
My daughter wanted a Peace and Petshop birthday cake and after looking on the internet for different cakes I decided to come up with my own design of a Peace Sign Petshop Toys Cake.
I used a 12” round cake pan which I found at a party store. I used almost 8 cups of yellow cake batter (a little less than 2 boxes of yellow cake mix) and cooked for about 50-55 min. I kept checking to see if it was done since it was such a big cake.
I popped the cake out and let it cool and then made up a batch of lavender frosting. I used plain white frosting out of a can (because we like that and it was easy) and added food coloring until I got the shade I wanted.
I took a piece of parchment paper and used the bottom of the 12” cake pan and made a circle the exact same size as the cake and cut it out. I then free hand drew a peace symbol with pencil and put it on top of the cake and held it in place with toothpicks so it didn’t move around. I did cut the top of the cake off because it was too tall (but that of course makes frosting the top much more difficult). Once the template was in place I used a very sharp knife to cut out the design and then pulled out the pieces of cake in the middle of the peace symbol that didn’t belong.
First, I frosted the inside sides of the cake with lavender frosting. Very challenging because the edges are exposed cake but if you really get a lot of frosting on your knife – or cake spatula- and don’t spread too thin it goes OK. Then I frosted all of the remaining sides with lavender frosting and then did the top. I smoothed out the whole thing with my cake spatula.
I used about 1.5 cans of frosting for the lavender. Then I used another can of white frosting and split it into thirds and made orange, pink and green frosting. I have 3 cake decorating bags and tons of “writing” tips so I used the pink to write the message and then I used the other colors to make the outline of the flowers and colored them in with the same tip since the flowers weren’t very big. I used the same tips to do the flowers on the outside of the cake and I used different colors for the center of the flowers. I didn’t color in the flowers on the sides of the cake I just put a dot in the middle. I used the flower tip to do the pink trim around the bottom. Then I picked a few of her favorite Petshops and put them on the top of the cake (after they were washed). They are top heavy so use ones with four legs and/or smaller heads and you really have to push them into the cake, but gently push.
My daughter loved it. She said it looked “professional”. I love making my kid’s cakes and they always love seeing what it looks like when I am done.
Related cakes:
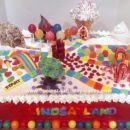 Coolest Candyland Game Cake
 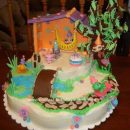 Coolest Littlest Pet Shop Toys Cake
  Coolest Littlest PetShop Cottage Birthday Cake
 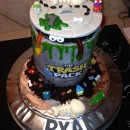 Disgustingly Awesome Trash Pack Cake
 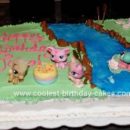 Coolest Littlest Petshop Cake
 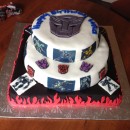 Cool Transformers Mega Birthday Cake
 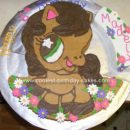 Coolest Littlest PetShop Birthday Cake
 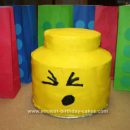 Coolest Homemade LEGO Mini-Man Head Shaped Cake
Your comment has been sent successfully.