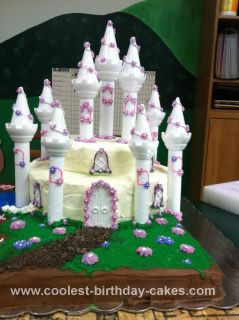
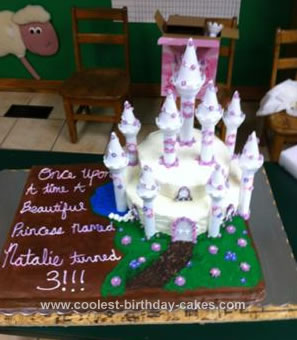
I bought the Wilton “romantic castle set” because my then 2 year old daughter saw it in the store and fell in love. I had to admit it looked cool so I bought it. I had never made a decorated cake before (and definitely NOT of this magnitude but I thought lets give it a go!!). The only issue I faced was that it wasn’t going to be big enough so I came up with the idea of only using part of the castle set and setting it up as a story book idea.
I used a large 2 layered sheet cake and then used my tiered rounds (there were two layers to each tier). I knew from my research that the flowers were the hardest part. I had never piped before so I set out watching videos on youtube of how to even start. I went to the store, bought a beginner set and started working. Then something AMAZING happened, they were easy to make and they set up in only one day and were like a dried candy (I used butter cream to pipe them, and the tubed color icing you buy in the store… same results from both).
The day before the party I started baking. I admit I used boxed cake mixes. It made my life more simple on a daunting and what I was sure would be scary adventure of this castle cake. From all my research about making cakes, I learned terms like “cake leveler” and I put it to use. The entire time I was baking cakes (I used 9 cake mixes!!!) I was also making all my icing… to say my kitchen was a hot mess is an understatement.
After I let each cake cool I began the stacking, doweling, cake boarding event. I had a heck of the time with the wooden dowels. I couldn’t get them to cut so I ended up out of pure desperation using plastic disposable straws that I just cut. Surprisingly enough, they worked fabulously. Now after I got the sheet cake done, I attempted to move it. BIG mistake. That thing was sooo heavy and I hadn’t even put the castle on it yet. I actually had to use a 2 inch thick piece of plywood to carry it.
I leveled, iced, doweled, and stacked the castle cake and put it on a cake board and then also on a piece of plywood to transport it to the church where we were having her party. Once we got it to the church I began decorating. I wanted to make it look like a moat on the back side of the castle with a flowered yard up the front and a cobble stoned walk way. The moat, and yard I used icing (all butter cream) and my pre-made flowers, but for the cobble stoned walk I used ground up Oreos and chocolate chips.
I used icing to level out the different towers and to smooth the chocolate. I just wet my spatula and it smoothed right out (the color changes to a lighter color but dries the same, I promise). I definitely recommend trying this cake out. I had so much fun doing it and actually found a hobby that I am in love with, with even a few of my own trade secrets that I shared with you. I hope it helps and happy baking!
Related cakes:
 12+ Coolest Castle Cake Ideas – Awesome Homemade Castle Cake Designs!
  12+ Original Homemade Princess Castle Cake Ideas
  12+ Coolest Disney Princess Cake Ideas – Awesome DIY Cake Decorating!
 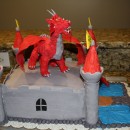 Breathtaking Homemade Dragon and Castle Cake
 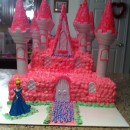 Coolest Pink Princess Castle Cake
 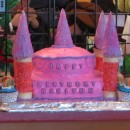 1st Birthday Princess Castle Cake
 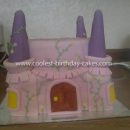 Coolest Princess Castle Birthday Cake
  12+ Pretty Homemade Princess Cakes
Your comment has been sent successfully.