I needed to make a cake to serve 18 people last September. It was very warm (as usual in Hawaii) and I needed to make a frosting that would hold up to the weather. I found this frosting on the internet and it is my “go to” frosting. The frosting gets soft but does not melt and holds up very well in our humid weather.
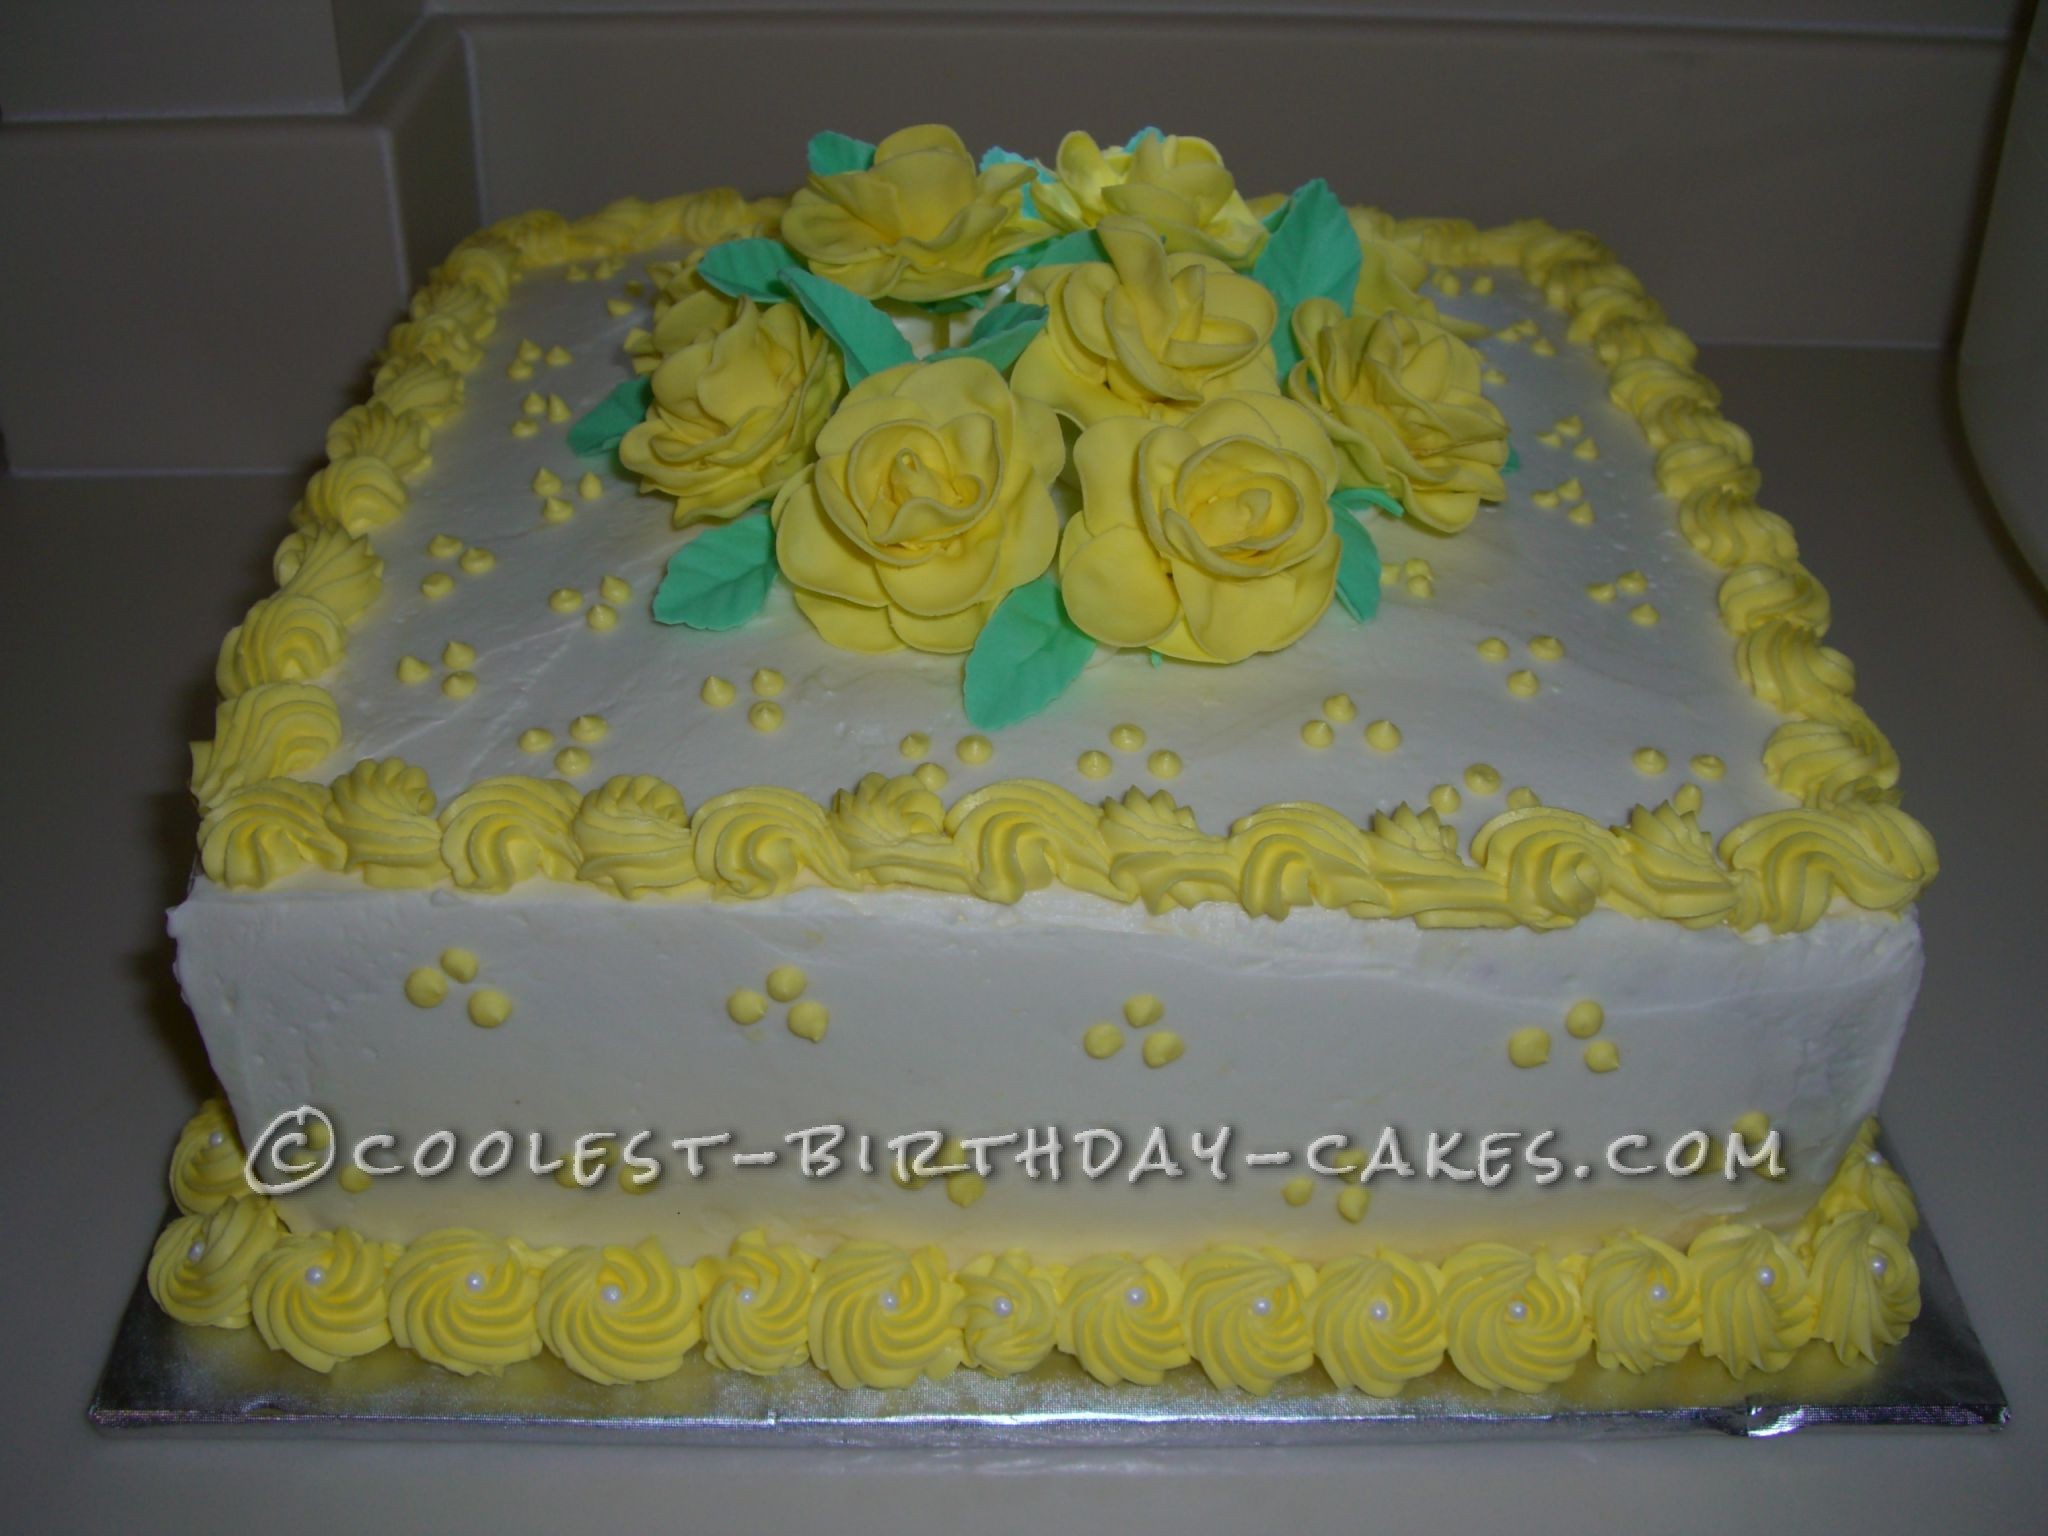
The roses are made of 50/50 fondant/gum paste. I learned how to make these roses in cake decorating class one week prior to making this wonderful cake. The roses take a few days to dry so the day after class I made one dozen of them.
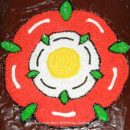
I arranged the roses on the cake an hour before the party to prevent them from melting. Gum paste reacts to moisture and since the roses and leaves are thin to give a more realistic look, they would melt into the cake if they were placed hours in advance.
When I brought the cake to the party everyone oohed and ahhed over it–so much that hey really didn’t want to eat it because it was too pretty—especially because the roses looked so real. They all loved and devoured it.
Greasing the Pan and Baking Strips:
I used two dark chocolate cake mixes and since I only have one 10”x2” square pan the cakes were baked separately. I used pan grease (recipe from internet) instead of cooking spray. The pan grease is thoroughly coated in the pan to prevent the cake from sticking. While the batter is being mixed, I soak baking strips in water. After the pan has been filled with the batter, I tap the pan on the counter to release air bubbles to eliminate holes in the cake. The baking strips are then removed from the water and remove the excess water just so it’s not dripping wet. The baking strips are wrapped around the pan and placed in the oven to bake at 325 degrees. Baking strips and the lower temperature prevent the cake from forming a “dome” which means less waste and more cake. Baking at a lower temperature takes a little longer but when my cakes are done, they have no dome and therefore I don’t have to level them. I use a toothpick in the center of the cake to test for doneness.
Freezing The Cake:
When the cake is done, I placed it on a cooling rack until the cake pulls away from the sides of the pan and it is then turned out on plastic wrap, then wrapped again with aluminum foil and placed in the freezer until frozen or overnight. The cake stays moist when they are wrapped while warm and placed in the freezer. The cake is much easier to frost while frozen and when doing a crumb coat there is less crumbs to deal with because the cake wont fall apart.
Filling and Crumb Coating:
The following day I made a half recipe of chocolate Swiss meringue butter cream (SMBC) frosting to use as filling and one recipe of vanilla SMBC frosting. I put one layer of frozen cake on a cardboard cut to size wrapped in parchment paper so the cake does not touch the cardboard and spread the chocolate frosting. The second layer was placed on top and the entire cake was crumb coated with the vanilla frosting. The cake was placed in the refrigerator to chill for a few hours until it sets.
Frosting and Decorating:
After the cake was chilled, I frosted the cake with the vanilla frosting. The cake was placed on a larger cardboard covered with decorative food grade grease proof foil. I colored some of the vanilla frosting with yellow paste color to pipe reverse shell borders on the top of the cake, rosettes on the bottom and three dots randomly placed on all sides of the cake. In the center of each rosette I placed a white sugar pearl using a tweezer to dress it up.
Gum Paste Roses:
The roses start off with a rose base which is a small amount of gum paste formed into a teardrop shape and an uncooked spaghetti is inserted in the center and let dry for about a day or so. Roll out the gum paste to about 1/8” thick and using a rose cutter from my cake class kit, cut one rose and cover with cellophane wrap to prevent it from drying out. The petals are then thinned out on the top edge with a ball tool to make it curl resulting in a more realistic look. Gum glue is used to attach the petals to the rose base one at a time. Each rose is made one at time to prevent the gum paste from drying out.
With green gumpaste, a calyx is cut out using a calyx cutter to attach to the bottom of the rose. The completed rose is then dried on a foam block for a few days.
Also with the green gumpaste, leaves are cut out using a leaf cutter and pressed on a impression mat to make veins and they are dried for a few days.


Your comment has been sent successfully.