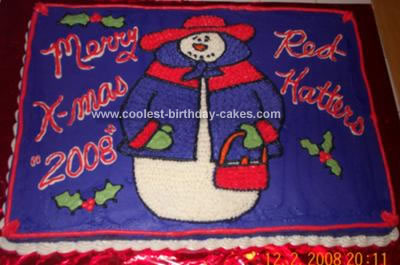
When my Mom asked me to make a Christmas cake for her Red Hat Society party, the first thing I did was look online for ideas. I found a picture of a Red Hat Snow lady on a fabric swatch and fell in love with it. I decided to make the fabric my design on the cake.
She wanted a full size sheet cake, so I baked two 11 x 15 cakes and placed them side by side. Once the cakes cooled I frosted them in purple buttercream icing. I let them get a nice crust on them and then smoothed the surface with wax paper and a fondant smoother. I like to use Viva paper towels for this because the wax paper can stick, but I didn’t have any. Next, I used a metal cake tester to draw the snow lady on the cake. You can use a toothpick for this too. I freehanded the drawing, but you can make a stencil and trace it on.
Then I used tip # 3 to outline the entire design and draw the eyes, nose and mouth with black icing. Next, I used star tips # 16(small areas) and # 21( large areas) to fill in the snow lady with white, red and purple icing. I used tip #3 to fill in the nose, mittens and purse handle.
Once it slightly crusted, I used my finger dipped in cornstarch to smooth the areas. For the message I used tip #5 to write in white, smoothed it when slightly crusted, and then used tip #3 to write over it in red, smoothing again when slightly crusted. I used tip #3 to draw and fill in the holly berries and leaves using the same smoothing process.
To finish the snow lady cake, I used tip #21 for the shell bottom border and tip #5 for the line framing on top with tip #21 shells in the corners. My Mom and her Red Hat Society friends went nuts over the cake!
Related cakes:
 15+ Coolest Graduation Cakes – Awesome Graduation Cake Ideas!
 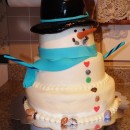 Coolest Snowman Birthday Cake
 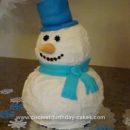 Coolest Snowman Birthday Cake
 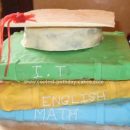 Coolest Graduation Cake 26
 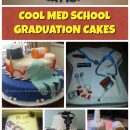 7 Cool Graduation Cake Ideas for Med School Graduates
 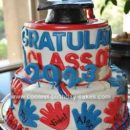 Cool Homemade Red, White and Blue Graduation Cake
 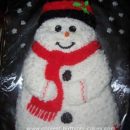 Coolest Snowman Brithday Cake
  Coolest Frosty the Snowman Cake
Your comment has been sent successfully.