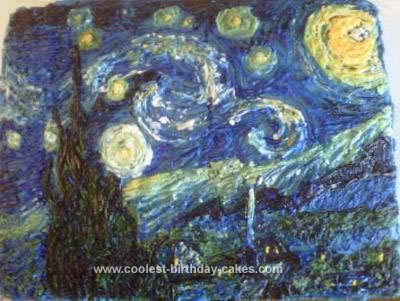
I made this cake for my Grandma’s 70th birthday. I was trying to think of a unique idea for this event and this is what I came up with. It took a lot of time!
It was a two layered cake one white, one chocolate. The middle was a white chocolate truffle raspberry filling. I made the white chocolate truffle from a recipe I found online and then let it cool and whipped it to make it light and fluffy. Then I added a layer of raspberry preserves. Both layer of the cake had already been crumb coated at this point.
I frosted the entire cake a dark sky blue color probably close to a royal blue. I had made a grid over the print out of Starry Night. Then I made a corresponding grid on the cake which really helped me get the correct placement and size of objects in the picture. From there I just piped small dashed lines with buttercream all of the cake (I didn’t even use a tip just cut the end of a disposable pipping bag).
It is important to make sure your “brush strokes” are going in the correct direction that you would see on the picture. I also used a toothpick to smooth out the strokes and blend the colors together. I used about 6 or 7 different colors (white, yellow, pale green, light blue, dark blue, dark green plus the royal blue as the base). This worked pretty well as I could mix some of the colors on the cake to create variations.
Also, make sure you are using the toothpick as you go. If you wait until the end to blend, your frosting will harden and won’t blend very nicely. Also, I had my Dad make a gold picture frame to set around the outside of the Van Gogh’s homemade Starry Night painting cake to cover my cake board. I don’t have a picture with it but it was pretty cool looking in the end!
Related cakes:
 12+ Coolest Disney Princess Cake Ideas – Awesome DIY Cake Decorating!
  12+ Coolest Castle Cake Ideas – Awesome Homemade Castle Cake Designs!
  12+ Pretty Homemade Princess Cakes
  10+ Coolest Princess Cake Ideas
  12+ Inspiring Homemade Princess Birthday Cake Ideas
 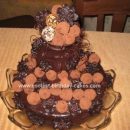 Coolest Truffle Fountain Cake
 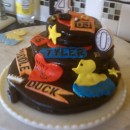 Cool DJ Birthday Cake
 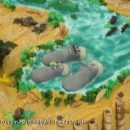 Coolest Safari Birthday Cake Ever
This is my favorite painting. Wonderful job!
You did SUCH a great job on this! I love the way it turned out! Almost too pretty to eat, almost.
you truly love her man..
I love it and your dedication
They have a cupcake version of this in a book my mom bought me a few years ago. Nice!