I made a Tinkerbell dress cake for my daughter Ella’s 4th birthday. She loved it! It was a lot of work but totally worth it. I used the Barbie dress cake idea and just decorated the dress for Tinkerbell and put a Tinkerbell doll inside. I used a bunch of different tips from a bunch of different websites. Here they all are together to make it nice and easy! I had to re size all of the photos for the website so some of them might look a little distorted.
Bake Cakes
To make the Tinkerbell dress cake I used two boxes of white cake mix and made the recipe twice.
Here is the recipe I used.
- 1 package (18.25 ounces) plain white cake mix
- 1 package (3 ounces) strawberry gelatin
- 1 cup finely chopped fresh strawberries with juice (approximately 1 1/2 cups whole berries)
- 3/4 cup milk
- 3/4 cup canola oil
- 4 large eggs
The gelatin in this cake makes for a yummy taste and a cake that is very easy to work with and shape.
This is a dump cake so I just put all the ingredients in a bowl for the first cake and beat on medium for 30 seconds then on high for 2 minutes. I poured the first cake mix into a heavily greased, heat proof glass mixing bowl and baked it on 350 for 1 hour and ten minutes or until a tooth pick comes out clean. Be sure to put your over rack down low so the top doesn’t burn. If the top does get too brown for your liking, just cut it off with a large serrated knife.
I put that cake aside to cool completely before I inverted it out of the bowl. Then I made the recipe again and poured it into two heavily greased, 9 inch round pans. I used the box for baking time for two 9 inch pans and the clean toothpick method. I made three cakes for this so the finished dress cake is tall enough to fit the Barbie sized Tinkerbell doll.
While your cakes are cooking, make two batches of butter cream frosting. Make sure your frosting is a good consistency to frost! Here is the recipe I used.
1 cup unsalted butter
3-4 cups of sifted confectionary sugar
milk or heavy cream (adjust amount to get a nice smooth, spreadable texture)
1/4 t of salt
vanilla to taste
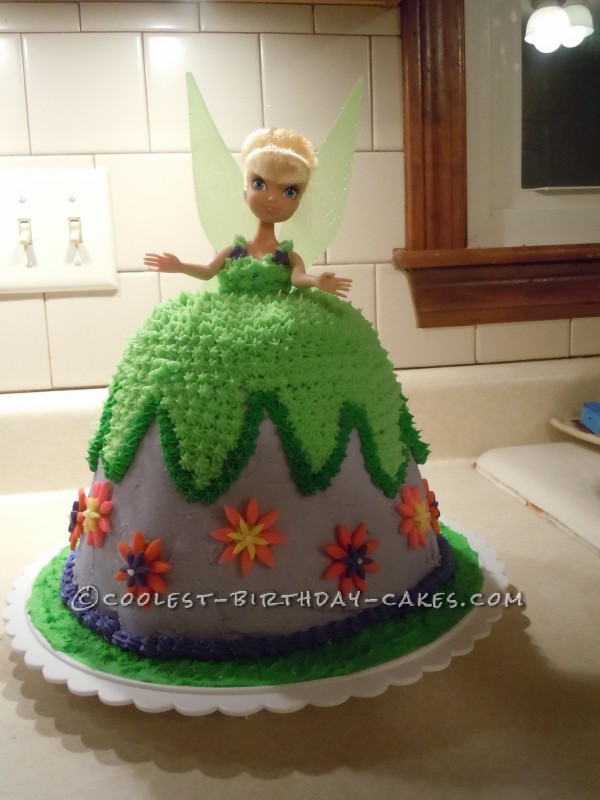
I had to re-size this so the photo looks a little squished but this is the finished cake.
Assemble and shape cakes
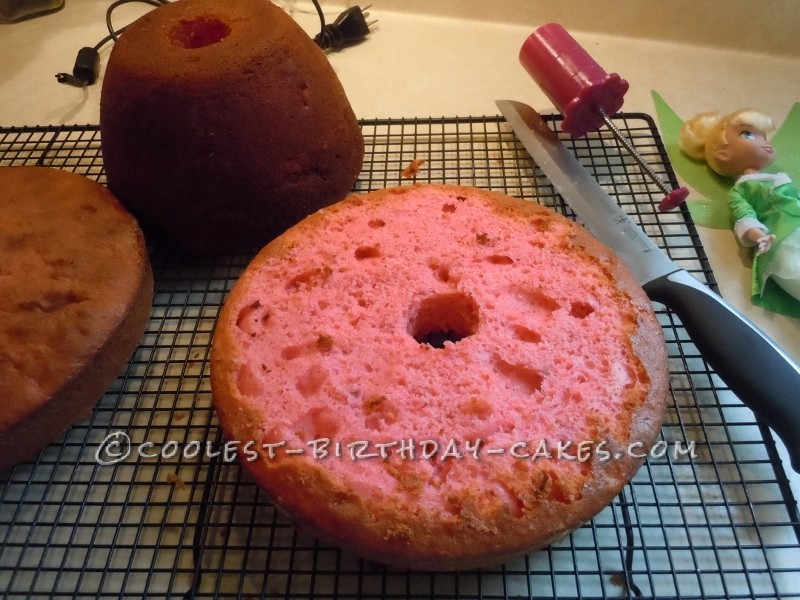
After the three cakes are cool invert them onto a flat surface so you can cut a round hole in them so the doll will fit in. I used tool that is normally used to hollow out cup cakes and a serrated knife. I put the cupcake tool as far as it would go into the top cake(the one baked in the mixing bowl) removed the cake circle and used a knife to cut all the way through the rest of the cake.
Then I leveled out the two 9 inch cakes so there was no dome. Cut a round hole in both of the nine inch cakes using the cupcake plunger in the middle making sure they line up when placed on top of each other. Also, be sure the hole in the top cake lines up with the two round cakes when it is placed in the middle of the 9 inch cake. (see pictures)
A couple of tips, wrap your doll in plastic wrap so she does not get frosting all over her. I used a barbie sized Tinkerbell doll and took off her clothes. I made the top portion of her dress out of frosting. Also, make sure your plastic wrap is tight use tape if necessary. I had a problem with the plastic wrap not being tight enough on the bodice when I went to do the frosting.
Cut the dome off of the 9 inch cakes
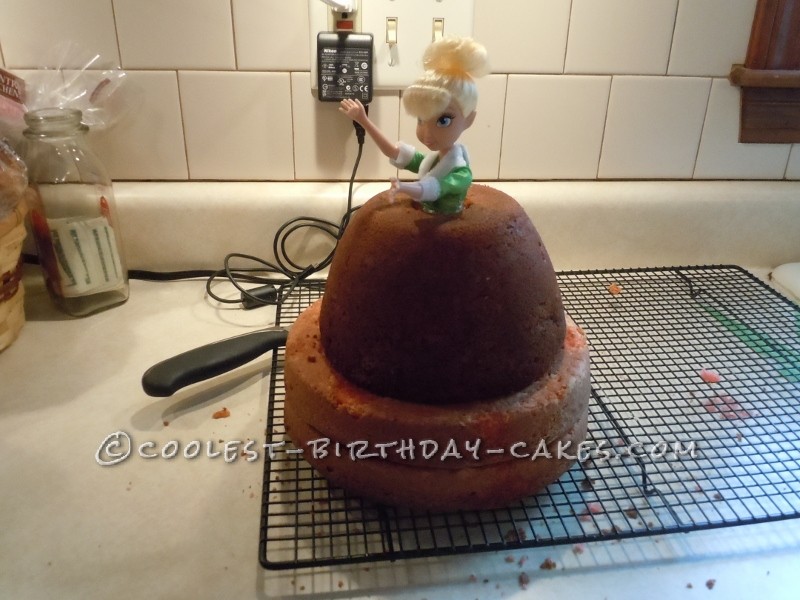
Assemble cakes and try the doll to be sure it is the right height.
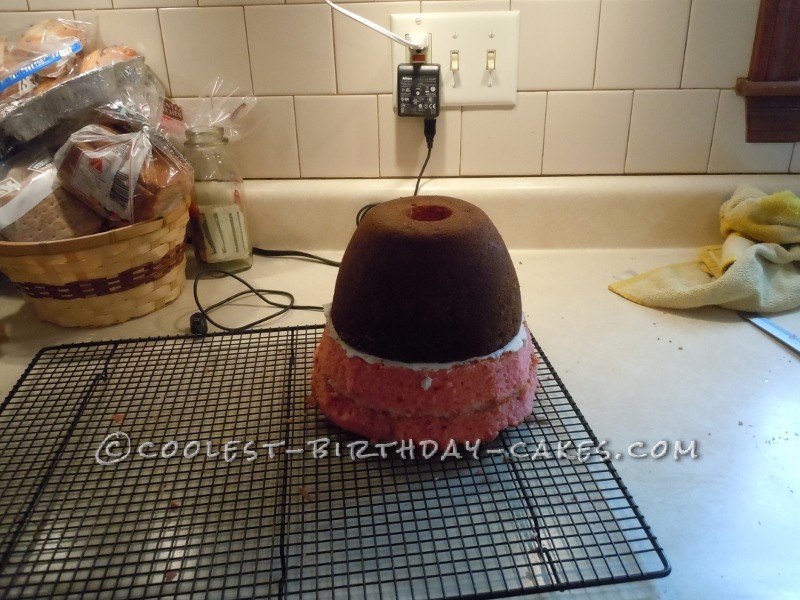
Frost in between all of the cakes and shape
Next, you take the doll out and separate all of the cakes. Make sure you put this on a plate or surface that is going to fit in your freezer!! If your pedestal or cake round will fit in your freezer with the cake on top, prepare it now with frosting if needed and place your cake on it. Put an even layer of frosting between the two nine inch cakes. Use an offset spatula of you have one for the frosting. Then place the round top cake on top of the two 9 inch with an even layer of frosting in between.
Next, use a serrated bread knife to shave off the sides of the 9 inch cakes to create the dress shape. Put a crumb layer of frosting tinted to the color you will be using. Place the cake in the freezer for approx 45 minutes or overnight you prefer to do the cake over two days. Chilling the cake and crumb layer of frosting makes the decorating much easier!!
Shape the 9 in cakes into dress shape.
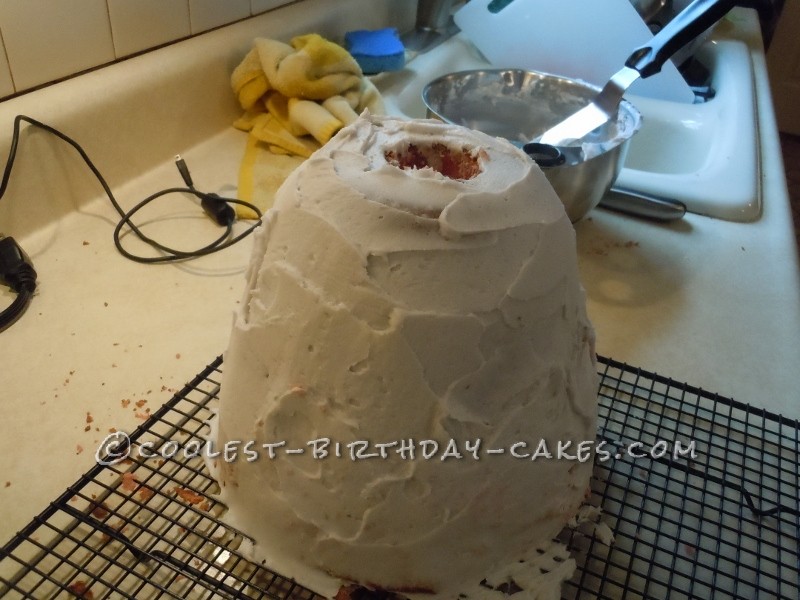
Crumb coat of frosting then in the freezer.
While you wait for the cake to chill a bit, make your decorations and tint your frosting.
While waiting for the cake to chill in the freezer make your decorations and tint your frosting to the colors you will need for decorating. I used Wilton Rolled fondant for my flowers. This can be purchased online or at any craft store. You can also get frosting tints or a cake decorating kit at the craft store.
If you haven’t already done so and are planning to put the cake on a pedestal or a cake round, you can decorate it to your liking now. I tinted some frosting dark green and put a thin smooth coating on my cake round then used the offset spatula to go over it and “tap” the frosting to give it a grassy look.
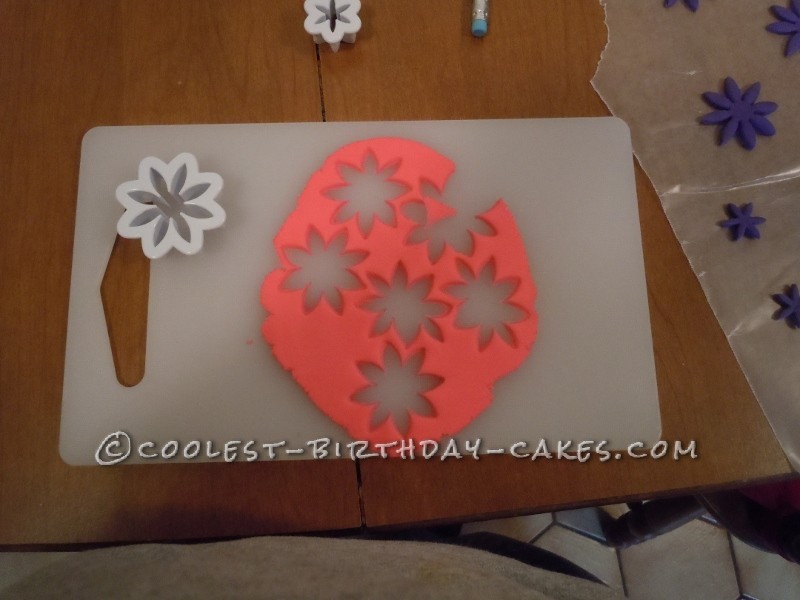
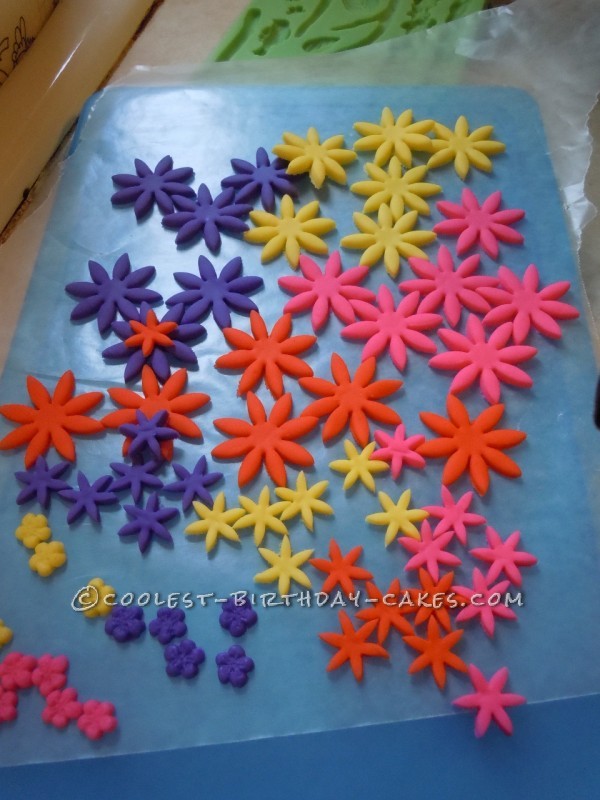
Fondant flowers
Frost and decorate
After about 45 minutes in the freezer, the crumb coat of frosting should be pretty solid so it is easy to work with. Use two spatulas (the kind you flip hamburgers with) to move the cake to your pedestal or cake round if you didn’t already do so. It should be fairly solid and easy to move but you may want to have another person to help you.
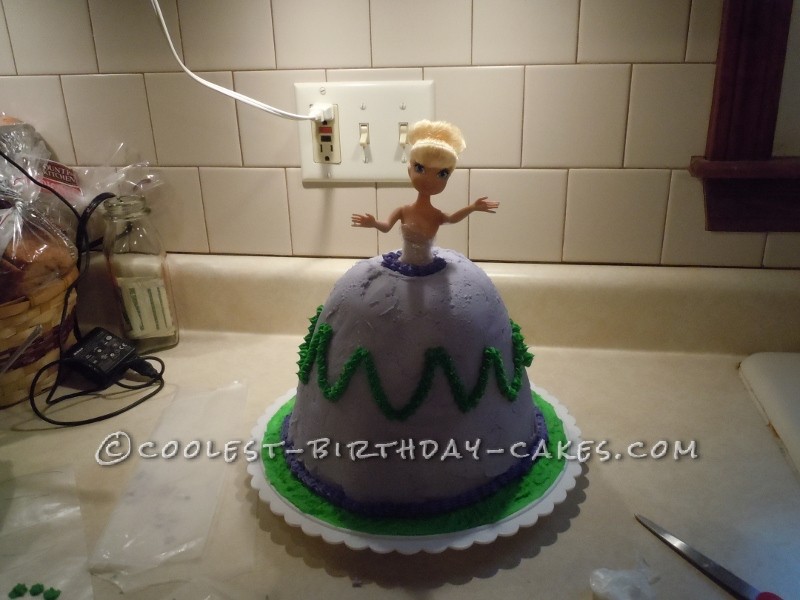
Now add the top layer of frosting with an offset spatula. Start at the top with a very large dollop and work your way down. When you finish your top layer of frosting smooth it out. To smooth out the frosting, take a piece of paper and hold it taunt against the bottom of the cake, slowly slide the paper up the side of the cake bottom to top. Do this on all sides and now you have smooth frosting all around.
Now you can decorate the cake to your liking and insert the doll. I put my fondant flowers together with frosting and applied with frosting. I added the little white frosting dot to the top of the flowers to finish the flowers.
Be creative, have fun and good luck!!!
Decorating using star tip

Decorating
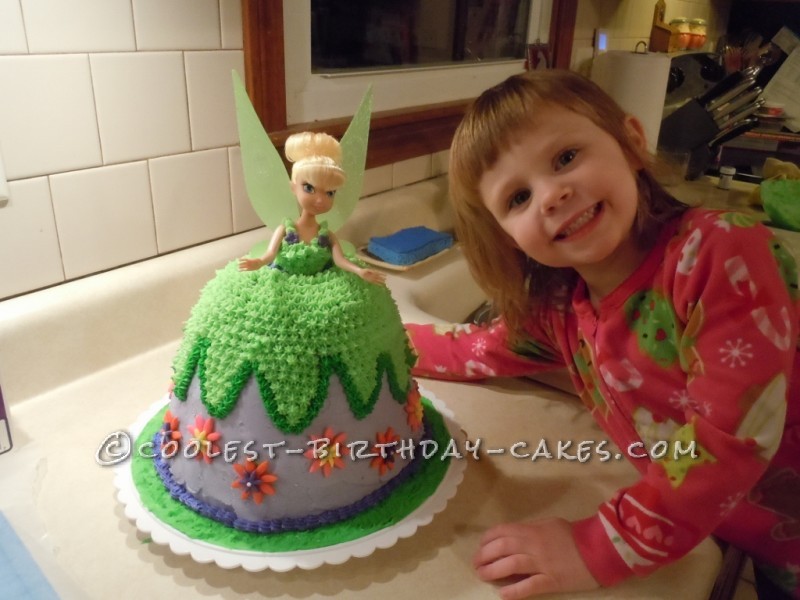
Ella loved the cake!!!!
Related cakes:
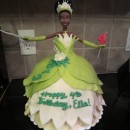 Coolest Ice Cream Tiana Doll 4th Birthday Cake
  12+ Coolest Frozen Birthday Cake Ideas for the Ultimate Frozen Theme Party
  Coolest Tinkerbell and Fairies Cake for a First Birthday
  12+ Coolest Peppa Pig Cake Ideas
 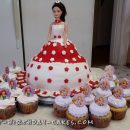 Classic Homemade Victorian Doll Cake
 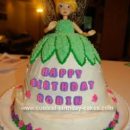 Coolest Tinkerbell Birthday Cake
  Coolest One Eyed Minion Cake
  12+ Coolest Minnie Mouse Cake Ideas
Your comment has been sent successfully.