I make my own cakes, buttercream, cream cheese frosting and marshmallow fondant. It reassures me when I take it to a birthday party I can hand-on-heart tell a parent exactly what is in the cake.
All the following measurements are in Australian metric measurements, and Australian products are mentioned. I use Wilton colouring pastes for colouring icing.
I have two basic recipes, one for a buttercake and one for a chocolate cake. Both are slightly denser than a normal cake so they hold the weight of the frosting/fondant better.
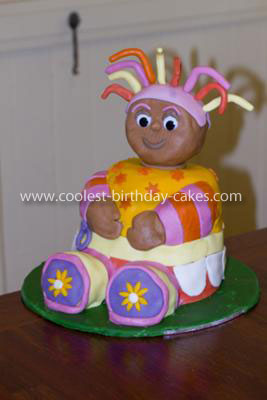
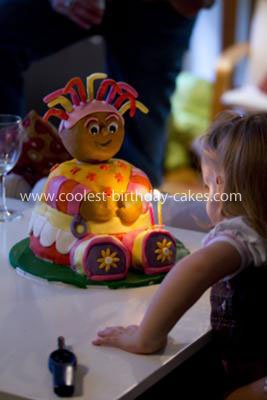
For this Upsy Daisy 3D birthday cake I made the following:
1 20cm round butter cake
1 20cm chocolate cake
1 pudding basin shaped butter cake
1 quantity of butter cream frosting using copha and butter
2 quantities of Marshmallow fondant. I use Pascall marshmallows, which come in mixed packets of raspberry and vanilla. For two quantities I use two packets, and use all the raspberry ones for one fondant, and all the vanilla for the other. The raspberry fondant is used for the pink, brown, orange and purple colours. The vanilla is used for the white, bright yellow and lemon colours. Have on hand vegetable shortening and icing sugar when working the fondant.
Handy tools to have on hand:
Pastry mat to roll fondant out on
Non-stick rolling pin (I use a silicone one)
Serrated knife for cake carving (I use a steak knife and a bread knife)
Some molding tools
The head is made from a polystyrene ball carved down to a head shape. The cakes were wrapped in cling wrap and frozen overnight. This makes it easier to do intricate carving without the cake crumbling.
I sandwiched the cakes together in the following order:
Bottom butter cake round cake
Middle Chocolate round cake
Top basin butter cake (I only used the top 10cm, the smaller end)
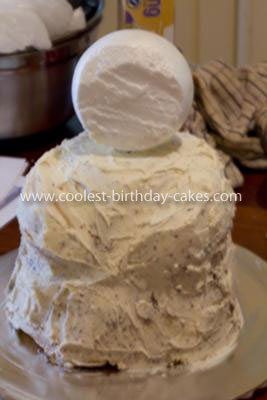
The cakes were sandwiched together with cream cheese frosting flavored with vanilla and raspberry essences. For support I placed 1 dowel down through the center of the cake. It poked up about 7cm above the top of the cake so the polystyrene head could be attached. I then carved the basic body shape. Keep the offcuts to mold the arms and feet attaching them with remaining cream cheese frosting.
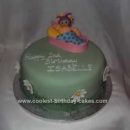
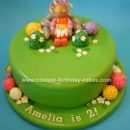
Coat the entire carved cake with a thin coating of butter cream and leave it to crust over. This will help fondant attach better and not slide off. Prepare a board with some bright green fondant, I just used ready made fondant for this, as it wouldn’t be eaten, and it was quicker. Move the coated cake to the fondant board to continue decorating.
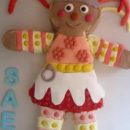
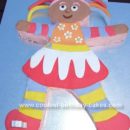
Split up the fondant portions and color each batch. I used a picture of an Upsy Daisy toy to determine the patterns and amounts of each color required.
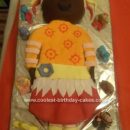
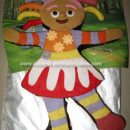
It is then a matter of rolling out the fondant and laying it out on the cake. Treat it like you are dressing a doll, and plan the layers in the right order i.e. lay down the dress fondant before the arms that lie over top.
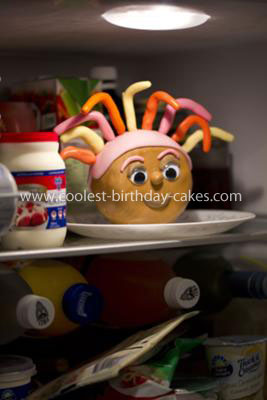
For the head, lightly coat with butter cream, and cover this with brown fondant for the skin, and pink for the hair. For the “sticky up hair” (I don’t know what else to call it!), insert toothpicks into the head and mold fondant on each one. The eyes were bought from a craft store. I stored the head in the fridge to make the fondant as hard as possible, since none of this would be eaten.
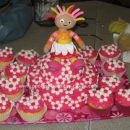
Decorate with daisies (I used a Wilton fondant cutout). If I had more time, I would have added more flowers, and maybe some bees on wire, buzzing around the flowers. The cake wasn’t as polished as I would have liked as I ran out of time, but thankfully two-year-olds don’t look that close! The board got a bit damaged and I also didn’t have time to tidy that up,…cest la vie! Sites like coolest-birthday-cakes.com are a wealth of information, and I do a ton of research, so I know I can learn from what other people have tried. This is only the third carved cake I have ever made, and the first all-fondant one, so I’m really happy with it.
Your comment has been sent successfully.