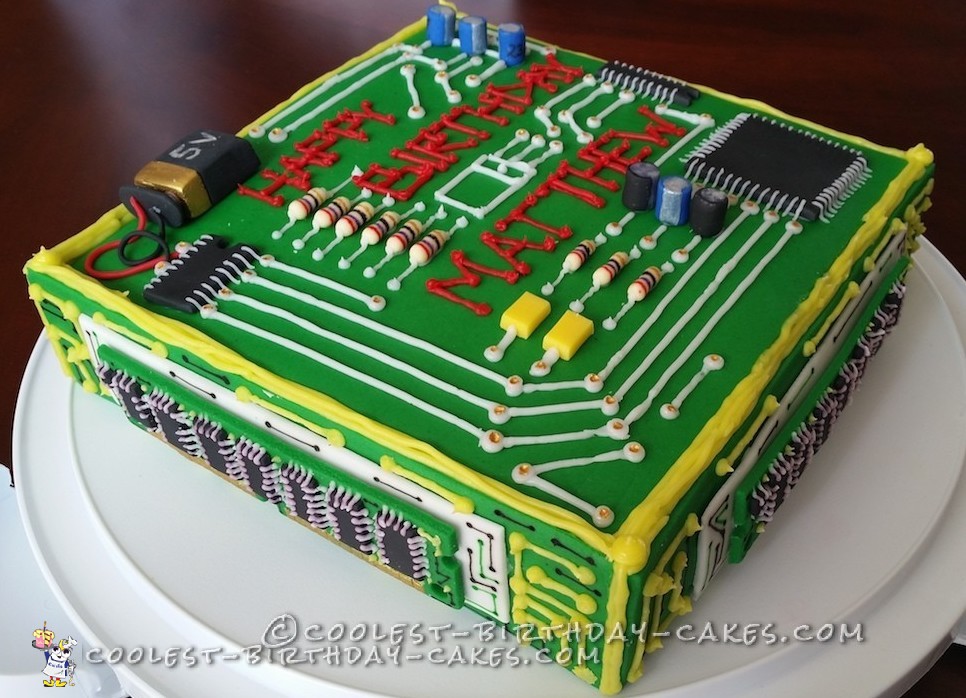
I made this computer birthday cake for my boyfriend. He and I are both computer engineers. He loves nerdy things, so I decided I’d make a surprise birthday cake for his 27th birthday (this past May). The thing is, I don’t typically cook or bake so it was pretty nerve wracking to plan, design, and make the cake. Apparently I also thought it would be a GREAT idea to wing my way around working with fondant for the very first time for this project too. Honestly though, I was clueless and did not know what to expect… at all. I relied on Google and forums for info on how to store and handle fondant, but truth be told I did not know what was going to happen until it came time to work on it.
Computer Birthday Cake Instructions
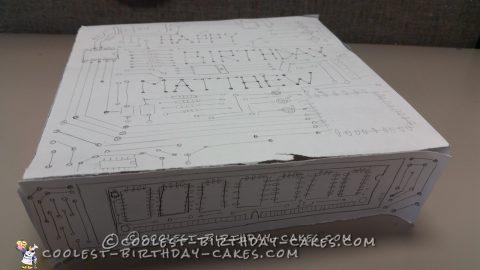
I first made a paper prototype of the cake and drew a layout of the cake design. I pieced the paper parts together to make a 3D paper cake and so far things looked good.
Two weeks prior to his birthday celebration I started working on the fondant parts of the cake. We had to celebrate his birthday a week early because he goes home (about 3 hours away from where I live) to celebrate with his family every year). I wanted to make the cake special and have some meaning to it so I made sure the circuit board component parts for the cake symbolized various things about his birthday.
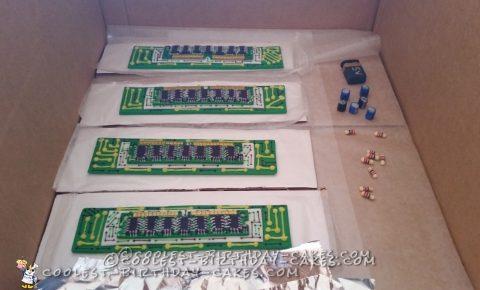
- I made all of the cake parts out of fondant.
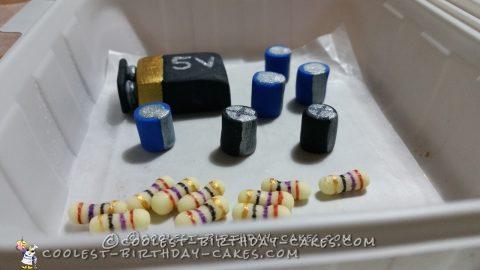
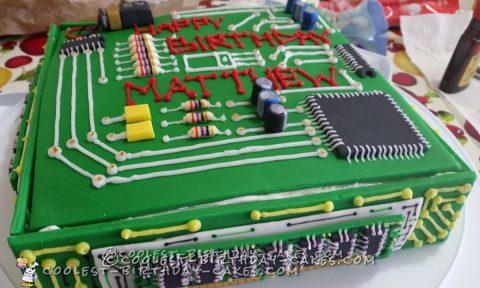
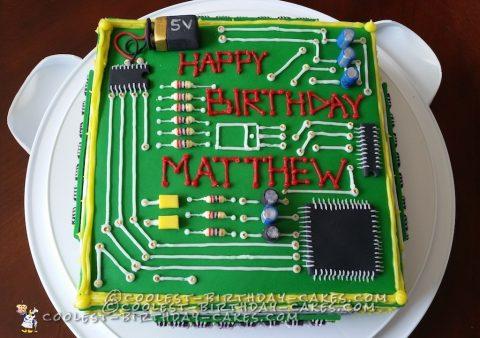
- The power source was crafted to look like a 9V battery, but instead of 9V (real life standard) I made it 5V with the 5 symbolizing his birth month, May (5).
- I made the capacitors 23 μF to symbolize the day of his birth (23rd of May).
- The resistors were 27 Ohms to represent his age (27).
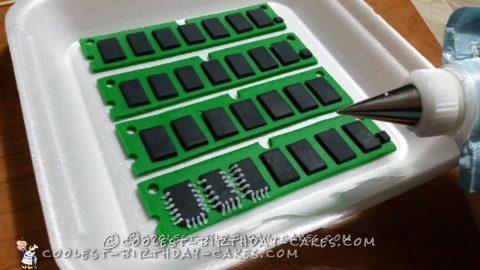
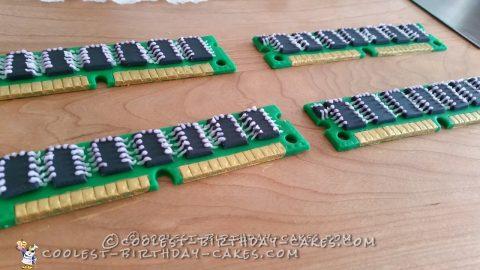
- Then, I made fondant RAM sticks to stick on the side of his cake.
- I painted every single detail on the circuit board cake by hand and I even “soldered” the IC chips all one by one.
It took about a week and a half to make all of the circuit board parts and because I work full time and have other extra curricular activities during the week, I only had a few hours on some evenings in the week to work on it.
Next came how to properly store the fondant without making it smell like my fridge or exposing it to too much sunlight so that it would fade my fondant parts. I stored the parts in Ziploc bags and cut out homemade containers to store the fondant in a way that it wouldn’t get crushed or damaged, but could remain sealed.
*** I read somewhere that to properly store fondant you need to refrigerate it. So, I totally did that and later read that you should avoid storing it in a fridge because it will sweat once you take it out and smear all of your food colored decorations. I found this out a week after storing the parts in the fridge (during a break at work). I had a panic attack and called my mom ten million times to try and see if she could help take those fondant pieces out of the fridge for me, but I figured at that point it would have probably been too late anyway. Mom was busy chatting with her friend on the phone for hours so I never did get a hold of her. I eventually had to calm down and wait till I was off work to bolt home and check on the fondant pieces. Thankfully when I got home they were still OK. I removed them from the fridge and had to take them out of the sealed Ziploc bags if I wanted them to harden.
At that point I only had a few days remaining till my boyfriend’s birthday celebration and I was petrified that the parts would not harden in time to stand on their own. I didn’t know I had to let them air dry to harden (like I mentioned, I was a newbie so I didn’t know). Thank the Lord, though; by the time it came to putting everything together, the parts were hard enough to stand on their own. I also made cardboard templates of the fondant sheets that I would cover the cake in and bonded some of the fondant parts ( like the fondant RAM sticks) ahead of time so that they weren’t gooey and falling out the day of full assembly.
When there was only one day till his birthday celebration, I took off two days of work (including the day of the celebration) to ensure that everything went smoothly.
I bought two boxes of cake mix and two jars of cake frosting just in case I messed up the first batch, LOL. You always got to have backup right? ;) I baked the cake the day before I iced it so it would have time to harden in the fridge as the internet told me. It was my first time baking a cake that thick (about 1.5-2 inches) and that big (8×8 inches).
I read the instructions that came with the pan and then read the instructions that came with the cake mix. None of them matched up. EEK! So once again, I just winged it and poured the batter 2/3 of the way into the pan (instead of the full 6 cups of batter like the instructions suggested). Thank goodness I didn’t follow the instructions. Otherwise, the cake would have overflowed.
Next came baking time. It was 8 minutes prior to the cake supposedly being done (according to the instructions) and I opened up the oven and stuck in a toothpick just to check. I accidentally bumped into the cake (had oven mitts on thank goodness) and noticed the CAKE WAS STILL JIGGLY! I instantly thought, “NOOOOoooooo! The outside is going to BURN before it finishes cooking the inside! Then I started playing with the oven temperature (bad idea btw) and started increasing it and decreasing it every few minutes while not seeing much of a change. I was pretty freaked out by then and decided to just return it to it’s original temperature and leave it as is was before I completely ruined it. After letting it bake for an additional 15 minutes (past the suggested time), it seemed to have cooked full in the center and the outside was only mildly golden brownish.
I honestly don’t know how it managed to turn out OK without me having to shave off any burnt outside crusts, but it did and I am ever so grateful.
Finally the day of the birthday celebration arrived. I was so nervous that I couldn’t sleep the night before because I was too busy planning out what I needed to do upon waking up to ensure I had enough time to pad in “screw up start over” time (I don’t think at that point it would have been enough time anyway, but nervous me didn’t know better). I woke up around 7 am and got straight to work. The moment I had spent so many weeks planning for had finally come and it was either going to be a great success or an epic failure. No pressure. NOPE.
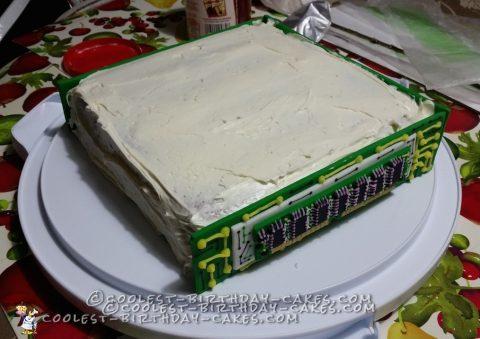
I iced the cake and put the cake parts together. One by one things slo-o-o-ow-ly came together. Apparently I did a poor job of icing the cake though because the fondant wasn’t yet hard enough to sit flat on the cake without some support. A few spots on the fondant sheet lost elevation, LOL, but it’s okay because I used the fondant battery to cover up that slight concave!
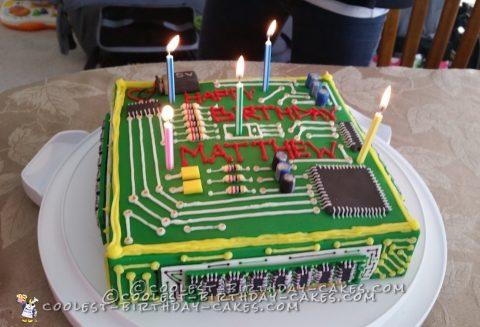
And then I was DONE! I was SO RELIEVED! My mom was babysitting some kids that day for her friends so I was paranoid about leaving the cake out unattended (would have probably bawled my eyes out if all my hard work were to be destroyed by the hands of a little 3 yr old). So, yes. I sat there for a few hours monitoring the cake, only getting up twice to use the bathroom until my boyfriend came over for the birthday celebration and gift opening. LOL. Boy was I glad to be done. Whew! It was a crazy, epic, and fun roller-coaster-of-emotions project.
Needless to say, I am proud of my hard work. For my very first fondant cake attempt to not look like a complete disaster is quite a blessing in and of itself. Thank you for letting me share my story.
Related cakes:
 15+ Cool DIY Monkey Cake Designs for the Birthday Cake Enthusiast
  Tom’s Titanic 8th Birthday Cake
  5 Dinosaur Cake Ideas of Jurassic Proportions
  Coolest Canon Camera Cake
 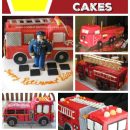 22 Fire Engine Birthday Cake Designs
 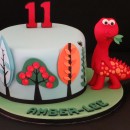 Awesome Funky Dinosaur Tree Birthday Cake
 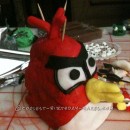 Cool Angry Birds Cake for My Great Grandson on his 6th Birthday
 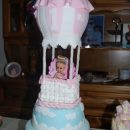 Sweet Hot Air Balloon Cake for Baby’s 1st Birthday
You did an awesome job! I love the play by play account of you creating this cake for Matt… Putting this in writing and sharing was fabulous! Very special. :)
Thank you so much! I greatly appreciate the kind words. :)
Thank you so much! I greatly appreciate the kind words. :)