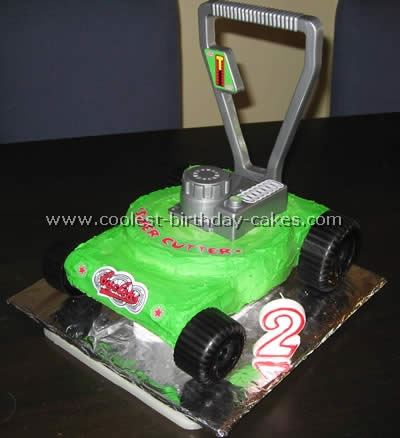
After making my son a train cake for his first birthday which he loved I wanted to come up with something that was really different and that he could relate to as soon as he saw it. He loved his toy lawn mower so I thought I’d give it a go making the same mower in the form of a cake. I did some searching in garden cakes but this was my own idea. I purchased another mower from Toys-R-Us for $4.99 and took it apart, the only thing I had to adjust was the handle because it was too long and heavy for the cake – I simply cut it to make it shorter.
I then took off the stickers carefully not to rip them and stuck them on foil so that they could be stuck onto the cake later. the foil stopped them being damaged from the oil in the butter icing. Then I took the body of the mower and measured it and basically traced it onto paper. Selected a baking tin the fit my pattern (square tin worked well) and used a round one for the top of the mower. I then froze the cakes so they were easier to cut/sculpt into shape.
I used a bread knife to cut and shave the cake as it stopped it from crumbling or breaking off. I assembled the cake the night before, placing it on a board covered with foil and then placed that on a smaller dish to elevate it so I could put the wheels on once it was iced. It was stuck together with vanilla icing. Then I covered it with green butter icing. Then I simply put all the lawn mower parts on including the stickers. The only thing I held off on until the morning was the handle because I wasn’t sure if it would stay upright. It was fine but I just didn’t want to risk it!
It took a couple of hours to cut and assemble (maybe because I was going from my own pattern and I’d only ever made one cake like this before) and about the same time to ice and put all the bits on it. This cake was easy to do and a real hit – one year on and my son still asks me to make him the lawn mower cake!
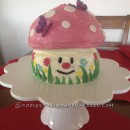
Good luck with your own cool garden cakes!