
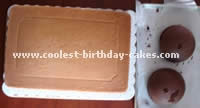
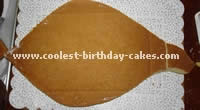
For my daughter’s fourth birthday she wanted a ladybug cake. To make this cake I used a Wilton 12″ x 18” sheet pan and the Wilton sports ball cake pan. Three boxes of yellow cake mix for the sheet cake and one box of chocolate cake mix for the sports ball pans. After the cakes were baked I drew on the sheet cake with confectioners’ sugar to visualize the leaf shape.
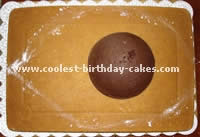
After I cut out the leaf shape I used a leftover piece to form the stem of the leaf. I also reserved a piece of the sheet cake for the head of the ladybug (when using black Wilton frosting coloring it is recommended that you start with a chocolate frosting for the base, not white) . I then frosted the three pieces and placed the ladybug on the leaf. After the bug was in place I used a Wilton star tip to finish the bug with red and black frosting.
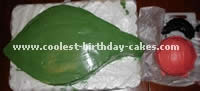
You may be wondering why the leaf looks wet. My daughter’s birthday is in August and it was about 85 degrees the night I was frosting the cake. needless to say I was panicked at the sight of her cake melting but the refrigerator saved the cake. After spending the night in there it was beautiful the next morning. I finished this cake with two chocolate Twizzlers for the antenna and white frosting for the eyes and smile.
Keep in mind that this ladybug cake is a tall cake so make sure you have the space in your fridge if you plan on storing it there. Enjoy making this cake; I had a lot of fun creating it. (Not so much when I thought it was going to melt away). It was a huge hit with the kids and the adults.
More Lady Bug Cake Ideas
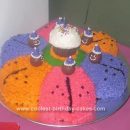
Lady Bug Cake by Ann H., Ashland, NE
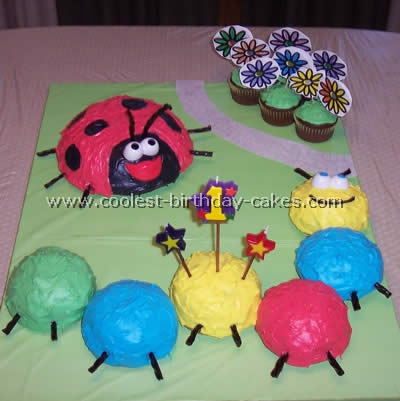
I used bits and pieces of many ideas I found on the internet to come up with the caterpillar and lady bug portions of the cake. The ladybug cake shape was baked in a stoneware mixing bowl. Each section of the caterpillar’s body was baked in a small oven safe pinch bowl. The eyes are Mr. Potato Head pieces as well as the ladybug’s lips. Black licorice was used for the antennas and legs. I used cupcakes frosted with green colored frosting for the flower garden and had my older son color the paper cut-out flowers to stick on top with toothpicks.
I covered the cake board with a green plastic table cover to look like green grass and cut out the stone pathway out of gray marble scrap booking paper. I used two cake mixes and about three containers of white frosting colored with food coloring to have enough for all the different colors used.
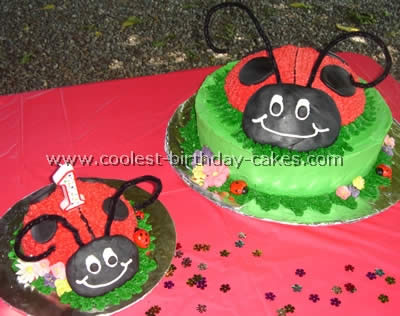
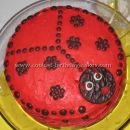
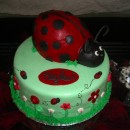
Cake by Gemma M., Sydney, Australia
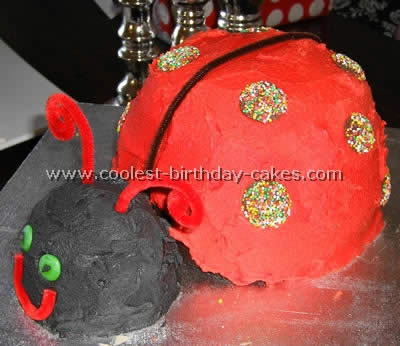
For the body of the lady bug cake I used a pudding basin and for the head a small pudding basin. The hardest part was getting the colour as I used butter icing which made the red a bit orange, and it took a lot of black coloring to get the black black!
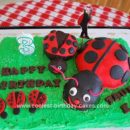
Lady Bug Cake by Sue O., Mount Juliet TN
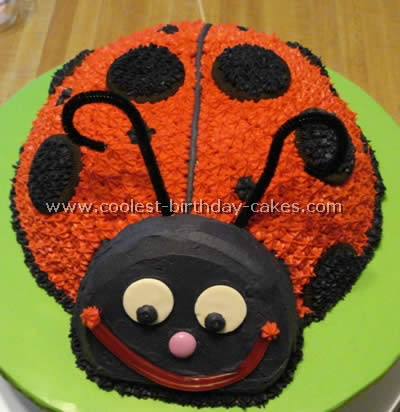
I made this Ladybug cake for a friend’s daughter’s birthday. I used the Wilton soccer ball pan for the bug’s body. I used a small metal mixing bowl to bake the head. I iced both sections with tinted buttercream icing and for the black spots I attached Oreo halves and covered them with black tinted buttercream “stars”.
The eyes are white candy disks with a black M&M attached. The nose is a pink M&M. Her smile is a red licorice whip and a black pipe cleaner served as the antennae. I inserted small dowels to secure the head to the body and covered the holes with icing.
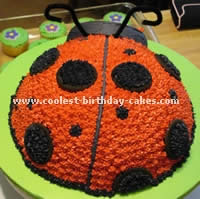
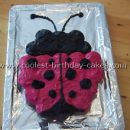
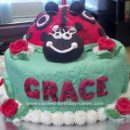
Cake by Stacey H., Boylston MA

This ladybug cake I made for my niece’s second birthday. The base is a one-layer chocolate/buttercream cake with pullout (tip 233), green grass for the border, white royal icing flowers and buttercream leaves in the four corners. I also put little buttercream ladybugs around the sides of the square with little black dots to show movement between them.
The ladybug was made using the Wilton ladybug pan with the following directions…
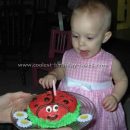
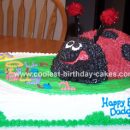
I made this Lady Bug cake for my daughter’s first birthday. I made the base from two 12″ rounds and then baked the ladybugs in Pyrex bowls. The frosting is buttercream that I colored. The faces and the circles are fondant that I colored black and the antenna is pipe cleaners. I had made the flowers out of royal icing. It was a great cake and extremely fun to make! My daughter loved it as well as the guests!
Your comment has been sent successfully.