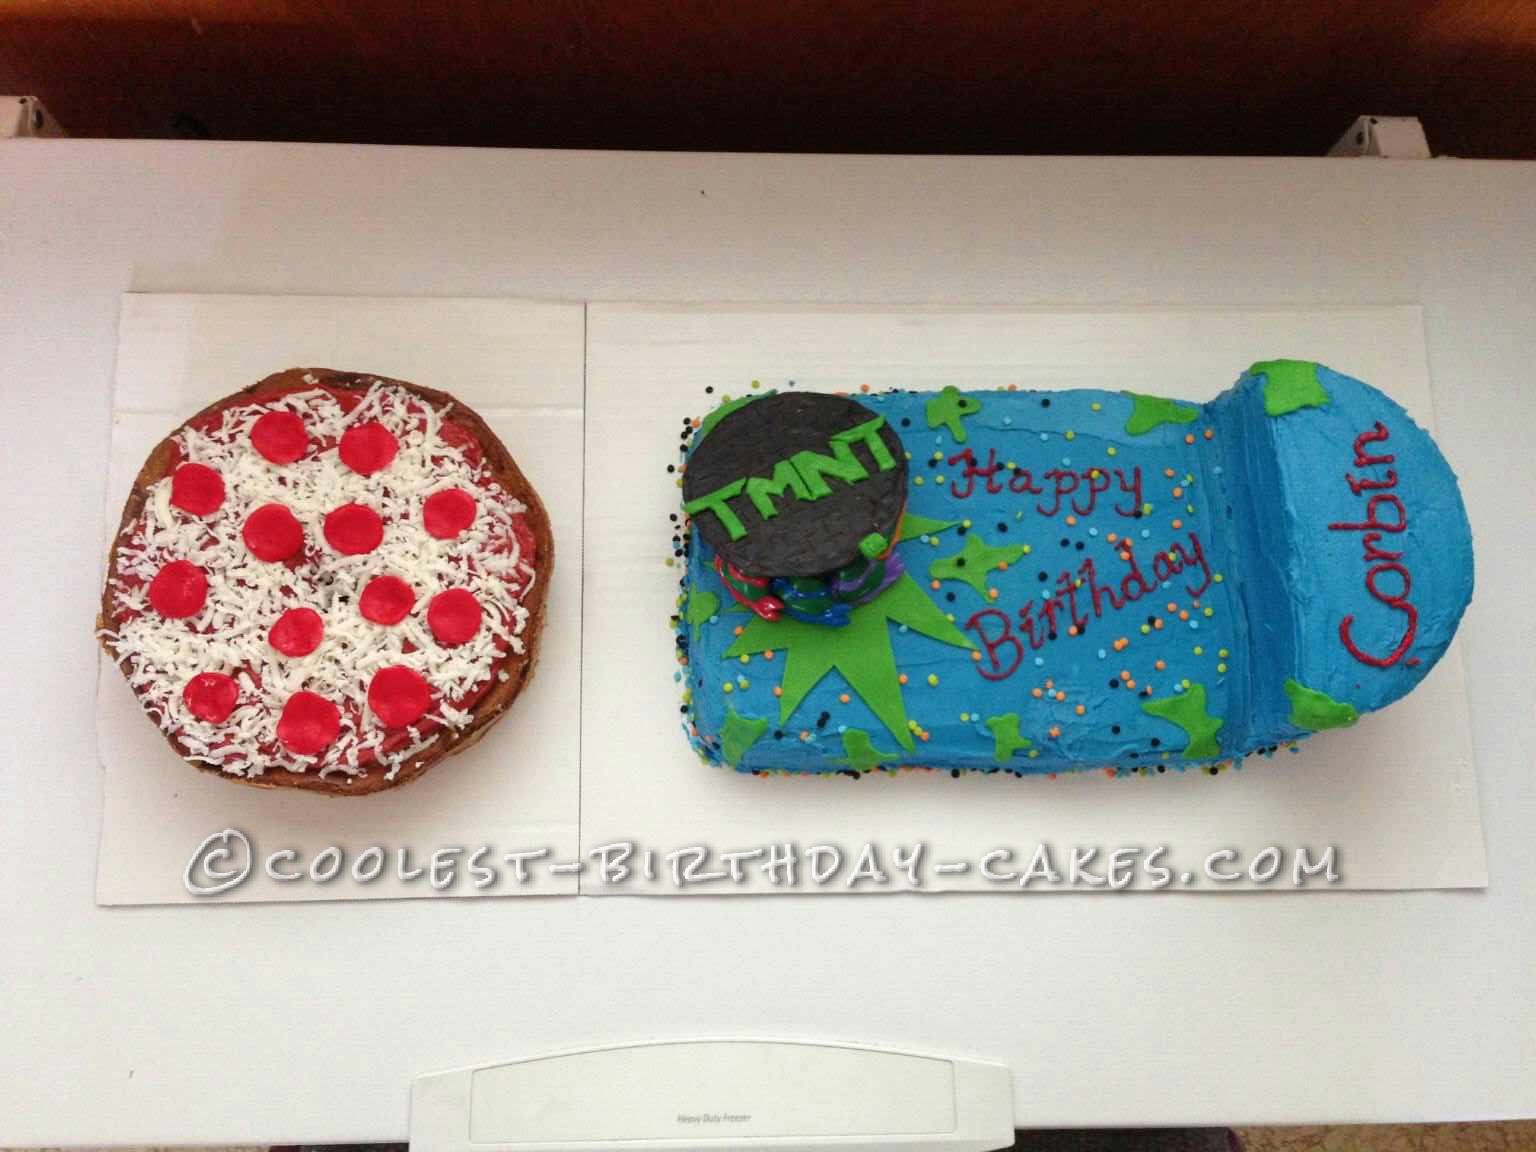
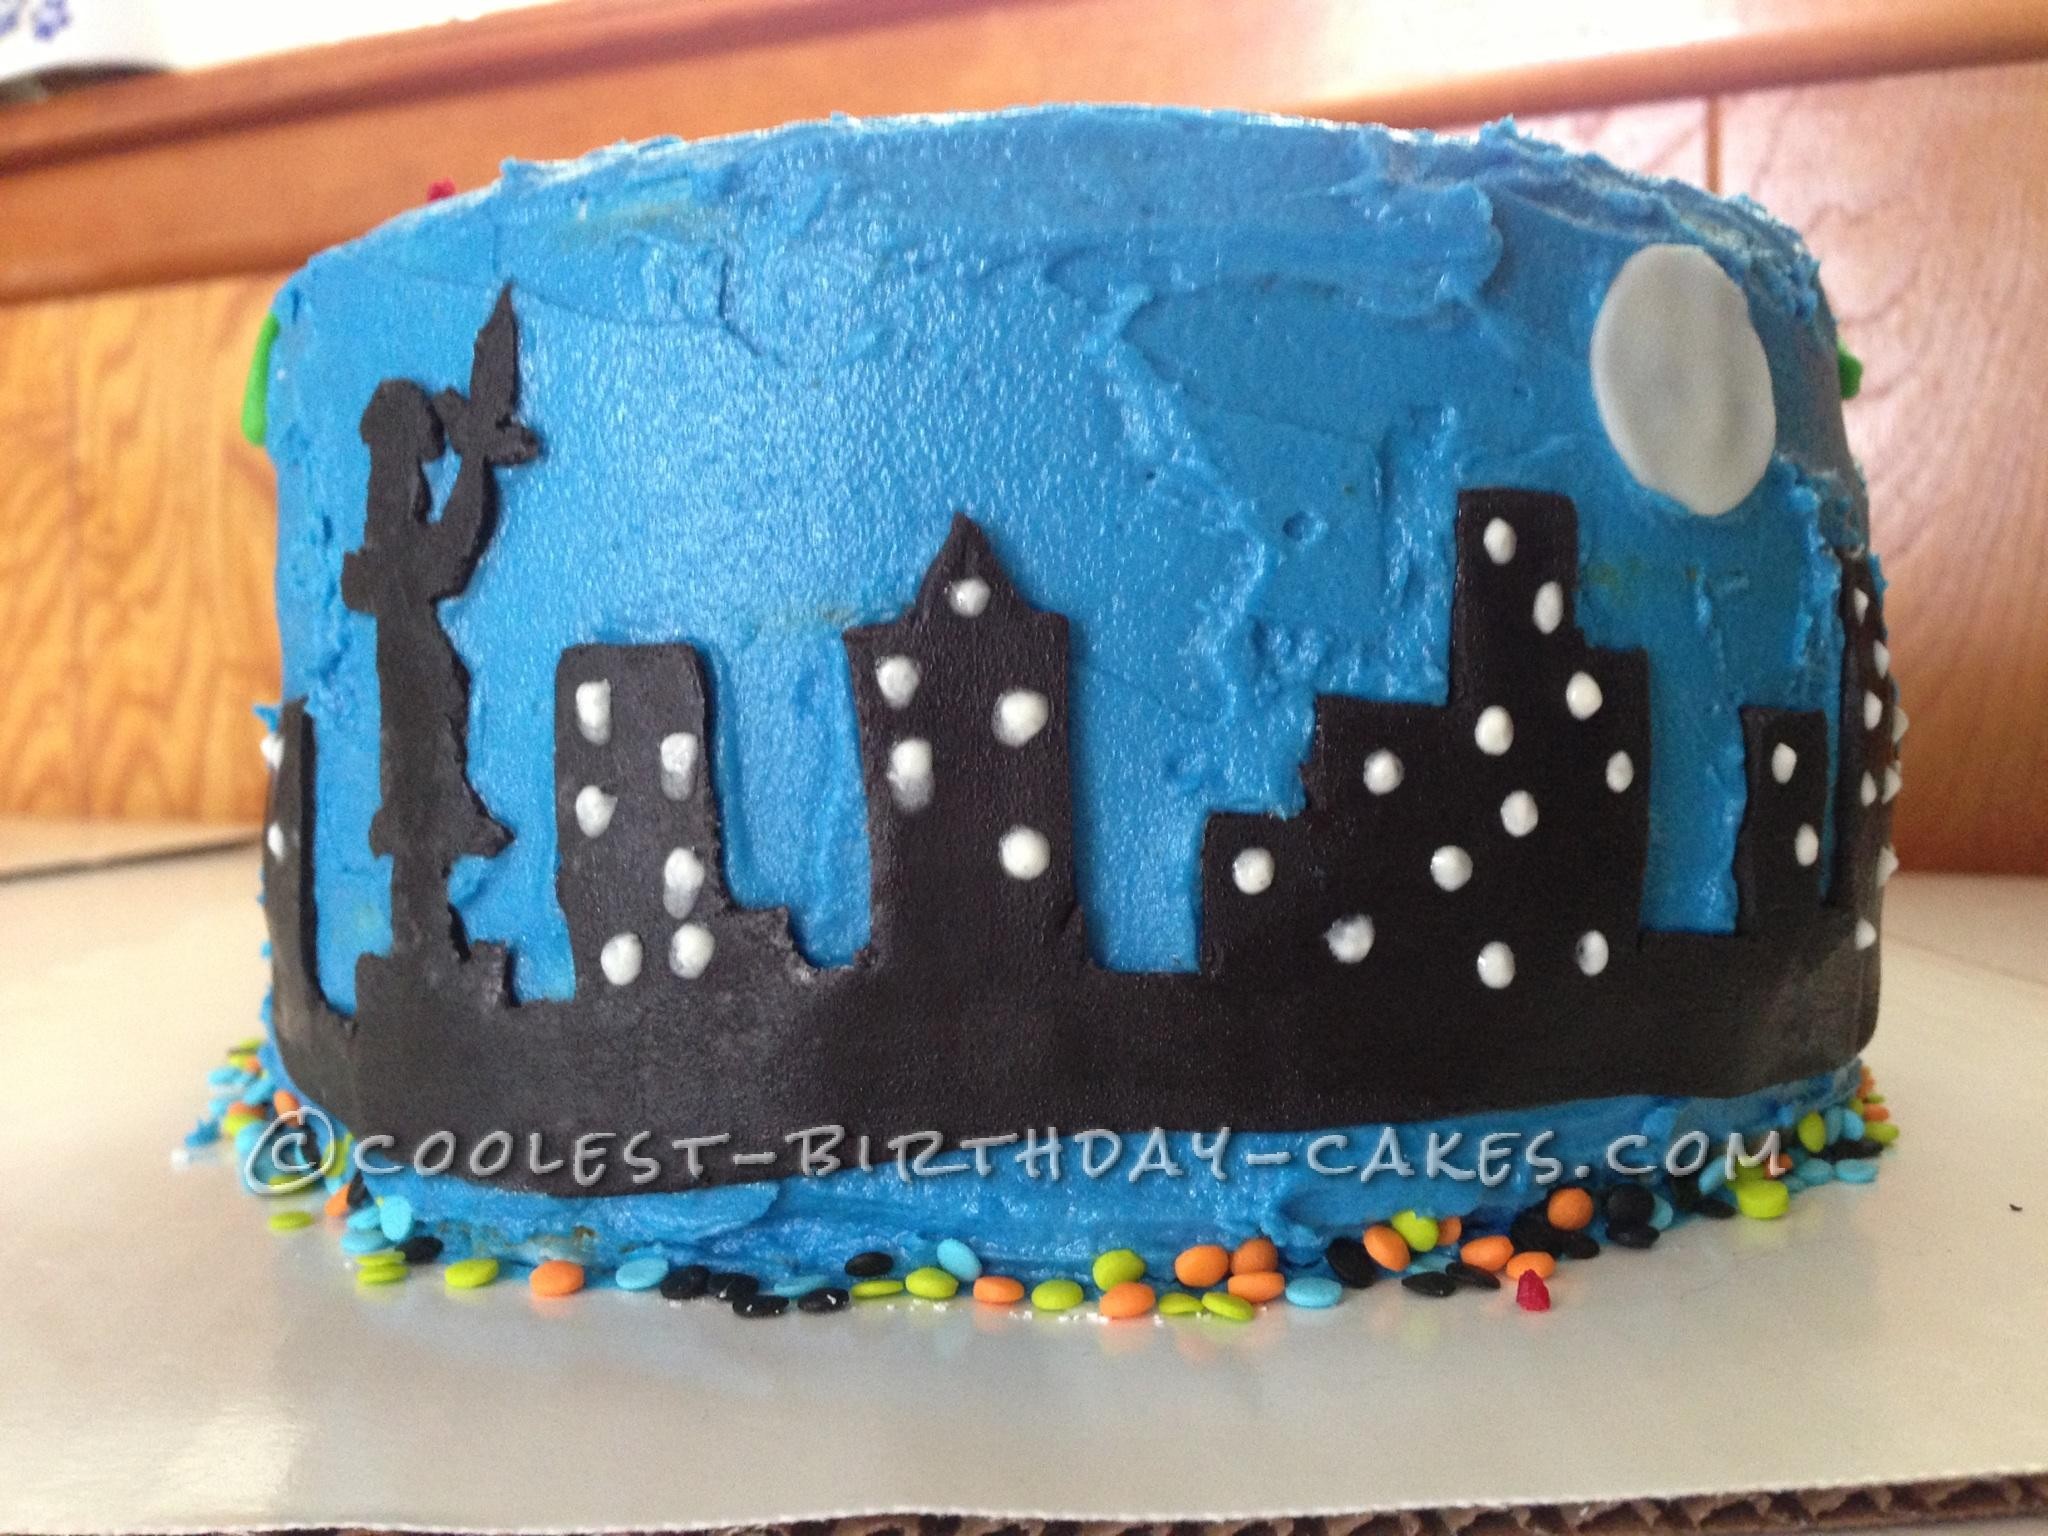
This is a buttercream frosting and fondant cake. Fugde Marble cake. It’s a 9×13″ with two 8″ round cakes cut in half and stacked to make the city on the side.
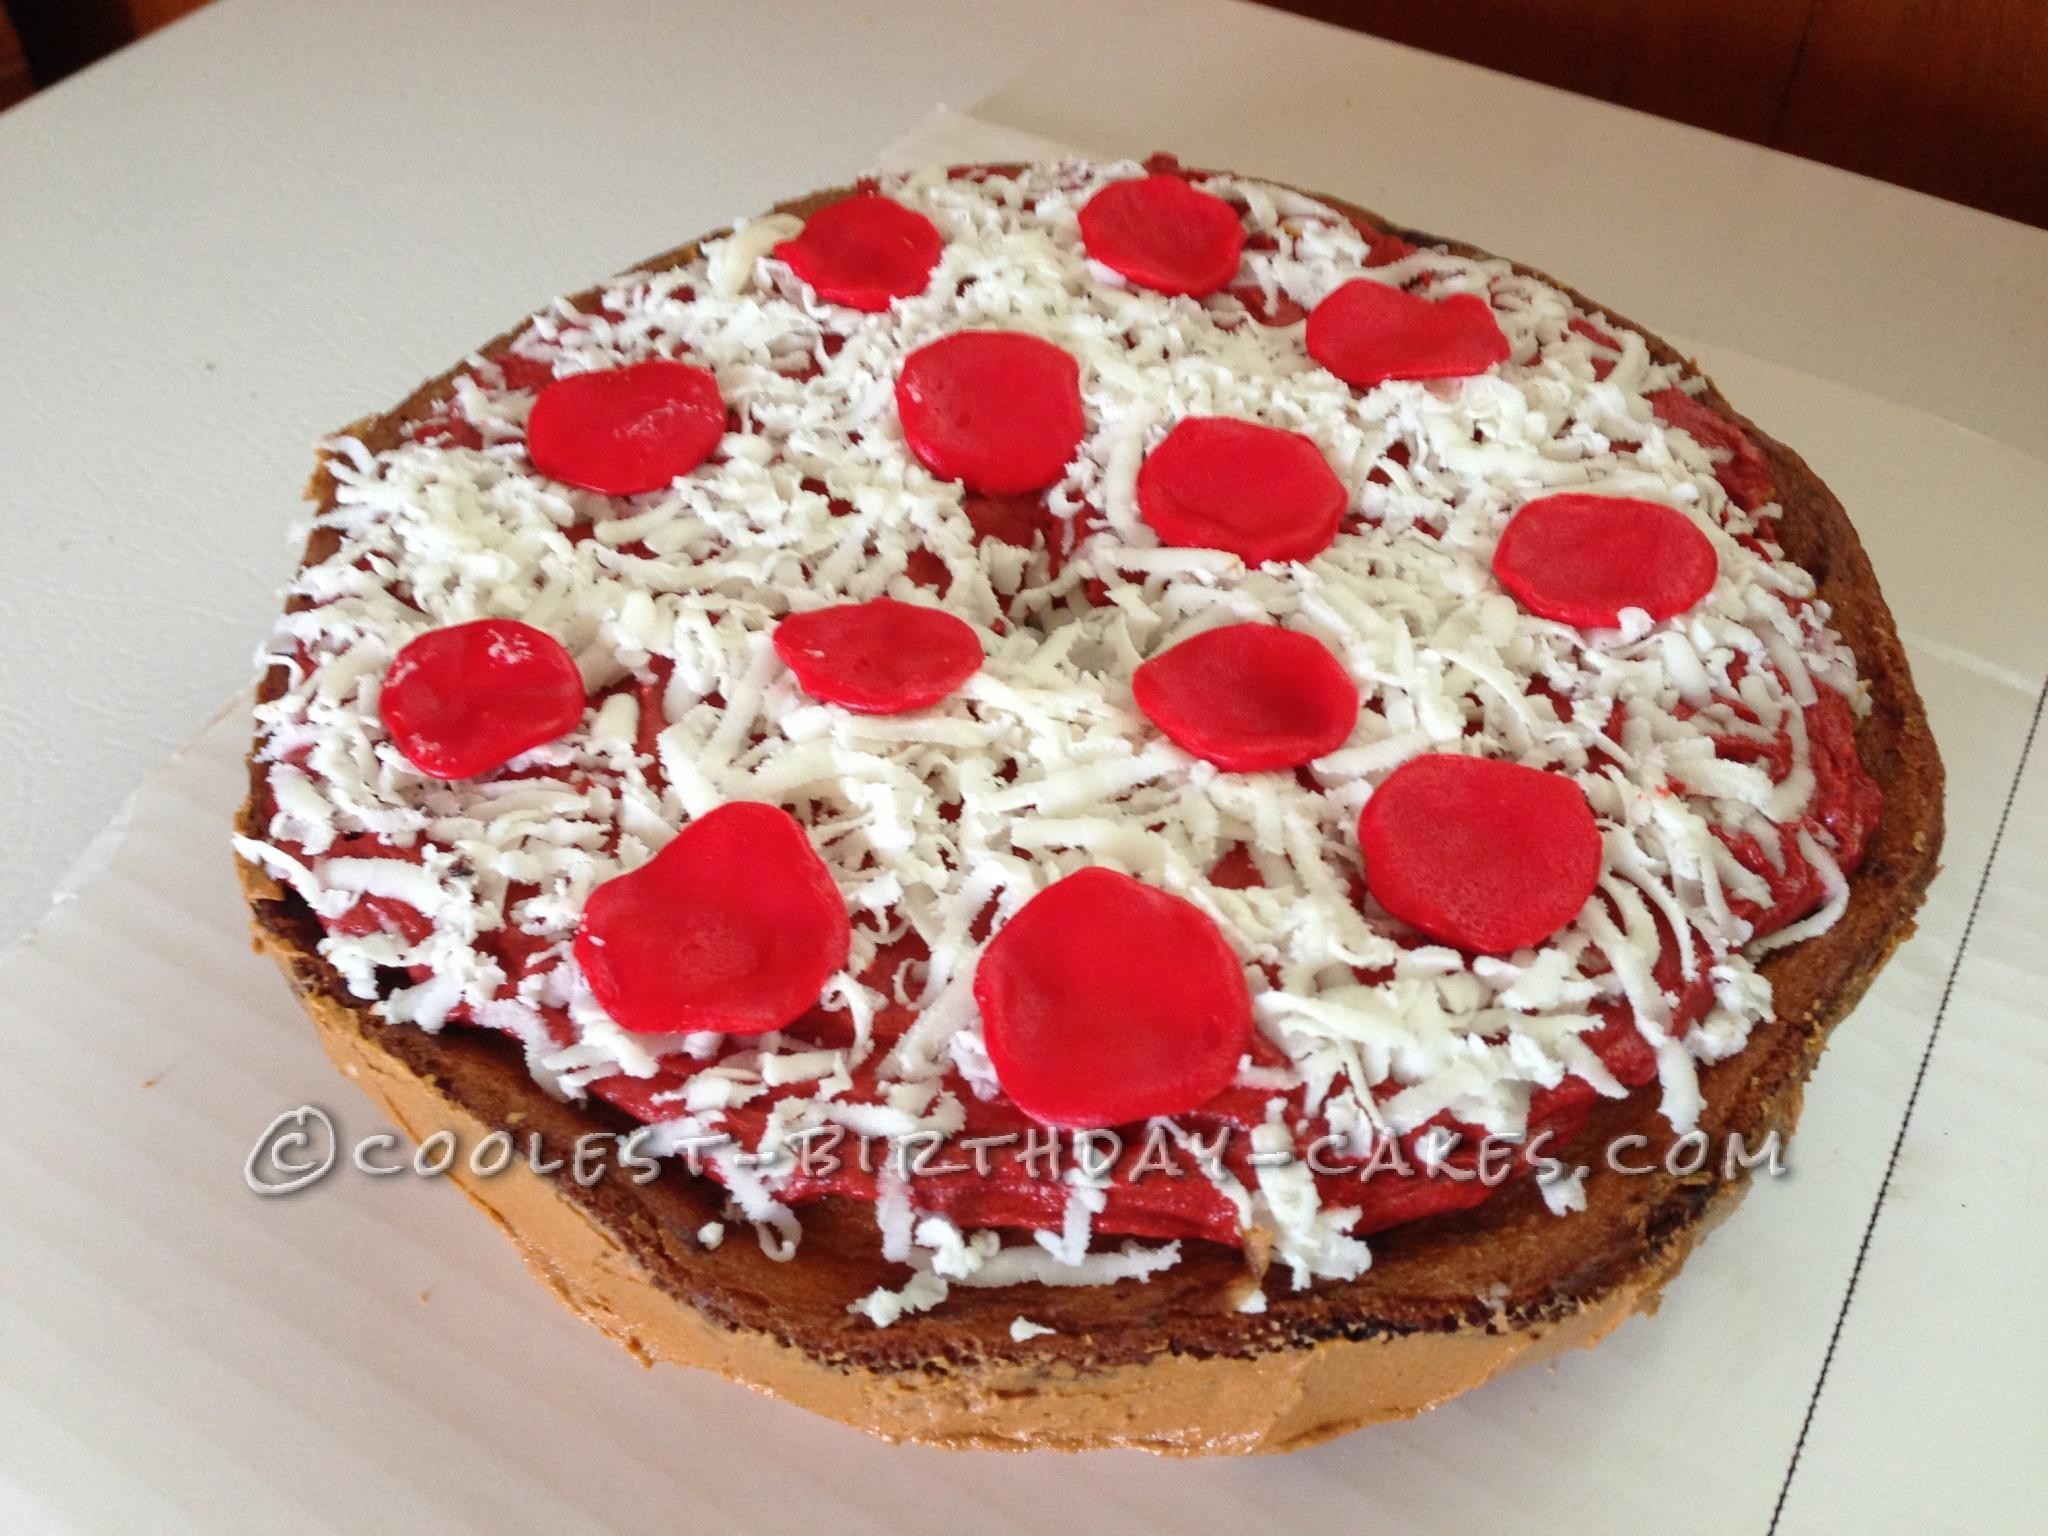
The pizza is an upside down bundt cake . Buttercream frosting for the pizza sauce with red and brown food coloring and shredded fondant with fondant pepperoni.
Related cakes:
 12+ Cool Homemade Spiderman Cake Ideas
  12+ Coolest Mickey Mouse Cake Ideas
 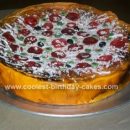 Coolest Pizza Birthday Cake
 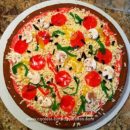 Coolest Pizza Cake
  12+ Coolest Frozen Birthday Cake Ideas for the Ultimate Frozen Theme Party
 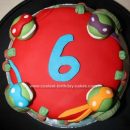 Coolest Teenage Mutant Ninja Turtles Birthday Cake
 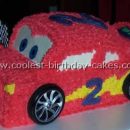 Coolest Lightning McQueen Cakes and Cars Cake Decorations
  12+ Coolest Peppa Pig Cake Ideas
Your comment has been sent successfully.