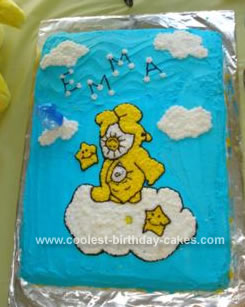
I baked one large square pan and then iced the Funshine bear cake with homemade icing that I made and tinted blue for the back ground (sky). I took my daughter’s favorite Carebear and photo copied it. Then I used parchment paper and transferred the image to my cake using Wilton pipping gel, this worked great and the image was perfect, just make sure your lines are thin so the image isn’t to fat.
Using Wilton tips I pipped around it in black and filled in the clouds and Funshine bear with star tips using the rest of the icing I had left over tinting some yellow for the Carebear. Last I wrote my daughter’s name in the sky and put a number 3 in one of the clouds. Around the bottom of the cake sides I put yellow M&M’s as a cute little border.
The hardest part for me was putting the smiley faces on the stars and his belly badge. This was the first cake that I attempted with transferring an image and I was very happy with the outcome. This was a huge hit as my daughter turning 3 loved it. This website helped me out a lot, it has fantastic ideas.
Related cakes:
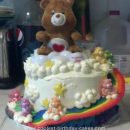 Coolest Carebear Cloud Birthday Cake
  12+ Coolest Frozen Birthday Cake Ideas for the Ultimate Frozen Theme Party
  12+ Coolest Mickey Mouse Cake Ideas
  12+ Coolest Peppa Pig Cake Ideas
  12+ Coolest Minnie Mouse Cake Ideas
  Coolest Care Bear Birthday Cake
  Awesome (But Easy) Care Bears Cake
 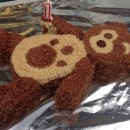 Little Charley Bear Cake
Your comment has been sent successfully.