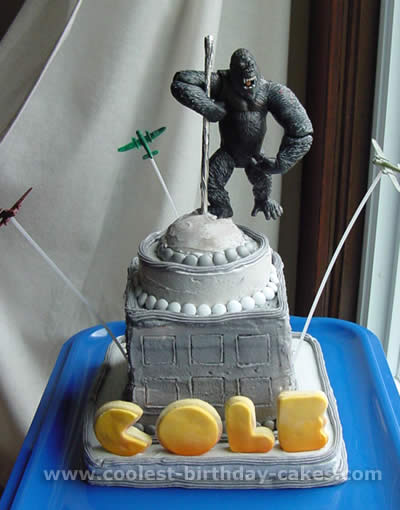
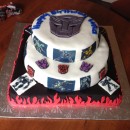
This is a simple, fun cake for a King Kong picture fan. There are seven layers to mine, but you could make fewer layers and still have great results.
The bottom layer was made in a standard 9-inch square pan. It’s chocolate; the rest are all vanilla (it’s nice to have some of each kind in case party guests have a favorite cake flavor.) If you use a cake mix (as I did), be sure to only fill the pan about half to 2/3 full (you’ll have some batter left over; I used my extras to make plain cupcakes for my husband).
The next four layers of the King Kong picture cake were baked in a 6×6 square pan (special ordered from a bakery supply company online), but if you don’t have that pan, it’s no problem; just cut several uniform-sized squares from larger cakes.
The next layer of the King Kong picture cake was baked in a 5-inch round pan (another special order, but you could just cut a circle from a larger cake). The last little dome was baked in a Wilton “mini-ball” pan, but you could achieve the same result by using a small oven-safe bowl. I always add about a teaspoon of meringue powder to cake batter – it makes the cake firmer and denser, so that it stands up to “building” and shaping.
As soon as the cake layers are cool, I give them a very thin coating of frosting (a “crumb coat”) which locks in moisture. When you are working with very small pieces, they dry out quickly unless you do this!
I used regular buttercream frosting, tinted gray with a little black paste color, for everything. I didn’t mix it completely because I wanted some variation in the color, to look more like a stone building. I tinted the icing for the base and the round and dome layers slightly LIGHTER than the main building, just to give it a two-tone effect.
I did stick a couple of supports (you can use those long “lollipop” sticks, or bamboo skewers, or even sturdy drinking straws!) in two opposite corners of the building. As you build upward, putting buttercream between each layer, be sure to insert any corner supports (leaving a half-inch or so protruding from the top) BEFORE you add the final square layer (this assures that the supports are completely hidden inside the cake). Then add the last round and dome layers and then a foil-covered dowel goes straight down through the center to be the “radio tower”.
I decorated the building with gray and white M&M’s (the candy store at my mall has M&M’s in designer colors!) and also piped on some trim around corners. I sprinkled the dome with silver “Luster Dust” but I don’t think it made much difference! I used a small (maybe 1-inch) square cookie cutter to make window-like impressions in the icing on the main building.
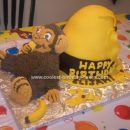
I baked some cookies spelling out the birthday boy’s name (in “Art Deco”-style letters) and decorated them with yellow fondant. I sprayed the lower edge of each cookie with red food coloring spray to imitate a King Kong picture movie poster I’d seen.
I had some long, flexible plastic lollipop sticks. I used a hot glue gun to attach little plastic airplanes to the tips, and then inserted them into the base, just behind the lowest line of M&M’s. They wave around whenever the cake is moved (or if there is a breeze), for a real neat effect.
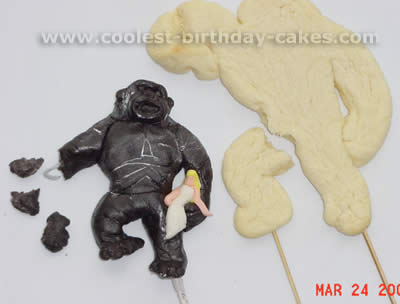
I TRIED to make King Kong out of fondant, and although I got a pretty good likeness, the fondant just kept falling apart despite the lollipop-stick-and-wire armature I’d built. He even had Faye Wrey in his hand!
When “Plan A” failed, I went to “Plan B”, a cookie Kong. That one broke also. So I finally used “Plan C” (my desperate, running-out-of-time solution!): a plastic King Kong I bought at my local Wal-Mart. He actually worked very well, since his arm was posed perfectly to hold onto the radio tower. Next time, I’ll make the main figure farther ahead of time….

Your comment has been sent successfully.