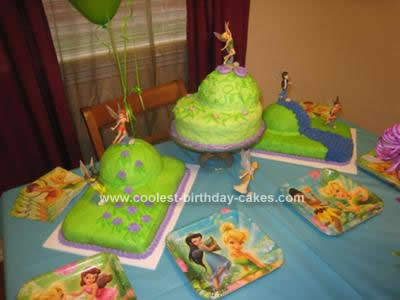
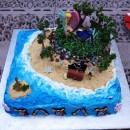
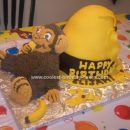
My daughter is CRAZY about Tinkerbell, so for her third birthday, we decided to go big and make her a Homemade Pixie Hollow Cake Collection.
For the cake on the left, I chose a boxed strawberry mix for a 13 x 9 glass baking dish. I followed the directions to bake it and then allowed it to cool in the dish on top of a cooling rack for ten minutes. Then, I put wax paper on top of the cooling rack and inverted the cake onto it to cool without the baking dish until the cake was room temperature. At that point, I placed it in the freezer on a 14 x 10 cake board (plastic Wilton kind that comes in a 4-pack) to firm up for 25 minutes. Then, I wrapped the stiff cake in plastic wrap (to eliminate drying the cake out) before sealing it in aluminum foil and putting back in the freezer.
I followed the same process for the chocolate cake on the right. Freezing the cakes properly was critical in both preserving the cakes and being able to decorate them later without so many crumbs messing up the icing.
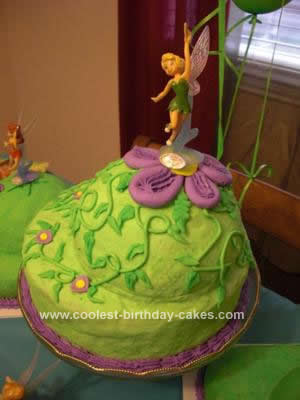
For the middle cake, I used a butter yellow cake mix and two round cake pans. Once they’d been frozen like the other cakes, I piped a dam to hold in the filling on the top of the first cake. To do this, just use your coupler on your pastry bag without a tip (slotted end touching the cake) and follow the round outline of the cake. The dam was made of homemade buttercream icing. Note: I had to make four batches of icing (using up 12 lbs. of confectioner’s sugar) to complete all three cakes.
For the filling, I used store-bought apple butter. Once the filling was in, I placed the other yellow round cake on top.
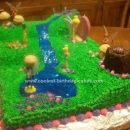
For the hills on each of the three cakes, I used Wilton’s sports ball pans to bake butter yellow hills. I used the same process to freeze them until I was ready to decorate them two days before the birthday party. I used a small amount of buttercream to “glue” the hills to the base cakes.
I decorated all three cakes with my fingers more than with a cake spatula. It helps to add a little light corn syrup to the icing so it’s malleable (kind of like Play Doh or fondant). Just work quickly because it dries fast. Once the cakes’ icing was on (before the embellishments were added), I used a paper towel to transfer a design onto the cakes. That’s how I got the neat texture on them.
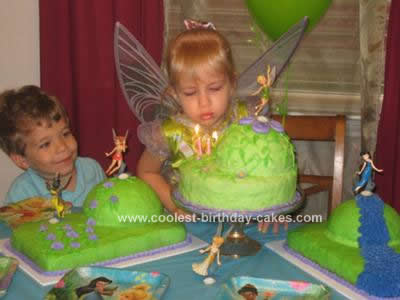
For the decorations, my daughter’s favorite fairies are SilverMist (the water fairy) and Rosetta (the flower fairy), so I assigned them each a cake and embellished them with their particular talents. On the day of the party, I added figurines that I’d found online months before.
The guests – and my three-year-old – were pleasantly surprised by the cakes.

Your comment has been sent successfully.