
I made this sugar craft for my son’s 5th birthday. I decided to separate the fondant from the cake this year because in past years due to time spent on decorating the cakes were a little stale. So this time because the chocolate cake was separated it tasted yummy!
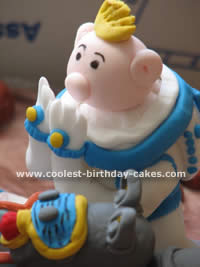
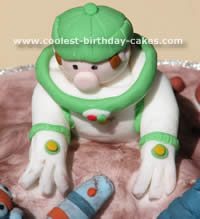
I used three kilos of bought fondant which I found was not as soft as the supermarket brand and has a little more elasticity. I found photos of Lunar Jim online and made the characters according to the photos.
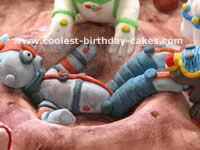
The idea came from one of the episodes where Ted (the robot) fell into the crater.
So I started by putting chunks of the white fondant on the cake board and made them into craters. I then covered them with a large round rolled fondant. Then I mixed all the fondant into the colors I needed using color paste (don’t use food color as this is just too runny and the color isn’t dark enough).
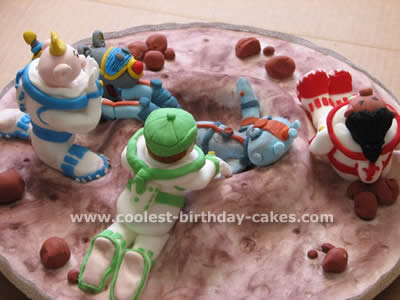
I made each individual character using those colored fondant and used toothpicks to join all the limbs, head etc to bodies. The glue was made from mixing little amounts of the same fondant with a little boiling water till it looks like PVA glue consistency. When the whole sugar craft was finished and dried (took 1-2 days to dry) I brushed the moon surface with edible earthy brown dust powder.
It took me between 10-13 hours to make this Lunar Jim cake. My son loved his birthday sugar craft!
Related cakes:
 12+ Coolest Frozen Birthday Cake Ideas for the Ultimate Frozen Theme Party
  12+ Coolest Peppa Pig Cake Ideas
  12+ Coolest Mickey Mouse Cake Ideas
  12+ Coolest Minnie Mouse Cake Ideas
  Coolest Thundercats Emblem Cake
  Coolest Kai Lan 1st Birthday Homemade Fondant Cake
  Cool Homemade 2 Tiered Finding Nemo Birthday Cake With Marshmallow Fondant Characters
  Coolest Ever Avengers Birthday Cake
Your comment has been sent successfully.