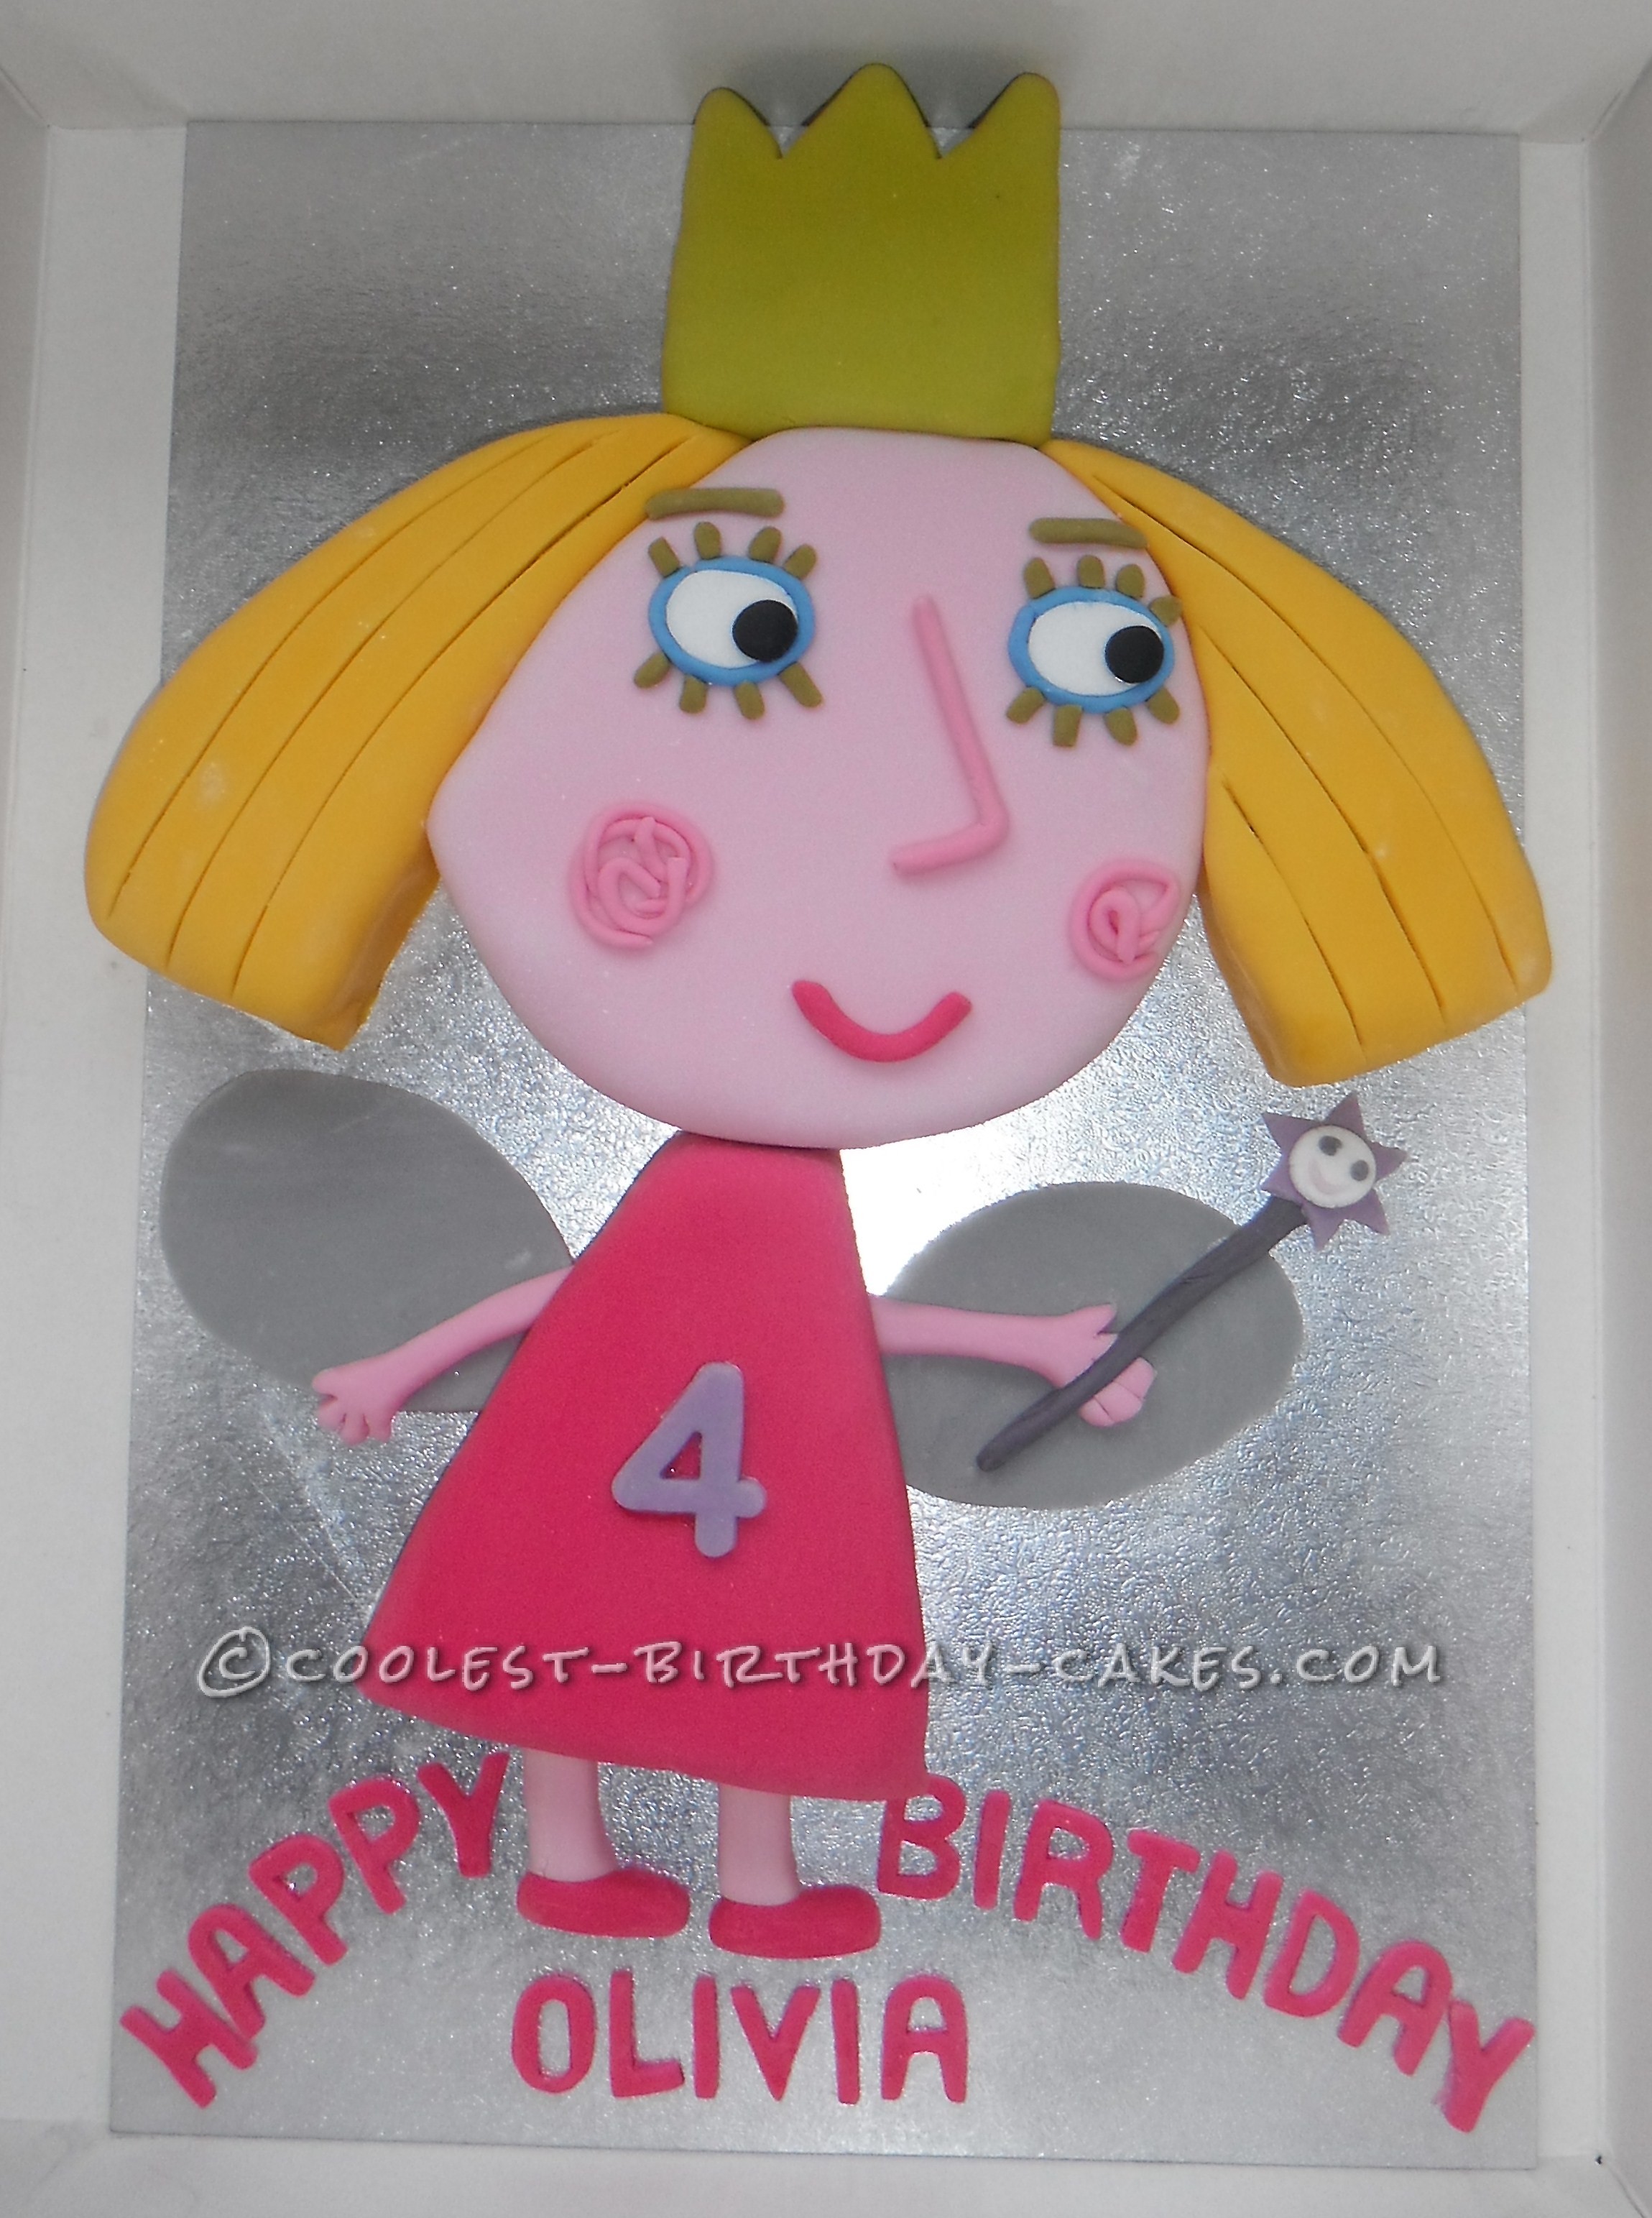
I was asked to make a Princess Holly cake for my friends’ 4 year old daughter. I started making celebration cakes as a hobby about 6 months ago having been inspired by your webpage! Back in December, I made a Peppa Pig cake for my own little girl’s 2nd birthday. My friend asked me to have a go at making a Princess Holly cake for her daughter after seeing my attempt at Peppa (which was a great success – my daughter loved it!).
I started off by making a Madeira cake in a 8″ x 10″ cake tin. I let it cool and then wrapped it in foil and left it overnight. The following evening I started to decorate it. I used a paper template to cut the required shapes out of the cake. Then I took each piece of cake and spread a thin layer of strawberry jam (that I melted for 20 seconds in the microwave) over it first, then spread a thin layer of butter cream over the jam. I then rolled out the sugar paste on a clean smooth surface coated with icing sugar (so the icing did not stick to the surface). I placed the sugar paste over the shape and molded and cut around the cake to coat it in the icing.
Once I had done this for each shape I then stuck them together with icing glue using a thin paintbrush (used solely for cake decorating!). Once the basic shapes were assembled I traced the face of ‘Holly’ on to parchment paper and used that as a guide to ensure I got the features in exactly the right place. I rolled out and carved each feature and stuck them on to the face with icing glue. I then rolled out and shaped the wings, arms, wand and legs and stuck then down with icing glue. Finally, I cut out the lettering for ‘Happy birthday Olivia’ and number 4 with small cookie cutters I purchased. Then I stuck these down to the board, again with icing glue.
I really enjoyed making this cake, and the best part was seeing Olivia see her cake for the first time at her party and blow the candles out. It made all the effort worth it!
Looking forward to my next challenge… !
Related cakes:
 12+ Coolest Peppa Pig Cake Ideas
 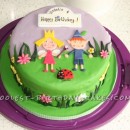 Coolest Ben and Holly Birthday Cake
  12+ Coolest Frozen Birthday Cake Ideas for the Ultimate Frozen Theme Party
  15+ Cool DIY Monkey Cake Designs for the Birthday Cake Enthusiast
  12+ Coolest Minnie Mouse Cake Ideas
 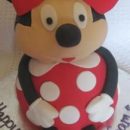 Coolest Minnie Mouse Birthday Cake
  12+ Coolest Mickey Mouse Cake Ideas
  5 Dinosaur Cake Ideas of Jurassic Proportions