
This Go Diego Rescue Pack cake was fairly easy to create. Prep is key. You could also create a Dora Back Pack cake the same way.
1) I went to the Nick Jr. site and printed out a the Rescue Pack coloring page. I enlarged the picture until I got this size I wanted for the cake then cut out the eyes, mouth and eye brows to use as templates to cut out the fondant pieces.
2) I baked two 9 x 13 box cakes – one chocolate and one yellow. After cake cools, wrap up both and place in freezer for at least 24 hours.
3) Shape frozen cakes to the shape of Rescue Pack. I created a template on paper first, then used it to shave off the edges of the cake to round the corners.
4) Frost Rescue Pack orange – I recommend the gel coloring for the most vibrant color.
5) Use fondant to make Rescue Pack’s eyes, mouth, eye brows, flap, and carrying strap. I bought the different color fondant to make it easier, but I did end up dying the white fondant black and that worked okay so you could probably just buy the white and dye it.
Allow 2-3 hours to assemble and decorate the cake.
My little boy loved it and all of my friends thought I had bought the cake from a fancy bakery!
Related cakes:
 12+ Coolest Peppa Pig Cake Ideas
 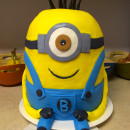 Coolest One Eyed Minion Cake
  12+ Coolest Frozen Birthday Cake Ideas for the Ultimate Frozen Theme Party
  12+ Coolest Minnie Mouse Cake Ideas
  12+ Coolest Mickey Mouse Cake Ideas
  Coolest Diego Rescue Pack Birthday Cake
 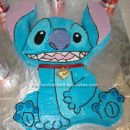 Coolest Stitch Birthday Cake
 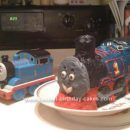 Coolest Thomas the Tank Engine Birthday Cake
Your comment has been sent successfully.