I had known for a while that my son had wanted a dinosaur party, and after scouring the internet (and this website) for decent dinosaur/Jurassic cakes, I decided that the volcano cake seemed the “easiest”.
I received one of those giant cupcake molds from Baker’s Secret. It is a two-piece mold and you are able to bake a cake, one shaped like the cupcake base, and one shaped like the cone shaped topping of the cupcake. So I made the volcano shape from a normal round cake tin, and the giant cupcake mold.
Make sure your cakes are completely cooled before you frost them.
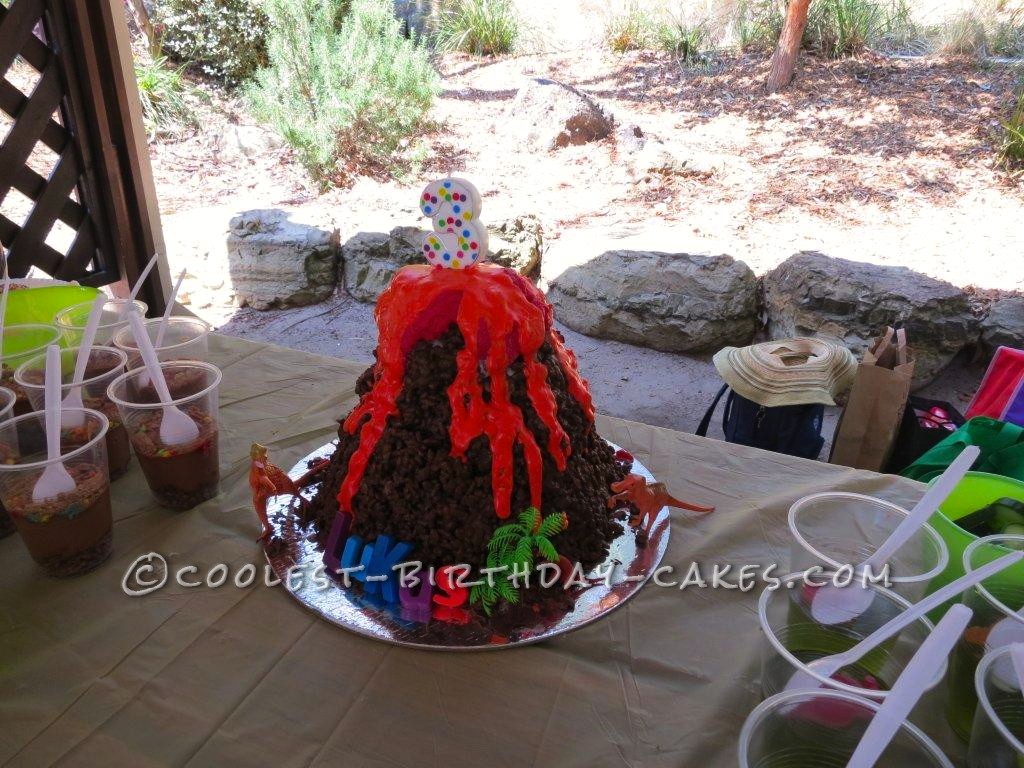
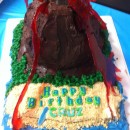
The bottom layer of the volcano was the round cake, the second layer was the cupcake base (turned upside-down), and the top layer was the top of the cupcake trimmed to fit the diameter of the second layer it was joining to. Ideally you would want a volcano-like shape, regardless of what you use. I’ve read people using their Pyrex bowls. Do what ever it takes. You may need to add cake frosting to “stick” the layers together (I used Betty Crocker’s Vanilla Frosting).
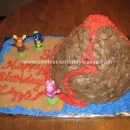
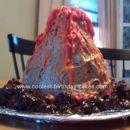
I found that the key to this cake was the outside of the volcano. I melted chocolate buttons which are used in choc-chip cookies (i.e they hold their shape when baked) – which I feel helped it survive the heat and didn’t go too soft (we ate the cake in a park on a 32C degree day, I think that’s about 89F!). In the melted chocolate, I added Coco Pops cereal, then used a spatula and spread it all over the cake. After you are happy with the coating, chill the cake in the fridge to set the chocolate.
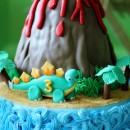
I used white chocolate buttons for the “red lava”. You will notice that the chocolate will “seize” or go a bit lumpy when you add the red food coloring due to the water in the liquid, but I used the lumpiness to my advantage.
To make the dripping orange lava, I used the remainder of my Betty Crocker’s Vanilla Frosting, put it in a Ziploc bag with red and yellow food coloring, sealed it (and checked the seal!), then mushed the color up in the bag until it was a homogeneous orange. Then I snipped a lower corner of the bag, and then dripped the frosting in lava-like drips.
Add some dinosaurs and ferns for decoration, and you are done!

Your comment has been sent successfully.