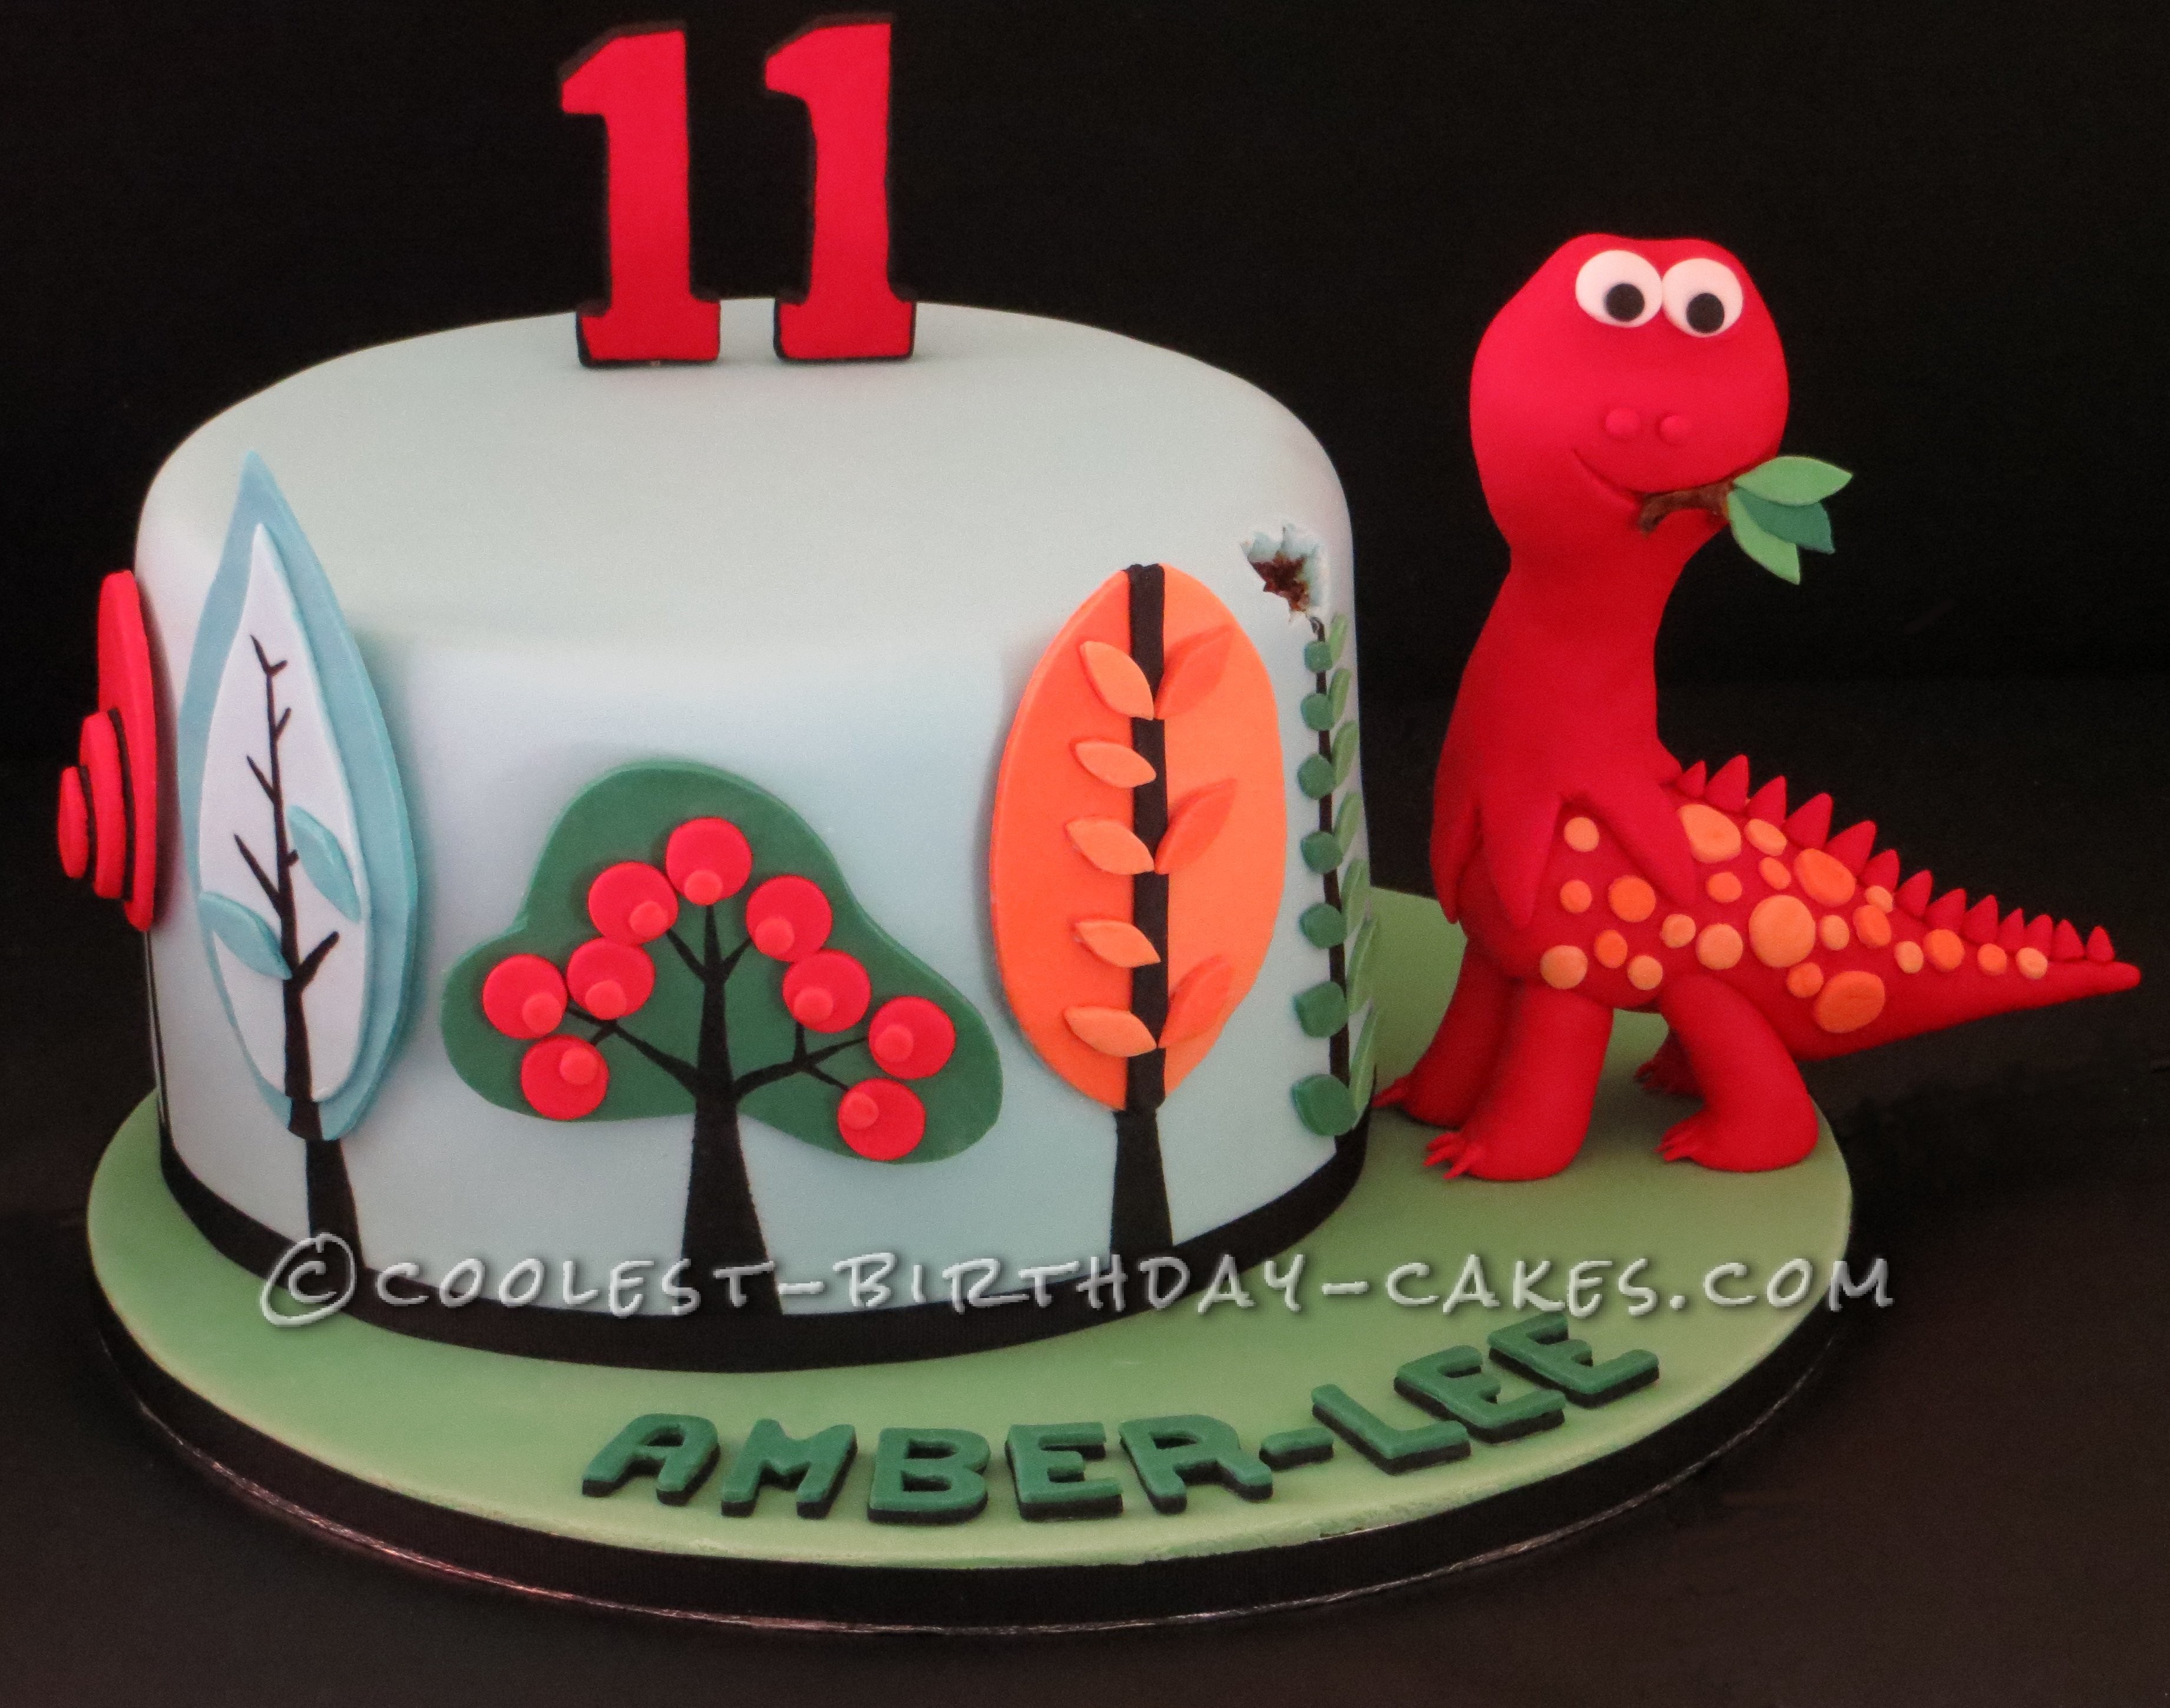
My gorgeous niece wants to be a palaeontologist when she grows up, she’s seriously nearly one already, with all her knowledge on the subject! Anyway, she loves dinosaurs in particular. I thought she might be a little old now for a dinosaur birthday cake but when asked she REALLY wanted one, so I thought this one would be pretty cool. I got my inspiration online, I ‘think’ the original might have been from a place called Sweet Love.
I like to do as much of the decorations as possible beforehand, to save time. I started with the dinosaur first so it could dry in parts and be good and solid and sturdy by the party. I made the legs first and attached the claws. I used red fondant (making red from white fondant and dye is time consuming and it gets quite wet). I also added a little Tylose powder to the fondant to make it a little firmer. It needs to nearly be the consistency of Play dough or things start to change shape too easily.
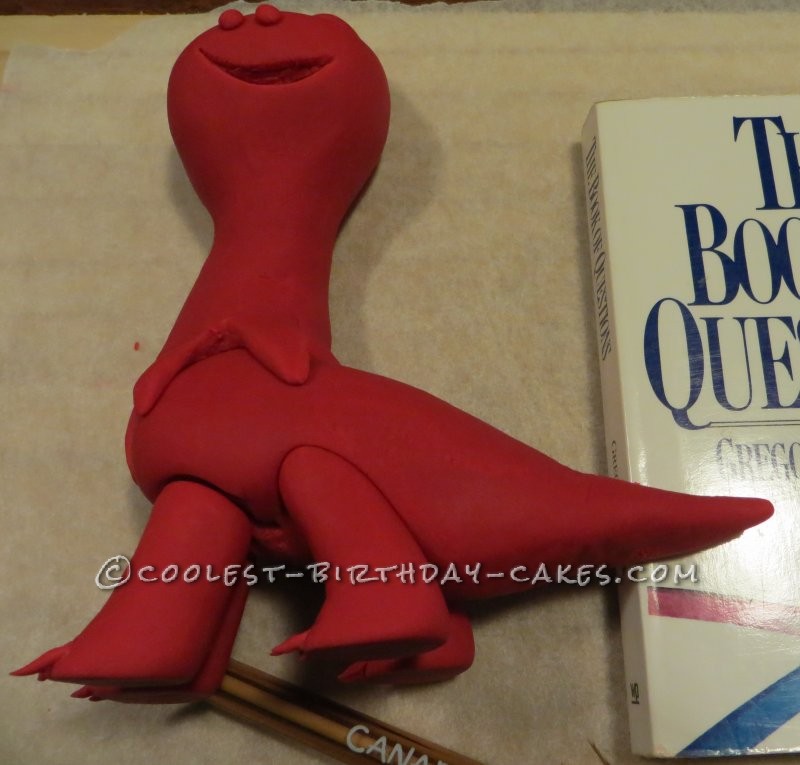
I inserted a toothpick in each leg so that the body had something to stick to once the legs were dry. I left them for 2 nights before making the body. I inserted a wooden kebab skewer in to the body where the neck and head would eventually go, to give support. All of this I left to dry on waxed baking paper so it wouldn’t stick to the board. I used a slim book, just the right height, so that the tail had something to support it while it dried. I left this 5 nights to really firm up, before making the head.
I obviously didn’t make the fondant thick enough with Tylose for the head/ neck. It can be tricky getting the amounts right, as if you use too much, it can dry and crack and wrinkle. I usually add a little, leave it a bit, then feel it’s firmness, add more if needed. I was in a rush and ended up having to lie the while dinosaur down, after the head was added, otherwise the weight of it made the skewer stick out his head!! So he had a flat head at the back (not that anyone minded). I made the mouth and nostrils at this point before it set. I used a pen to support one leg so it didn’t add weight to it leaving it hanging while the dinosaur lay down to fully dry. I used sugared water to attach all parts together as “glue”. You just use a teaspoon of sugar and boiling water and stir/mash it in til it’s almost all dissolved.
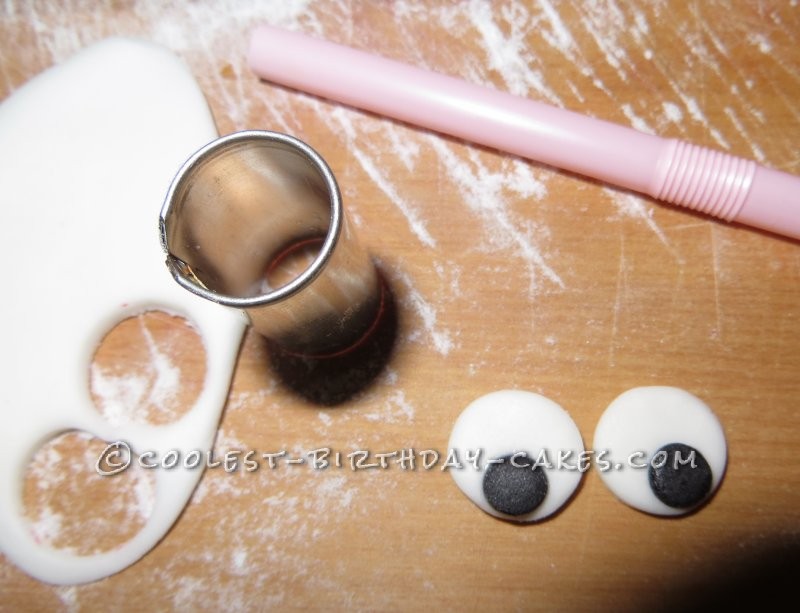
Next, I made him some eyes with a circle cutter (I actually just used one that was made for the center of number cookie cutters). The black pupils were made with a straw (just the perfect size) as a cutter. I used sugared water to stick these together and on to the dinosaur.
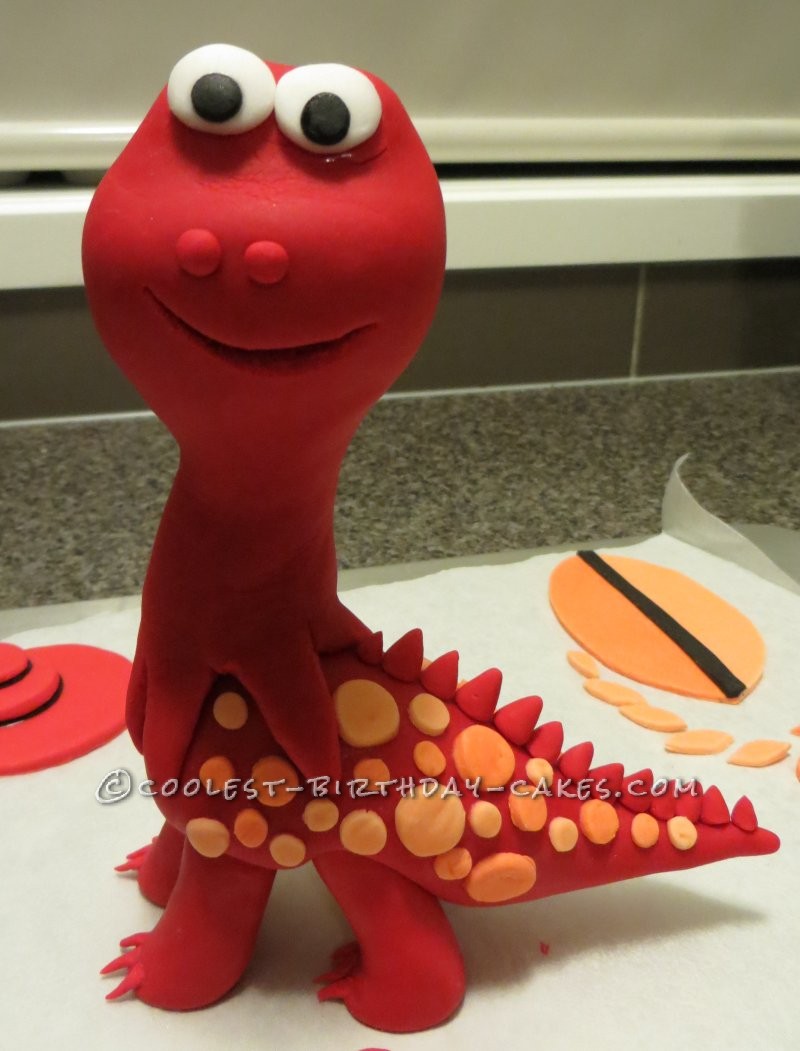
I made the orange tree next on the same night as I made the spots for the dinosaur, this saves time and money on mixing up colors. I used a straw for some circles, took apart a pen to use the circle part of it for others (after washing it!!) and the circle cutter I had. I applied them all with sugar water and made some spikes for his back and attached these with royal icing (which sets VERY hard like super glue).
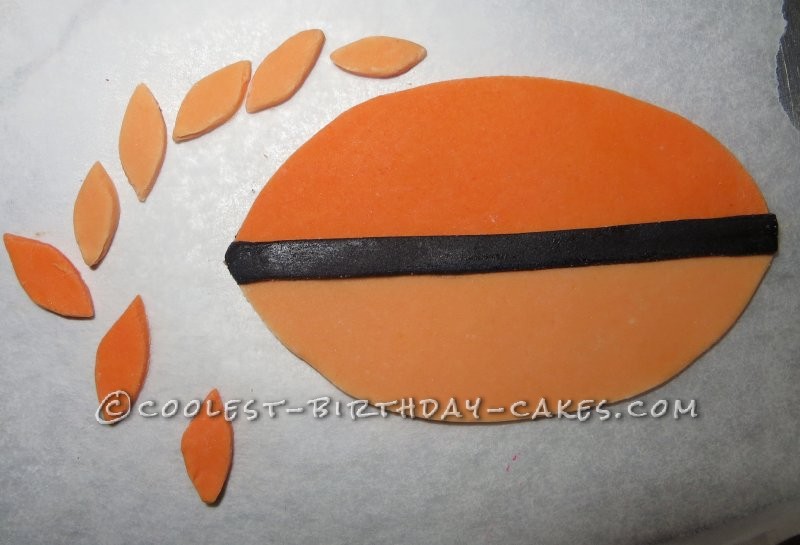
For the orange tree, I cut out with a sharp knife, leaves that were all pretty much the same size, 3 dark ones, 5 light ones and then 2 sides of the tree. I used black fondant to cover the join and applied with sugar water. It’s easier to apply the leaves to the tree on the same night so they’re soft enough to mold in over the black strip.
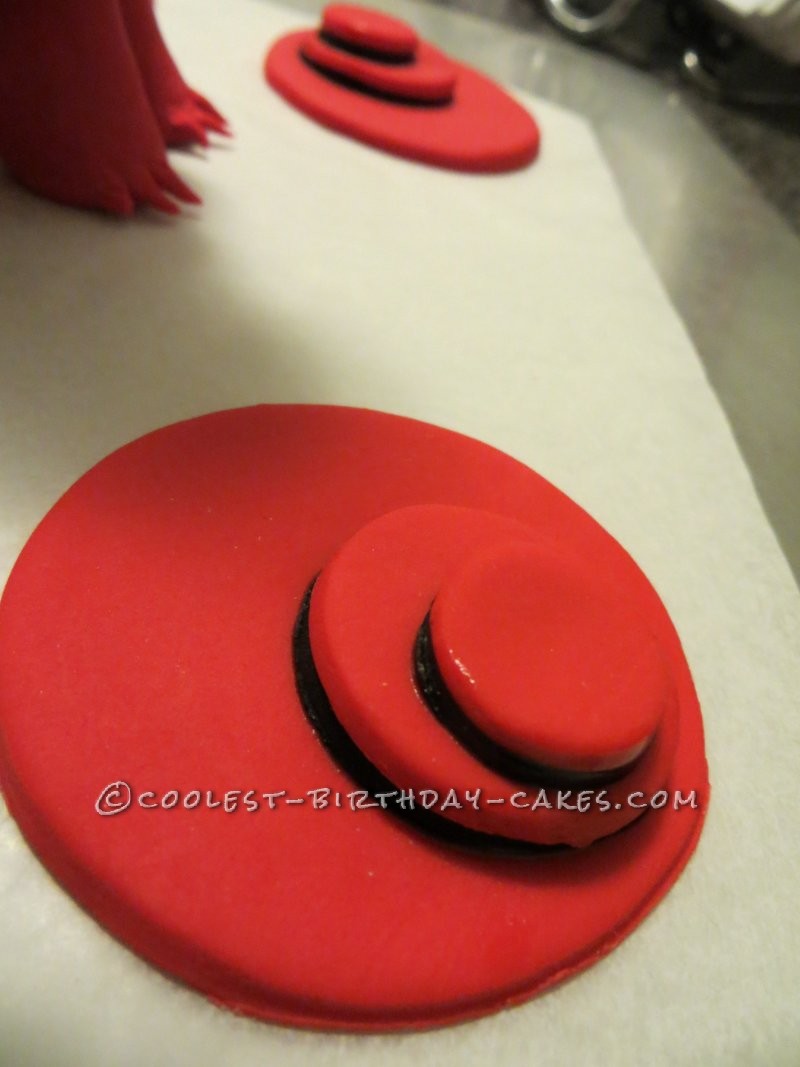
I made the red tree next and the age “11”. To make the numbers, you need to insert toothpicks in the base of the numbers before they dry so you have some way of attaching to the cake later. I just used a cookie cutter number 1. I used Tylose to firm up the fondant and once dry, I painted the outside edges with black dye and a special thin paintbrush I keep aside just for cakes. For the tree, see the picture below, just use 3 different circle cutters or make your own template from baking paper and use a sharp knife. I cut 2 black circles as well (see pic), but in hindsight, I’d actually just paint with black dye so they weren’t too chunky and heavy, around the edges of the 2 smaller circles.
The other trees are self-explanatory if you use the pics as a guide. I used black dye to paint the twigs and trunks once they were DRY. With the green tree, you need to make leaves of differing sizes, starting with large at the bottom and going to small at the top of the tree. This was the last tree to go on the cake, I made the leaves in advance and left to dry and attached them once I’d painted a trunk directly on the cake with black food dye. I made the twig in the Dino’s mouth in advance and left to dry once I knew it would fit in his mouth. I used dark brown dyed fondant for the twig, it looked better than black.
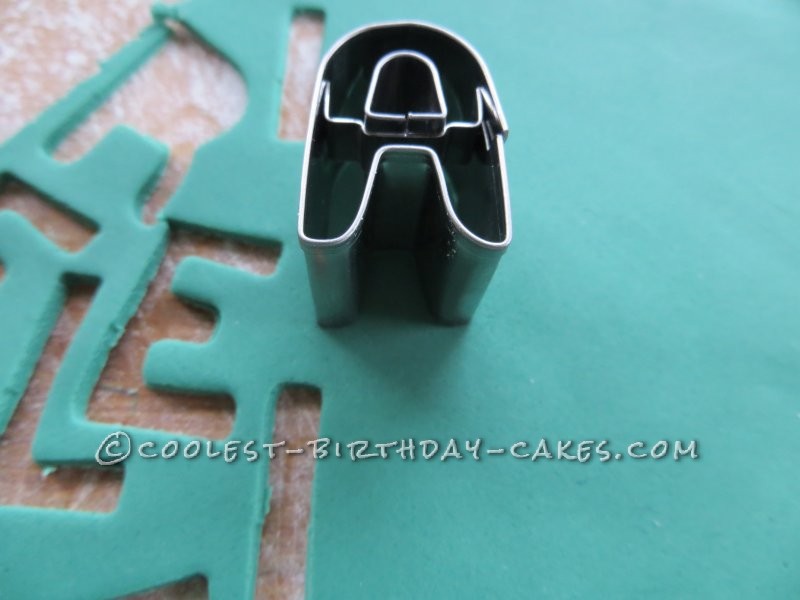
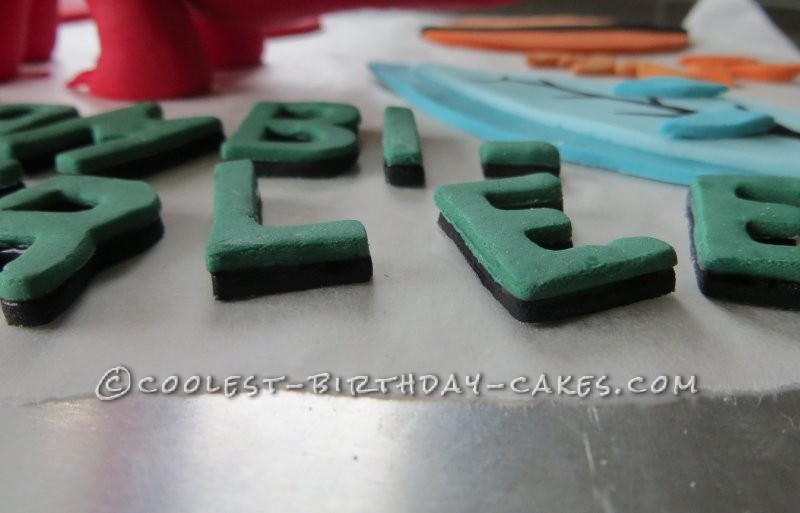
When I made the green tree, I took the opportunity to make the 2 greens and I stored them in tight plastic food wrap inside an airtight container, I made quite a bit so it didn’t dry out. I used a letter cutter to cut out the name, first in green, then in black, then placed the green carefully on top of the black with sugar water.
I used a great chocolate cake recipe which is so moist and lovely and chocolaty but still firm enough to hold all that fondant. I made 3 cakes to get the height (the night before the party) and used ganache as a yummy filling on the day.
I got the board prepared first with the pale green icing. I had to microwave it slightly to soften it up since I made it in advance, it worked well. You just roll it out and apply like you would to a cake (after using a little ganache or sugar water to help it adhere to the board). Use a sharp knife to trim to the board shape. I crumb coated the cake (lots of tutorials online for this) and I then applied the pale blue fondant to the cake. It’s best to watch a YouTube tutorial on how to apply fondant. I use a pizza wheel to trim around the excess fondant. After smoothing fondant down with a smoother, I carefully picked the cake up and applied to the covered cake board.
I attached the middle green tree first as a starting point and then the orange and then the green one on the side. You need to work quickly so you can remove the little bite the Dino has taken from the cake above the green tree, before the blue fondant sets. Add all other trees and paint on their trunks with black food dye. Leave to dry for a few hrs before attaching a ribbon around base of cake (I use a clean pin to attach at the back and tell the host it’s there). Add the Dino to the covered cake board (you need to ensure he won’t fall over during transportation – royal icing is best) and attach the name with sugar water or royal icing (just a little so the white icing glue doesn’t show). Put a ribbon around the cake board, I used double sided tape for this.
The cake was the BIGGEST hit! Some of the adults wanted one for their own birthdays (ha!) and the cake was obviously pretty yummy since it was demolished within 20 minutes!! Some kids went back for a 5th serving! The look on my niece’s face made it ALL worth it, she grinned from ear to ear and it melted my heart. This is why I love doing cakes!

Related cakes:
 5 Dinosaur Cake Ideas of Jurassic Proportions
  10 Coolest Dinosaur Cakes We’ve Ever Seen!
 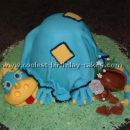 Coolest Dinosaur Picture Cake Ideas
 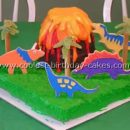 Coolest Dinosaur Birthday Cake Ideas
 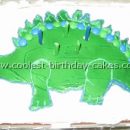 Coolest Dinosaur Cake Ideas and Decorating Tips
  15+ Cool DIY Monkey Cake Designs for the Birthday Cake Enthusiast
 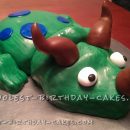 Coolest Green Dinosaur Cake
 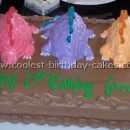 Cool Dinosaur Birthday Cakes and Easy Birthday Cake Ideas