Take a look at these cool homemade Moose cakes shared with us by cake decorators from around the world. Along with the great cake decorating instructions here, you’ll also find loads DIY birthday cake-making ideas and how-to tips to inspire your next birthday cake project. Enjoy!
And don’t forget… if you end up with a cool cake, have great tips to share or pictures of awesome birthday cakes you’ve made in the past, share them here and be a part of our coolest birthday cake community.
Latest Moose Cakes
- Moose Cake for The Mighty HunterMy cake is a Mighty Moose with a large wrack of chocolate Antlers! I made this cake for my dad’s 60th … Read more
- Cool Homemade Deer Birthday CakeThis Deer Birthday Cake is a 12×18 sheet pan. I found the deer off of the internet. I traced it … Read more
- Coolest Moose CakeHere is how I made this coolest Moose cake. I used two small metal bowls as cake pans, whose content … Read more
- Moose CakeA lady I work with was moving and leaving her job. She loves moose and the color green. I baked … Read more
- Awesome Homemade Moose CakeMy moms friend has been an active member of the Moose Lodge and so for a party I decided to … Read more
- “We Will Moose You” CakeMy sons teacher, Mr. Copeland was retiring after 30 years of teaching. He loves animals and my son wanted me … Read more
- Moose Cake 2My husband actually put this cake together; I just baked it. We baked a 13×9 square pan for the antlers. … Read more
- Cool 3D Moose CakeThis cake was made with layers of chocolate cake and chocolate butter cream. Iced in chocolate BC. I just used … Read more
More Moose Cake Decorating Instructions
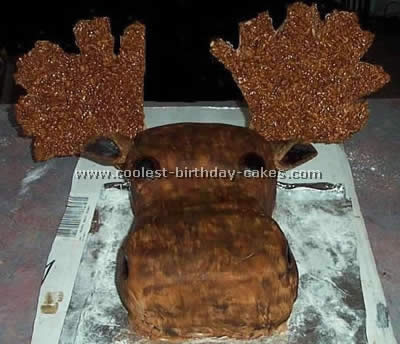
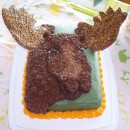
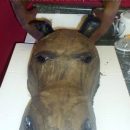
My mom’s friend has been an active member of the Moose Lodge and so for a party I decided to make him a moose head cake. The cake is made from three cakes layered on top of each other. Then the cakes are cut and shaped into a moose head with a knife. The cakes are then frosted with chocolate frosting. The cake decorating instructions I got off this website.
Next I got some fondant and some brown food coloring and mixed the coloring into the fondant by kneading it with my hands until it was a good brown color. I the got a rolling pin and rolled the fondant nice and flat and big enough to cover the moose shaped cakes like a blanket. Once the fondant was covering the cakes I rubbed it smooth and then cut off the fondant on the bottom that I didn’t need with a knife. From the scraps of unused fondant that I had cut off I made ears and set them off to the side to dry. I also made two flat balls from the unused fondant for eyes and set them to the side to dry.
For the antlers I made rice crispy treats by melting marshmallows and butter and adding rice crispy cereal. I also added brown food coloring. I shaped the rice crispy treats into antlers and put them on well greased plates to dry for three days to get nice and hard. After the fondant ears and eyes had dried I stuck tooth picks in them and placed them on the correct areas of the moose cake head after everything was in place I used a regular paintbrush and painted the moose with black and brown food coloring. Lastly I added the now dry antlers.
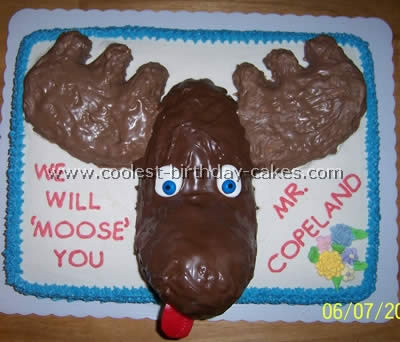
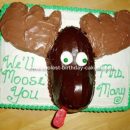
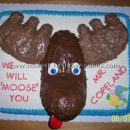
My son’s teacher, Mr. Copeland was retiring after 30 years of teaching. He loves animals and my son wanted me to do something with an animal on it. He suggested a moose so it could say “we will ‘moose’ you”!
The cake is a half sheet cake (Duncan Hines white) with my Mom’s ‘wedding cake’ frosting. The moose is made from rice crispy treats. I made a fresh batch and looking at a picture of a moose for reference I molded the face and antlers. I stuck it in the fridge for 30 minutes so it would firm up faster (the nose kept drooping).
Here are my cake decorating instructions. I melted chocolate, adding white chocolate to half to make a tan color and spooned it over the rice crispies for the antlers and straight chocolate for the face. Then I cut a marshmallow in half and flattened it to make the eyes and attached M&M’s to complete them. The tongue was a last minute addition using an airhead (already had the middle line). I attached it with a toothpick to keep it from falling off and from drooping too much.
Cake by Julia D., Elizabethtown, NY
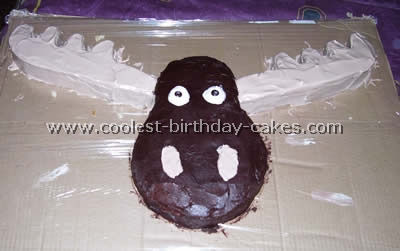
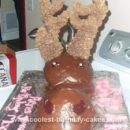
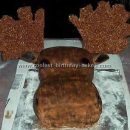
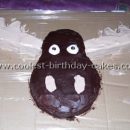
My husband actually put this cake together; I just baked it. We baked a 13×9 square pan for the antlers. He drew them onto the cake and a round cake pan for the head. We used M&M’s for the eyes and the rest was from frosting.
Cake by Carla W., Somerset, KY
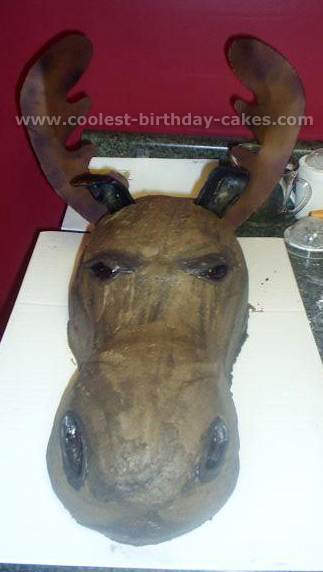
This cake was made with layers of chocolate cake and chocolate butter cream. Iced in chocolate BC. I just used a picture to go by and carved away!
