
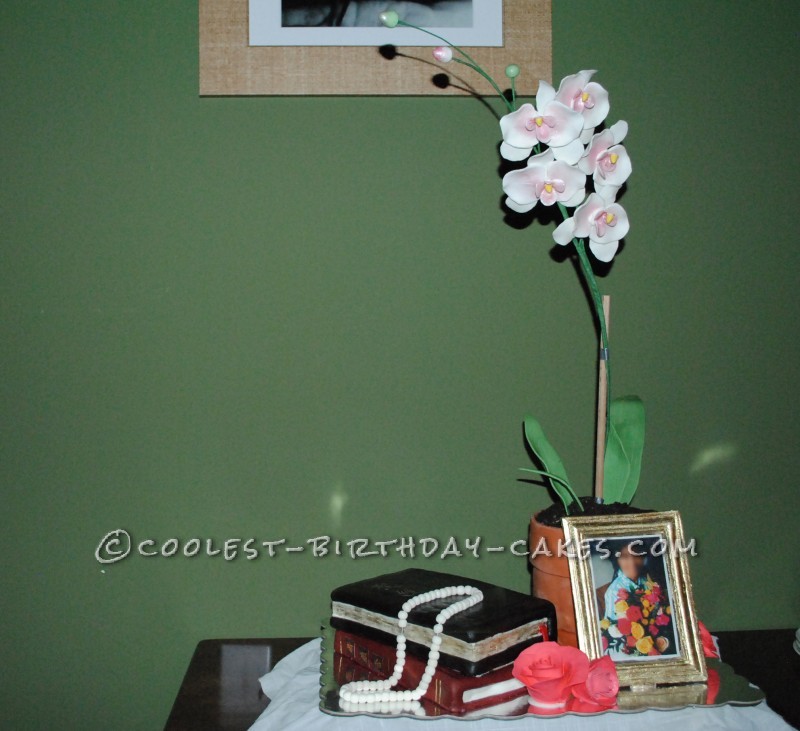
This is my second fondant cake (my first time was for my son’s birthday the previous month…it was a stressful 2 months!). It was designed for my grandmother’s 90th birthday party. Lots of relatives were flying in from out of town to wish her well, and it was going to be a big bash. I wanted to really commemorate her hobbies and joys in life – she’s got a green thumb like nobody’s business! So I had to include a plant! The books are her staple, she loves to read. Those are her favorite pearls laying across her books. And the framed photo of her (which I’ve blurred out for her privacy) is to represent her love for browsing through family photos (over and over and over!). Everything is edible except the floral wire and tape used for the gum paste orchids and the wooden dowel the orchids are clipped to.
The cake itself was a vanilla cake with mocha cream filling. My grandmother’s not particular about her sweets, but my mom…she’d throw herself in front of a bus for mocha, so I figured I’d throw her a bone. The fondant was a recipe I found online for marshmallow fondant. Tastes yummy! And so easy to make!

90th Birthday cake
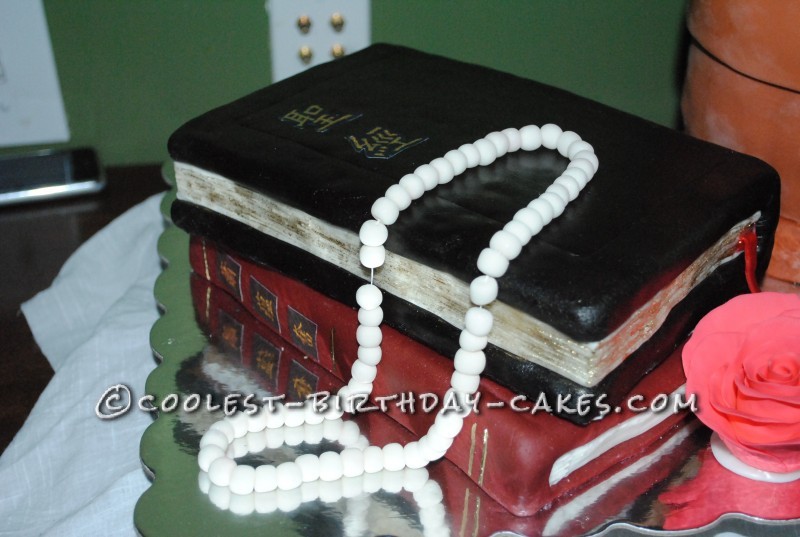
The Books
The two books I made are of her Bible and her journal – both in Chinese. The burgundy fondant was a snap, but the black fondant was a disaster! I went through 3 batches of fondant to get it right! And that required MULTIPLE return trips to the grocery store! Ugh! The first two batches for some reason changed texture and started crumbling and cracking as I was kneading. I’m assuming due to the food coloring somehow. I finally went and bought Wilton’s black gel and got it right on the 3rd try. The Chinese characters were copied off the internet for “Bible” and her name in Chinese characters. Then I went to the nearby Publix and had them print the characters out on edible cake paper with edible ink. Gotta love that stuff! The gold gilted edges of the Bible were dusted with edible gold dust. It didn’t show up too well in the picture due to the flash, but it looked really shiny in person.
The pearls were too easy. Just balls of gum paste with a tiny bit of pink pearl luster painted on.
Her favorite books
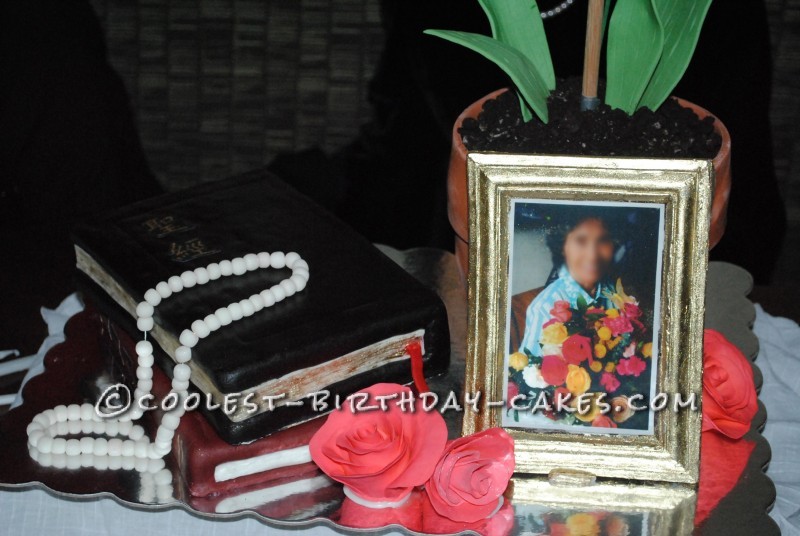
Picture of the Birthday Girl
I had actually gone to look for a candy mold of a picture frame, but alas! there was NOTHING out there that suited my needs. Thank goodness for cheap Dollar store frames! I found a hollow plastic frame for a real picture at the local Dollar store. It looked great from the front, but from the back it was pretty clear that it was junky! But it was perfect for me. I washed it real carefully and greased it up to use it as my chocolate mold. Then, once the chocolate had hardened, I just carefully snapped the frame off. Not like I was planning to use it for pictures anyway! Then, I used nearly half the container of gold luster dust and a heck of a lot of golden grain to get that frame painted a nice shimmering gold. It’s a good thing alcohol evaporates or whoever ate that frame was going to be having a REAL good time! The picture of her is, of course, also printed on edible paper.
The pink roses that are scattered around the cake tray are just my first attempts at using gum paste. I wanted to get a feel for how it worked and also just to test a technique I learned watching a YouTube video for roses. I figured they looked ok, so I added them to the cake board for more variety. Anyway, roses are her favorite flowers, so that works.
Birthday Girl
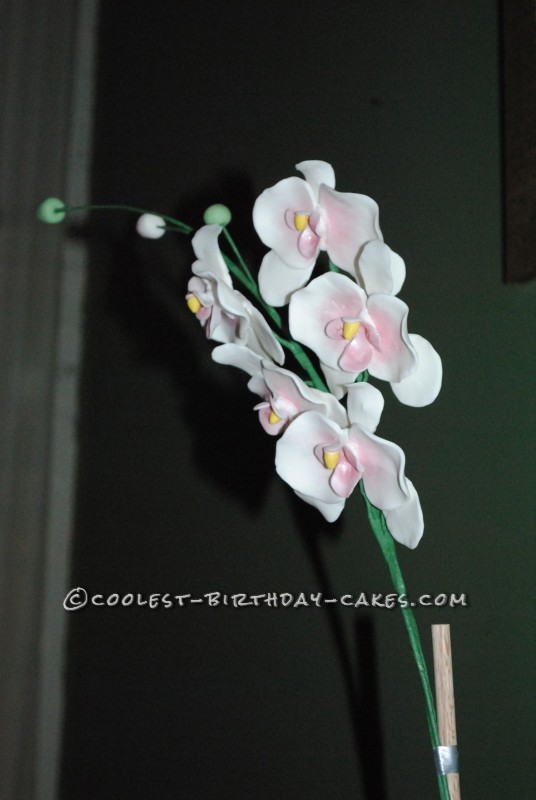
Orchids
This was my first time using gum paste. I just bought the Wilton’s ready made stuff since I had so much to do in so little time, I really didn’t want to mess with making my own gum paste. It was expensive, but I figured I didn’t really need much. It tasted kind of like toothpaste, but I guess I didn’t really want anyone eating them anyway. After all the effort it takes, I wanted her to put them on her bedside and look at them every morning and every evening and think about her wonderful granddaughter!
I copied a silk orchid plant that I happened to have at my house, so that I could get a real good look at each of the petals and the shape of everything. I tinted the gum paste for the center a pretty yellow and left the rest white. Then after assembling the flowers, I painted the pink luster dust in the center. I knew it was going to take some time to dry, so I had started working on the flowers the week before. I also happened to have floral wire and tape from a previous craft project, so it was perfect to use for the stem.
Putting this on the cake was REALLY a challenge, engineering-wise. The flowers were VERY heavy, and I knew the cake would not be able to hold that kind of weight, so I was pretty stressed out trying to think of a solution. I finally rigged up a crazy feat of support that I’m not sure I can really explain properly. I basically took a flat baking pan and put a grill rack above it. Then I used the smallest PVC pipe I could find (it was actually one of those cake supporters that goes in tiered cakes) and inserted it all the way through the cake, down through the grill rack and down to the baking sheet where I had glued a brick of Styrofoam.
Then I put the flowers down into the tube, and for extra support I stabbed that into the foam as well. So the flowers never put any pressure on the cake at all. However, I obviously had to cut a hole in the cake board so that everything could pass through, and it was CRAZY trying to get everything lined up so that I could get the pipe through the hole correctly on the first try…cake is not going to be so forgiving with me poking around with the pipe trying to find the hole! I tell you, I spent hours on measurements and math, just to make sure I got it right. As an added torture, I draped a piece of white fabric over the whole rigamarole to cover up all the mechanics of the support. Of course, I needed to cut a hole in THAT too and figure that into the whole hole-punching-tube-piercing equation as well! Whew!
The flower pot gave me a little trouble too. The terra cotta color turned out exactly how I wanted it, so I was very pleased with that, but the “lip” of the pot was NOT cooperating! That lip is just an extra strip of fondant that I attached to the covered pot. The first time I tried this, I just put everything on all at once. Not the way to do it! That lip was too heavy and it ended up ripping all the fondant off the cake as it fell. The second time, I simply covered the cake first, put it in front of a fan to dry, and when it was no longer soft and sticky, then I put a soft strip of fondant on as the lip. The drier fondant was stronger (yay!) than the new fondant, so it held that sucker up until it dried too! Then I inserted the fondant leaves and filled the pot with crushed Oreo “dirt”. I even left a little of the cream in the cookie crumbs to look like Miracle Grow! I used to see boxes and boxes of that stuff everywhere when I was a kid!
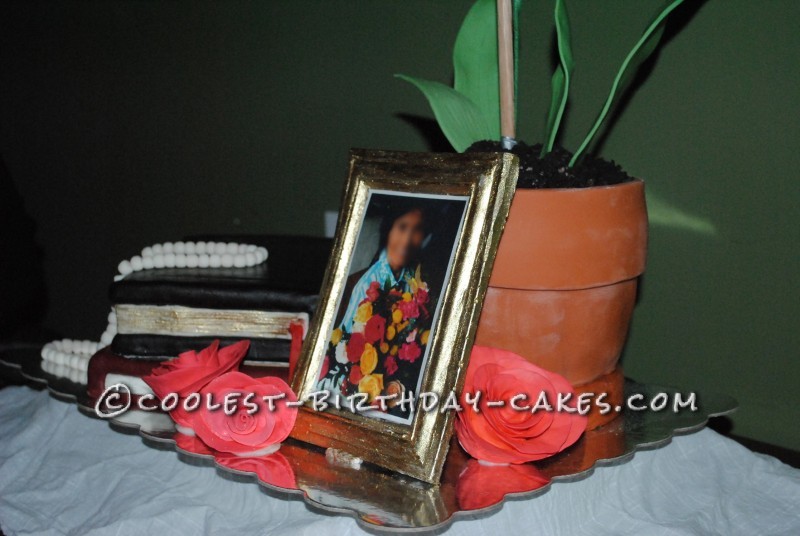
Flower Pot
Gum paste orchids
The Party
When I brought out the cake at her party, she at first didn’t know it was a cake. Of course, she’s 90, so she has an excuse! But she was thrilled with the flowers and her picture. She didn’t want anyone eating that!
As for the rest of the guests, they were all impressed with the cake and took turns taking pictures. But oddly enough, the most repeated compliment was “You used Oreos for dirt?! That’s so creative!!” The Oreo dirt took all of 20 seconds to make, including opening the package, while the rest of the cake took me like 2 weeks to assemble if you count making the gum paste orchids! Go figure.
Related cakes:
 12+ Coolest Disney Princess Cake Ideas – Awesome DIY Cake Decorating!
  15+ Cool DIY Monkey Cake Designs for the Birthday Cake Enthusiast
 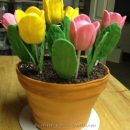 Coolest Tulips in a Flower Pot Cake
  12+ Coolest Castle Cake Ideas – Awesome Homemade Castle Cake Designs!
 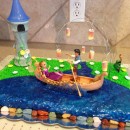 Coolest Rapunzel Cake
  Beautiful Homemade 2 Tiered Book and Tea Pot Cake
  12+ Pretty Homemade Princess Cakes
  10+ Coolest Princess Cake Ideas