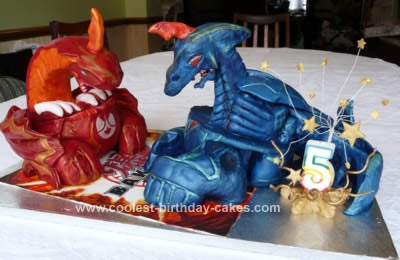
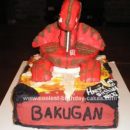
I made this Homemade Bakugan Birthday Cake for my son Luke on his 5th birthday. I used two square 6″” fruit cakes and after carving I still had plenty left over. I used a round Xmas pudding mould for the size of each Bakugan. I placed it on the fruit cake and cut round it. I then lined the pudding mould with clingfilm and squashed the cut round fruit cake into the mould and left it for an hour.
I then cut a small section away from the moulded cake for where the feet would be placed. I covered both pieces in white fondant to get the basic shape of each Bakugan’s base.
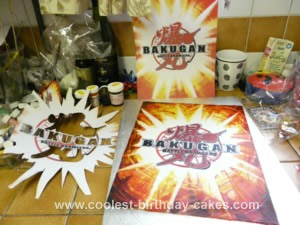
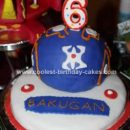
Meanwhile I rolled out a thin rectangle of white fondant and placed it on the cake board at an angle. I used a stencil I had made from scanning a Bakugan card and enlarging it to get the size and shape of the middle picture for the card. I just used edible food colouring gels and painted in the stencils with the appropriate colours. I then removed the stencil and again using edible colours painted in the rest of the card. I left this to dry overnight.
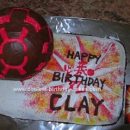
With the left over pieces from the fruit cake I cut the four leg shapes and covered 2 in red and 2 in blue fondant. I then used a shortened skewer to make the imprints on the feet. If you make a mistake it?s easier to correct when the fondant is still pliable.
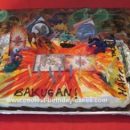
I then covered the 2 bases of the Bakugan Birthday Cake in red and blue fondant and marked in the imprints. I lightly covered all the parts with cling film so that I could test the fit of each Bakugan and adjust before placing on the board. Once the fit was OK and I knew how to position them I removed the cling film and using edible glue placed each component onto the prepared card. I then painted the imprint details with the relevant food colour.
I brought 5ft of stainless steel 2mm thick wire to use as supports for both necks. I cut these into the lengths required and washed and dried. I used the pudding mould to shape the wire into arches for the necks and then placed rice krispie treats around the wires to form the necks and heads leaving enough wire sticking out to push into the bases. I stuffed these shapes back into the pudding moulds and left them for ½ an hour so they would keep their shape. I then covered in fondant and using various tools added the imprint details. Painted in the details again using edible colours and attached the heads and necks to the body.
Adding the Details to the Bakugan Birthday Cake
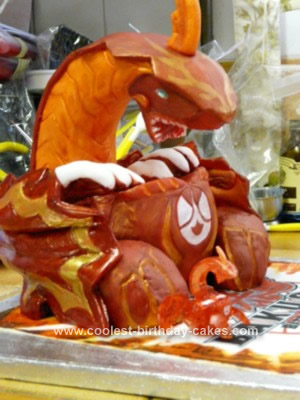
Using more left over cake covered in fondant I added more of the body details like the white claws on the red Bakugan etc. Using cake wire #26, I formed a structure to support the wings and covered the wires in thin strips of fondant. I then cut a template for the red wings and cut round this on red fondant. Using edible glue I stuck the wire structure onto the wing and added to the Bakugan straight away so I could use the base as part of the wing support as well. This worked out quite well and I only had to prop the top edge until it dried.
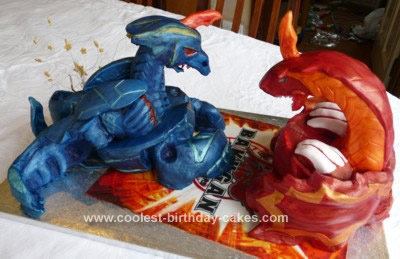
I did the blue wings of the Bakugan Birthday Cake the same way, although they were supported on the board as well as the body. I finished painting on the details on the wings and finally it was complete.
This Homemade Bakugan Birthday Cake was a very hard cake to work out how to support the necks and wings and took me roughly 20 hrs but for a 1st try I think it turned out well. My son and his friends all loved it. I am looking forward to trying this again as it will be much quicker next time now that I know what to do.


Cool Cake-Luv it! I may have to try this one out.