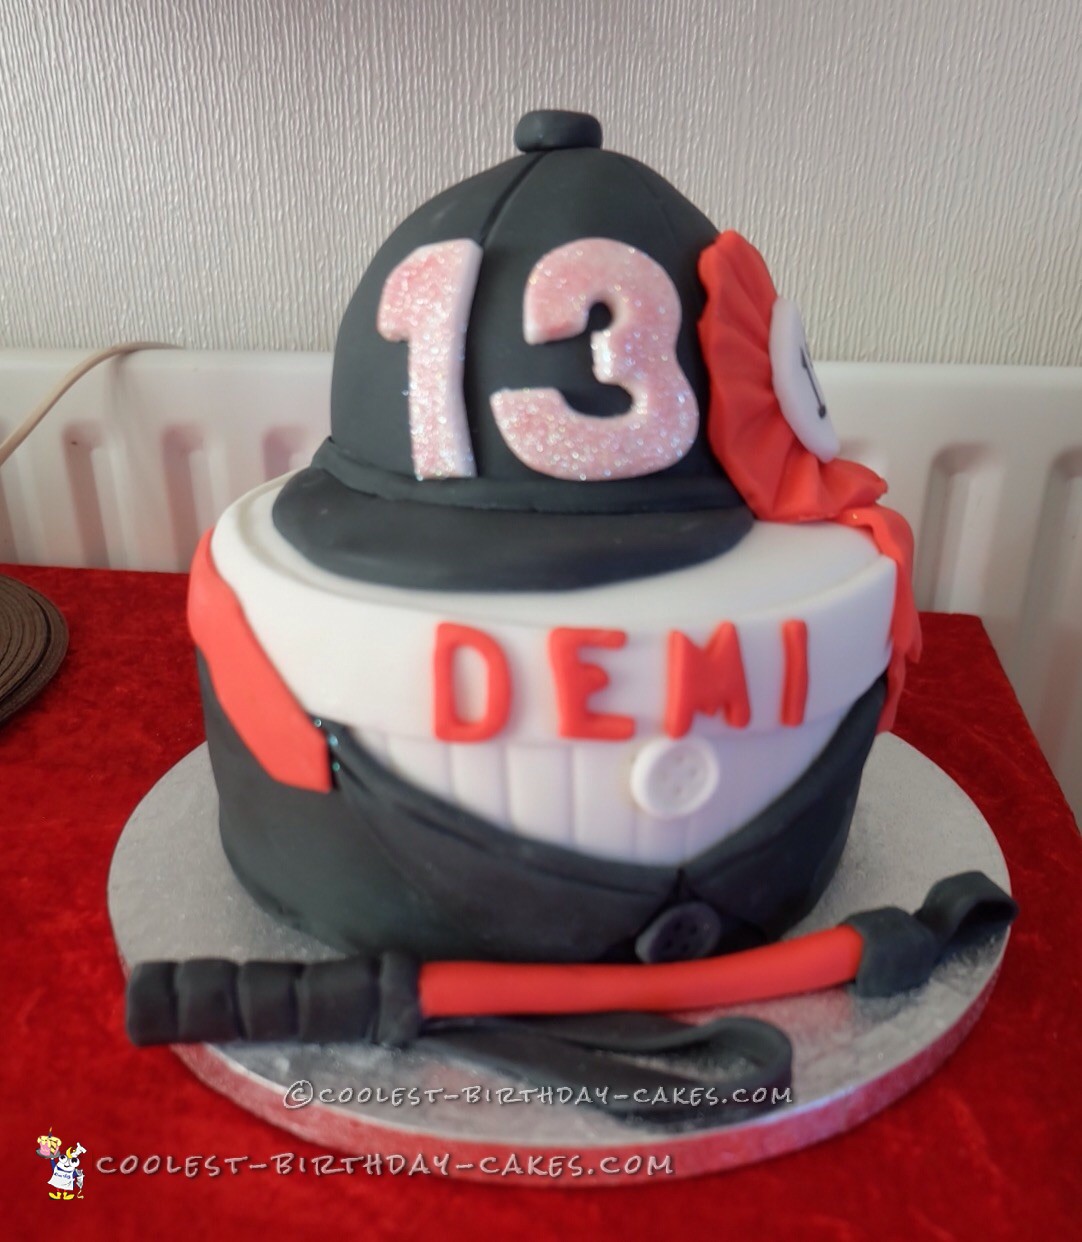
I made this horse riding gear cake for my niece who is going to be 13. She asked if she could have a cake made and this is what she wanted.
Steps for Making this Horse Riding Gear Cake
- I started by baking a 7″ round 3 layer cake and a 2 layer 4.5″ round cake.
- When cold I filled it with jam and buttercream.
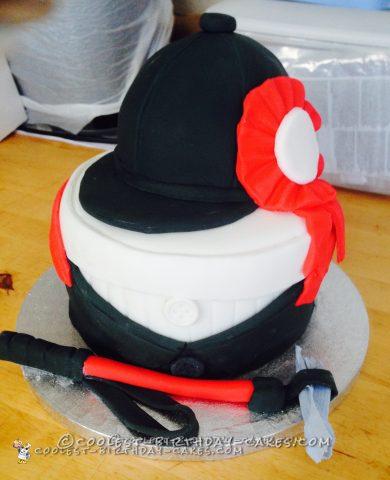
- I shaped the smaller cake for the riding hat and then covered it in buttercream and chilled it in the freezer.
- I covered the larger cake in white icing and then made the pattern in the front side of the cake for the shirt and set it aside to harden.
- I covered the smaller cake in black icing I had previously coloured and then I made the indents where the riding hat would have been sewn together and I added a button on the top.
- This was set aside to dry out overnight.
- The next day I rolled out the black icing and cut out the jacket in two halves and attached it to the cake using a little water.
- I folded down the collars and using a modeling tool to press it into the shape of the lapel.
- I then made a white and black button and attached the black one to the jacket and the white one to the shirt.
- I rolled out some white and cut a long white strip and attached it to the top edge of the shirt.
- Using some red icing, I attached a long strip like a tie around the jacket edge.
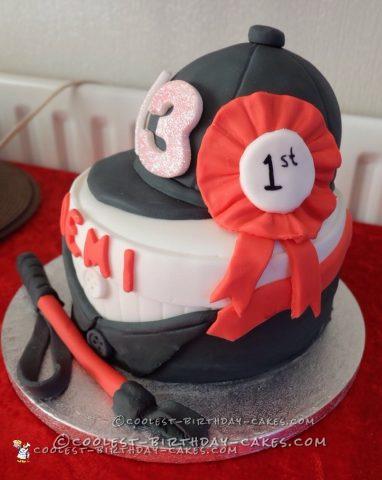
- I attached the hat on the top of the cake and made the peak of the hat.
- I attached the peak using a little water and then I made a thin strip of black and attached this around the base of the hat to finish the hat off.
- I made the ribbon for the back of the hat.
- I made a red rosette by rolling out a large circle and ruffling it with a cocktail stick until I got the desired effect and then made the tails of the ribbon rosette.
- I rolled out a circle in white and attached it to the center of the rosette and when this was dry I painted 1st on it in edible food colour. This was attached to the cake before it fully dried.
- I rolled out a long strip of red for the whip and made a black handle and black whip and attached them to the cake board.
- Finally I made the numbers 1 and 3, covered them in pink glitter when dry, and attached them to the hat.
- Then I cut out the name DEMI in red icing and I attached it to the top of the shirt.
She loved it!
Related cakes:
 5 Dinosaur Cake Ideas of Jurassic Proportions
  Cool Homemade Minnie Mouse 2nd Birthday Cake
 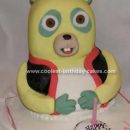 Coolest Oso Cake
 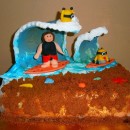 Riding the Tube with Minions Figure Cake
 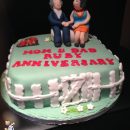 Coolest 40th Wedding Anniversary Cake
 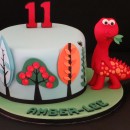 Awesome Funky Dinosaur Tree Birthday Cake
 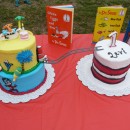 First Birthday Dr. Seuss Hodge-Podge Cake with Cat in the Hat Smash Cake
 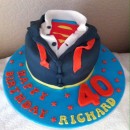 Coolest Superman Birthday Cake