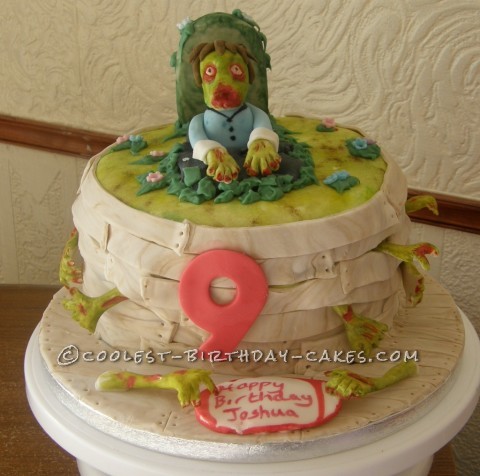
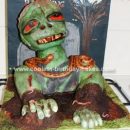
My friends grandson asked if he could have a zombie cake for his 9th birthday so she asked me to make it for him. I was over the moon about it I’d never made a zombie cake before and couldn’t wait to get started. I had to make the grave stone and cut in the letters RIP. I set this aside.
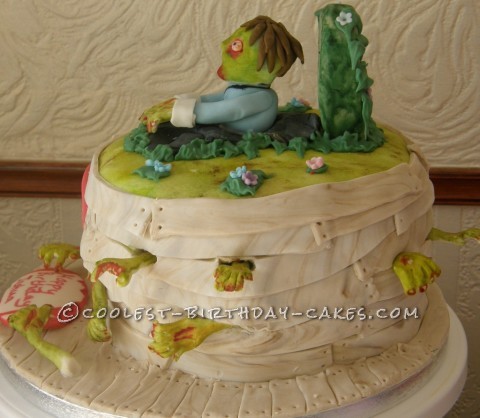
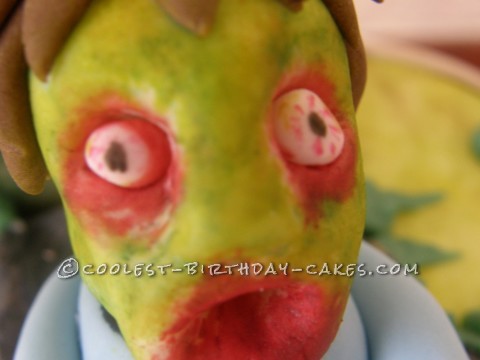
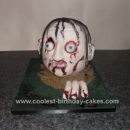
I then made the 1/2 torso in blue for the zombie and then attached some arms and then made the head and poked two holes for the eyes to be fitted later. I made two small balls for the eyes and set these aside too. These were left to harden over night. The next day I coloured the head stone in green using a little gin and green food colouring and then coloured the zombies face in using greens yellows and browns and a little gin this dries when the gin evaporates. When dry I coloured the mouth and the eye sockets in red for blood and with my edible marker pen I drew red blood vessels on the eyes and attached them to the eye sockets using a little royal icing
I now made the hands for the zombie and made some arms to be attached around the cake later these were left to dry and then coloured. I also coloured in red cuts and blood on the nails on the hands.
I now baked a 7″ round 3 layer vanilla sponge and when cold filled with jam and buttercream and then covered in butter cream and placed in the freezer to chill. I now covered in white fondant and set aside for a few hours to harden. After a few hours I coloured the top of the cake in greens and browns using a little gin a sponge and dabbed it over the cake. I now mixed some black and brown with some fondant to make the grave and attached the zombie to the top of it like he had raised from the grave I now attached some cuffs to the arms of the zombie and attached the hands.
I then piped iced leaves over the grave stone and attached a few random flowers and piped leaves around the grave. Later I mixed some dark brown food colouring to make a light brown and then mixed a little more dark brown to make the wood grain. I cut this into long thin strips and attached it around the cake a bit at a time attaching the arms and hands where needed when it was all covered.
I started covering the cake board in the same way then using a stick of spaghetti and marked dots to resemble the nails in the wood. Finally I cut out an oval shape out of flower paste and let it dry then I wrote the message on it. I then attached it to the front edge of the cake board and attached two arms to look like it’s being held. I then cut out a number 9 in red and attached this to the front of the cake.
My friend loved it and I was so pleased with the end result