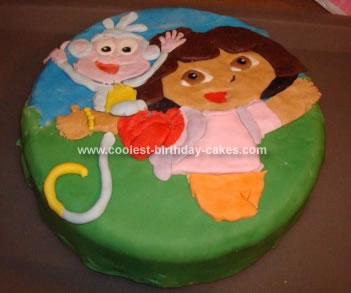
I made this Dora birthday cake for my daughter’s 3rd birthday. She really wanted a Dora cake and I decided to use a puzzle technique. This was my first attempt at using this technique.
I made a round sponge cake and filled it with chocolate mousse. That was the easy part. I decorated the cake with Regalice Ready to Roll coloured icing.
I printed the Dora picture at the desired size and put the picture in a plastic sleeve and I started cutting out pieces of rolled out icing that fit the various parts of the picture. I made the edge of some pieces a bit too large and flattened those edges more than the rest of the piece, so I could put the next piece on top of the flat part. This way all the pieces are connected.
Also to create somewhat of a 3D look, I made some parts thicker than others and I made some of the edges round (Boots arms are a good example of that).
When the entire picture was filled in I covered it with plastic wrap and put it in the freezer overnight.
The next day I covered the cake in whipped cream, rolled out green and blue icing and put it on the cake to make the sky and grass. I took the picture from the freezer and while it was still frozen I transferred it to the cake. It’s easier when it’s frozen. When it started to soften I gently pressed the picture so it would stick to the cake.
It’s not perfect, but I thought it turned out quite nice for a first try.
Related cakes:
 12+ Coolest Frozen Birthday Cake Ideas for the Ultimate Frozen Theme Party
  Coolest Disney Frozen Birthday Cakes
  Coolest Diego and Dora Birthday Cake for 4 Year Old Twins
  12+ Coolest Peppa Pig Cake Ideas
  Heart-Shaped Dora Birthday Cake
 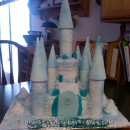 Coolest Castle Cake Inspired by the Disney Movie Frozen
 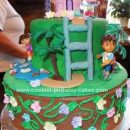 Coolest 360 Degree Dora Adventure Birthday Cake
 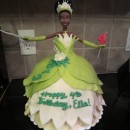 Coolest Ice Cream Tiana Doll 4th Birthday Cake
Your comment has been sent successfully.