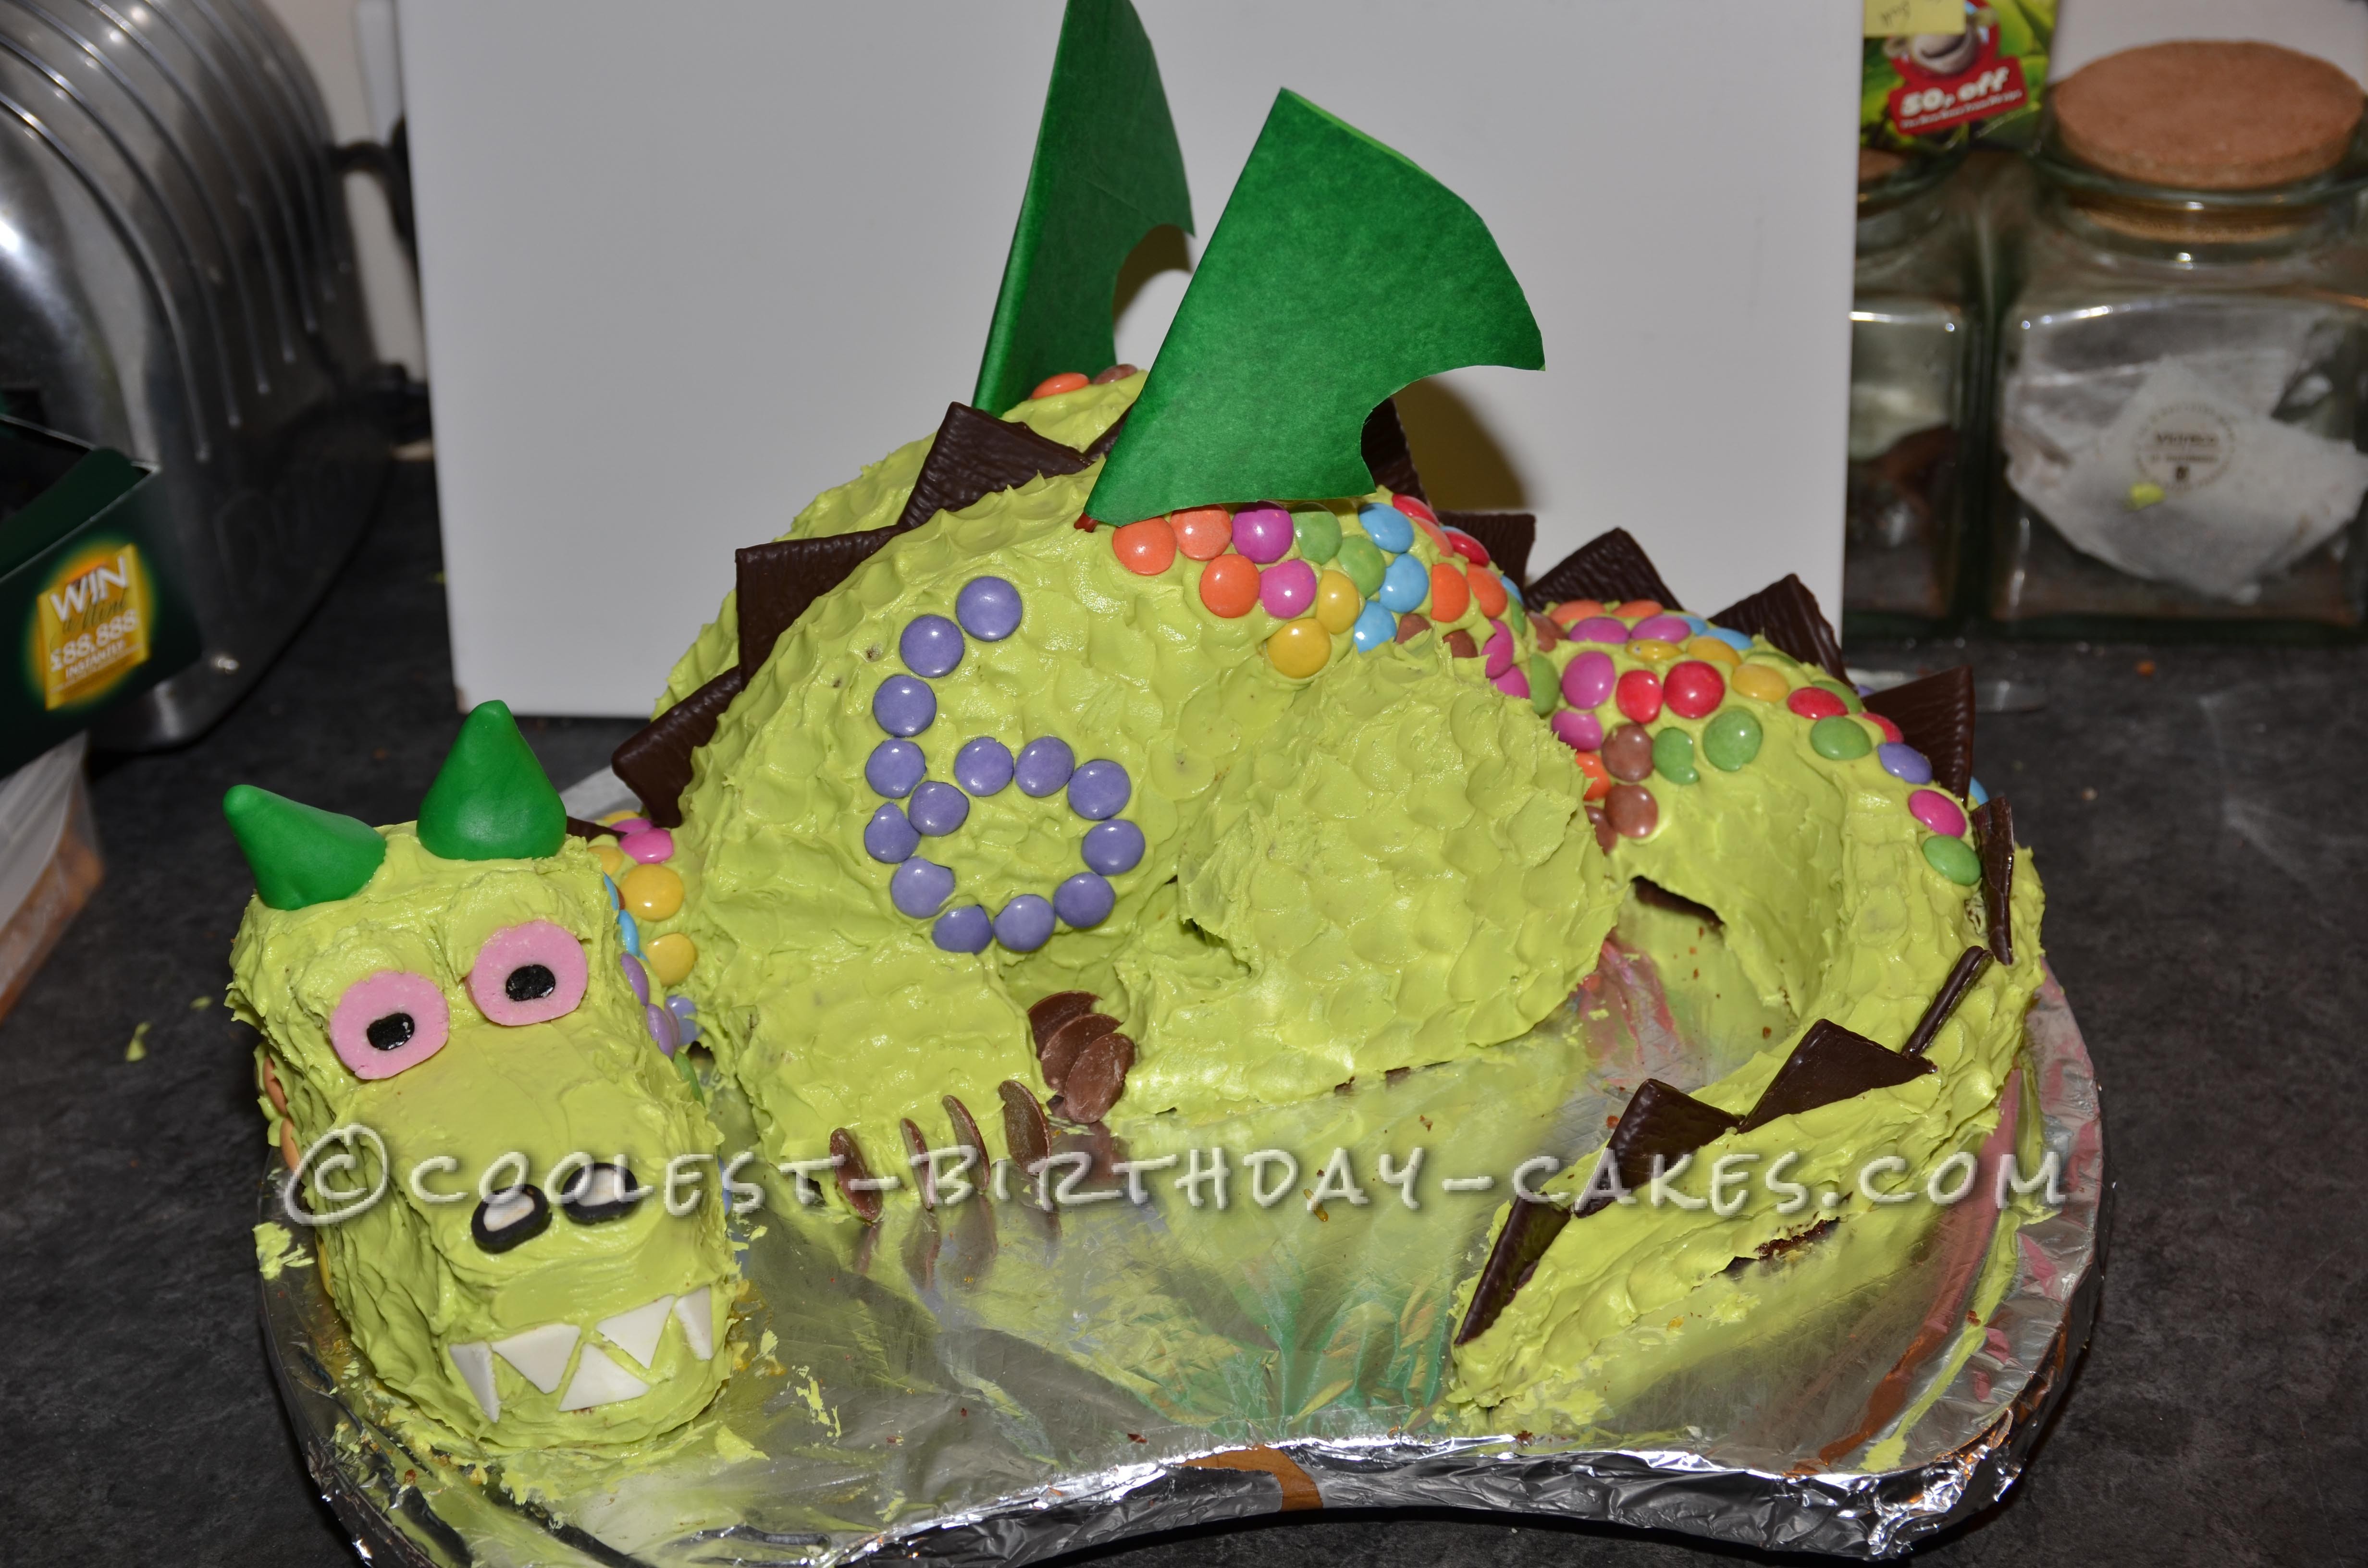
When my sweet girl turned 6 she asked for a Dragon cake, so I set about having a look on this website and the internet for inspiration. This cake was so much fun to make, I started with 3 round sponge cakes, two I trimmed a third off of and put them against each other for the body. The third I cut out the outside rim and used that to make the tail. The extra left over bits of those cakes managed to become the legs. For the head, I baked a loaf tin of sponge cake and trimmed out a ridge for the eyes.
I made butter icing to cover the body (one portion would be 175g of icing sugar, mixed slowly into 100g of softened butter). The only problem was that this was before I discovered gel coloring, so I was using liquid food coloring, and because the butter icing looked quite yellow, I had to use so much coloring to start turning it green that I have to confess – it didn’t taste great. Anyhow, I arranged the body pieces together and iced it up all green and dragon like, then because it was so soft I hit on the idea of using smarties for scales, it was such fun putting them on and it looked really effective too.
By now my husband had come to watch and he starting helping out with the decoration. The teeth were his idea, he took apart some Licourice All Sorts and cut the white squares into triangles for teeth on the side of the jaw. He also picked some out for the eyes and nose. We cut some After Eights Dinner mint chocolates in half for spikes down the dragons back, and pushed chocolate buttons into the feet for claws. Then I shaped some ready made green icing for horns.
Lastly we decided it looked more like a lizard than a dragon and needed some wings! I glued some green, winged shaped paper to two little plastic paintbrushes from the girls’ art box and pushed them into the dragon’s back – it totally transformed the cake. My daughter was SO chuff with the cake when it was revealed the next day, she grabbed me in a big cuddle!
Related cakes:
 12+ Coolest Castle Cake Ideas – Awesome Homemade Castle Cake Designs!
 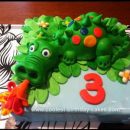 Coolest Green Fire Breathing Dragon Cake
 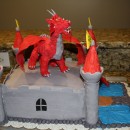 Breathtaking Homemade Dragon and Castle Cake
 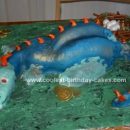 Coolest Homemade 3D Blue Dragon Cake
  Cool Golden Birthday Dragon Cake
  12+ Pretty Homemade Princess Cakes
  12+ Inspiring Homemade Princess Birthday Cake Ideas
  12+ Coolest Disney Princess Cake Ideas – Awesome DIY Cake Decorating!
Your comment has been sent successfully.