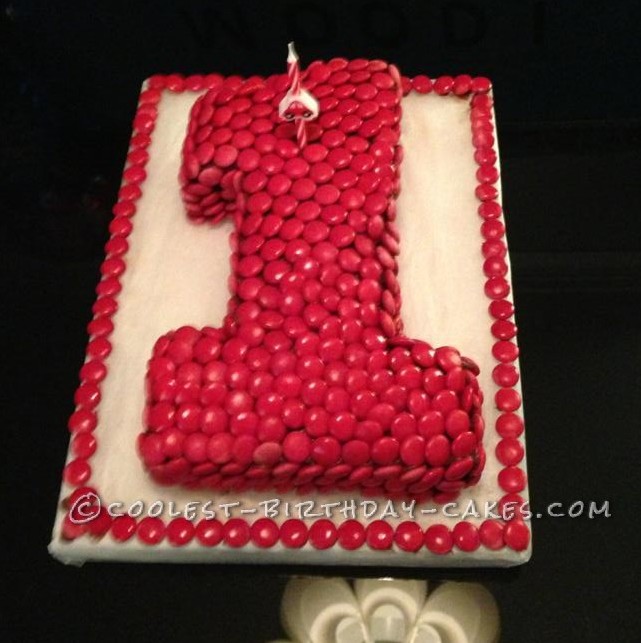
I made this cake for my son’s first birthday cake. We all enjoyed it. It didn’t look perfect but you follow my steps you will see where I made the mistakes. I am positive my next smarties cake is going to be perfect. I always get excited when I make cakes and I run out of patience and rush the steps to see the outcome. TAKE YOUR TIME and enjoy making it.
1 Baked a 13×9 inch chocolate cake using cake mix and put it in the fridge to cool down. It’s better put it in the freezer to get a hard cake that you can cut nicely.
2. I printed a #1 template from Google images. Cut around it and pinned it to the cake with tooth picks and cut the desired shape.
3. Iced and cooled the cake (wait at least 15 for the crumbs to settle in).
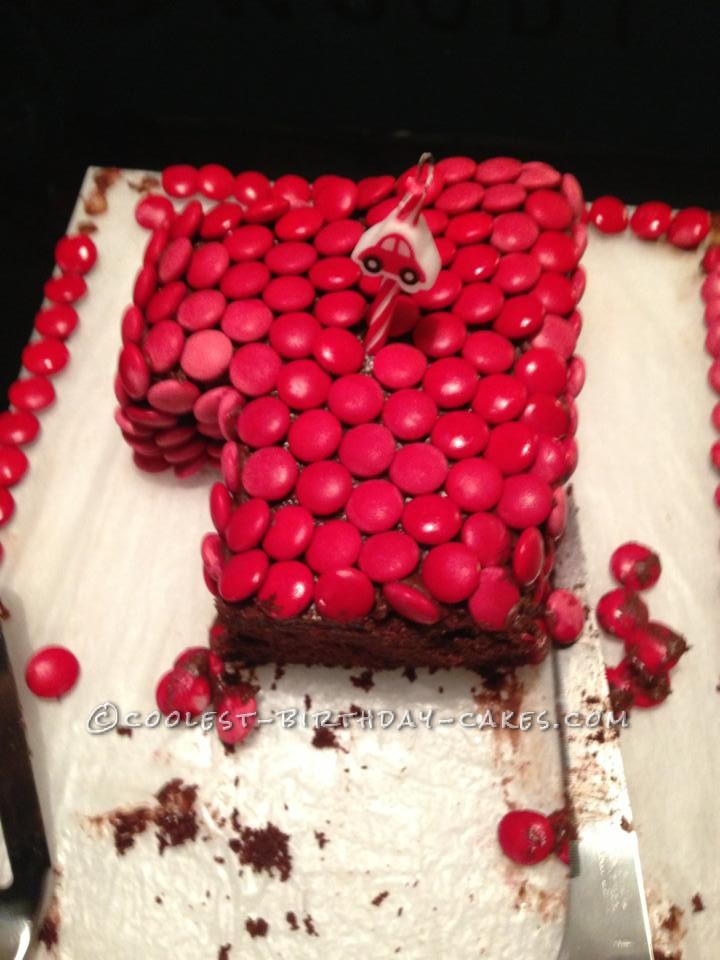
4. I put some icing in a small Ziploc bag to glue the smarties. make sure your warm hands won’t melt it because the smarties will glide downwards on the side. When you start aligning your smarties do one line at a time (horizontal, vertical or diagonal and remember not to get too excited).
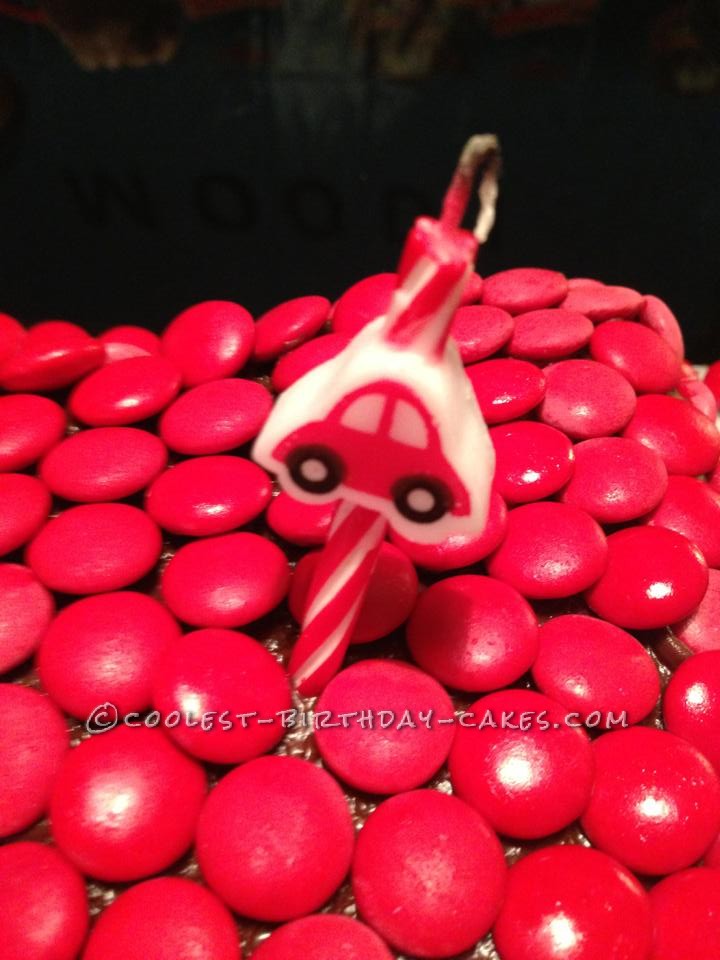
5. When you finish put the cake immediately in the fridge. I put it over night and that’s how the smarties lost their glare. I fixed it by running a brush dipped in vegetable oil (just a little bit) over the dry smarties. You can see in the picture I missed a lot of spots.
6. Decide early on whether you want to align your smarties flat or with an angle (as you can see my cake had different patterns).

Related cakes:
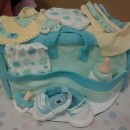 Coolest Diaper Bag Cake
 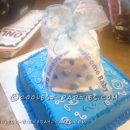 Cute Baby Shower Cake
 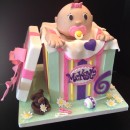 Make this Coolest Ever Baby Doll Cake – Step-by-Step Tutorial!
 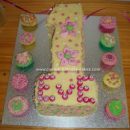 Cool Homemade Yellow and Pink First Birthday Cake and Cupcakes
  Daring Baby Shower Cake for a Beginner
 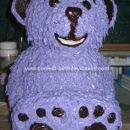 Coolest Baby Shower Bear Cake
  Pink Winter Wonderland Diaper Cake
 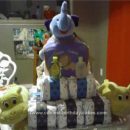 Coolest Homemade Elefun Diaper Cake
Your comment has been sent successfully.