
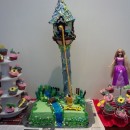
My niece wanted a fun Rapunzel birthday cake, so I started my hunt for ideas online. I made a Rapunzel cake for my daughter two years before, so I had a few ideas already up my sleeve. I knew I needed to sturdy up my tower because my daughter’s was made of ice cream cones and it almost tipped over!
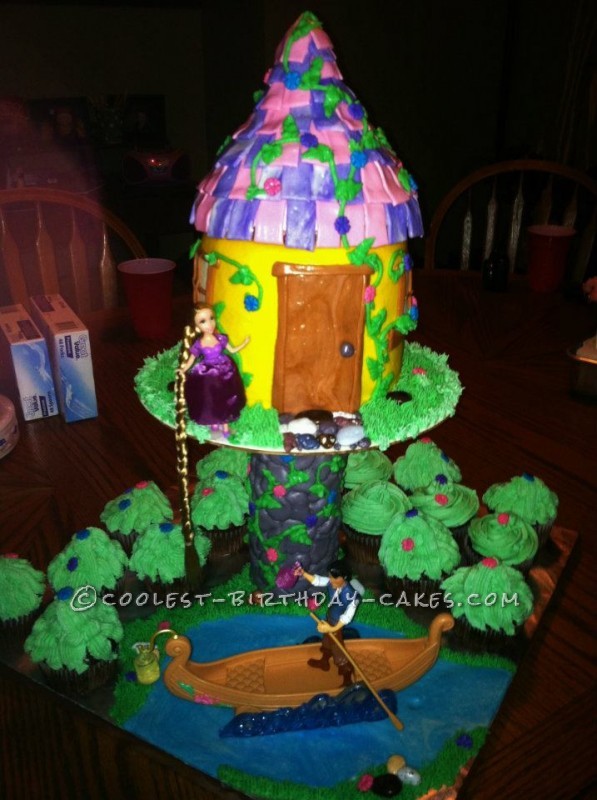
The cake was a huge hit. My niece had a smile on her face as big as the boat in the pond! I had my niece help put the last layer of frosting-grass on her cake, so she could tell her friends she helped with the cake. The guests at the party weren’t sure they should cut into the tower because they thought it was plastic – part of the Rapunzel collection. The children all asked for part of the crisped rice roof and tower once they knew it was edible. They couldn’t wait to eat it!
Constructing the Tower 1
I wanted to try using my (limited) construction skills on this Rapunzel cake. I made a base for the tower out of a wood block and plywood that I cut into a circle and attached with a screw. It seems simple, but my clumsy hands made this part of the project longer than baking my cakes!
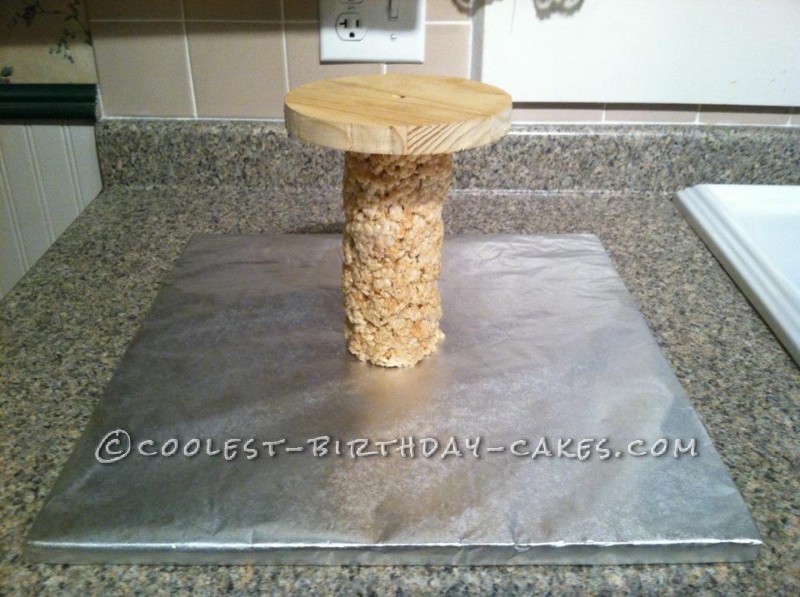
Tower Step 1
Constructing the Tower 2
Once I put down the construction tools, things went much faster. I used crisped rice and marshmallow mixed to cover the base of the tower. After letting the crisped rice on the base of the tower harden, I added homemade marshmallow fondant that I colored with black food coloring. To get the look of stones, I used a texturing tool to create rocks in the fondant.
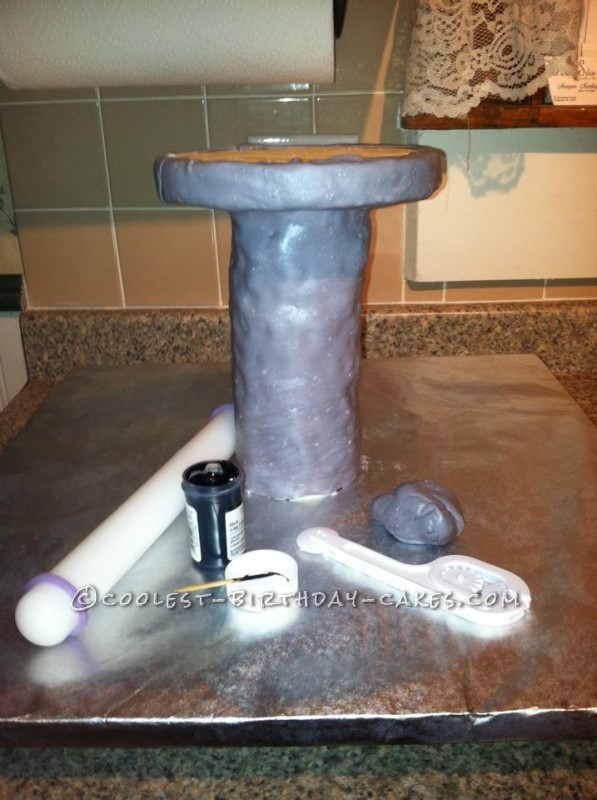
Tower Step 2
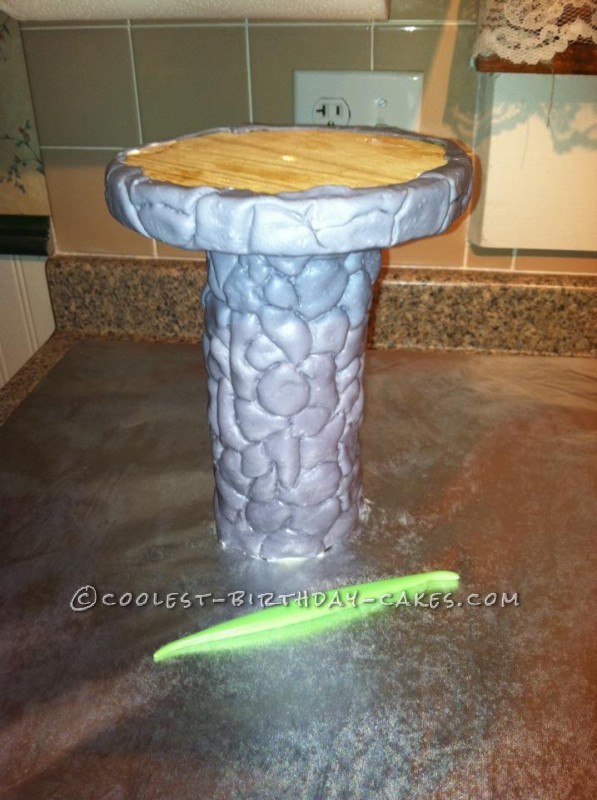
Tower Step 3
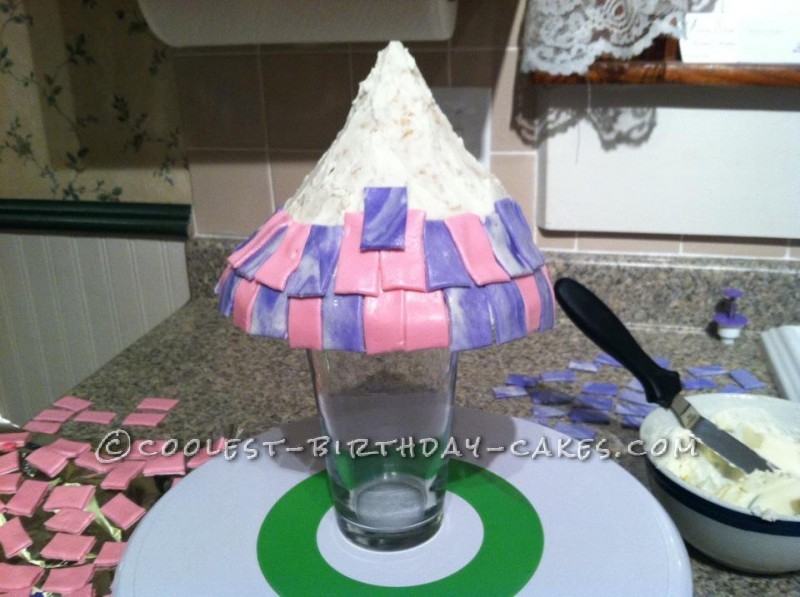
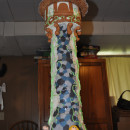
Constructing the Roof of the Tower 1
My next step was to create a pyramid shape for the top of the tower. I went to my beloved crisped rice and marshmallow mixture and stuffed it firmly into a funnel covered in shortening. The fun part of working with shortening = having extremely soft hands when you are finished. (Be sure to remove your rings or you’ll be spending more time later using a toothpick and tissue to get it all off!) I let the pyramid harden by placing it into the refrigerator.
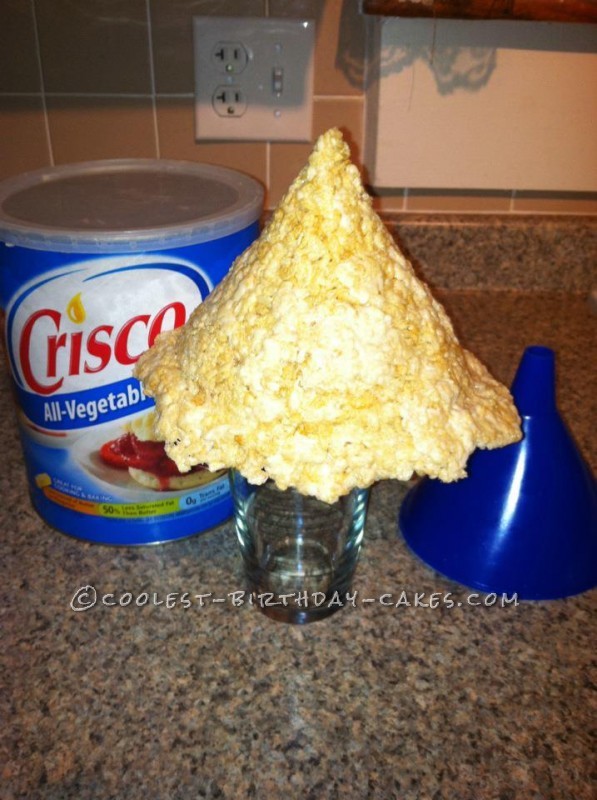
Tower Roof Step 1
Constructing the Roof of the Tower 2
My eight year old daughter helped me mix our homemade marshmallow fondant for the shingles on the roof. We added purple and pink food coloring to sections of fondant. Once we had just the right colors, we rolled our colored fondant out. I cut rectangular shapes into the fondant and let them sit for a few hours. (They stiffen up a bit and are easier to use if they aren’t gooey.) My daughter covered the top of the tower with buttercream frosting and we added the fondant shingles one at a time starting at the bottom. The frosting acted like our glue. I was sure to overlap the shingles and keep the seams from lining up vertically. I set the top of the tower aside and put it in a safe place, so my little “helper” wouldn’t knock it over.
Tower Roof Step 2
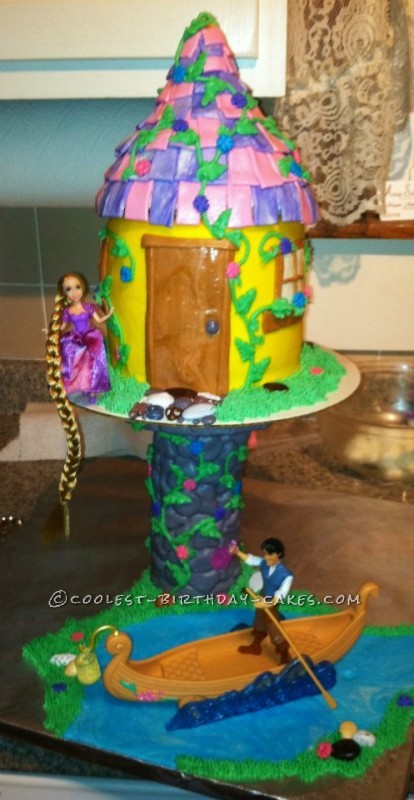
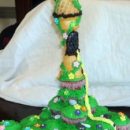
Putting Rapunzel’s Tower Together 1
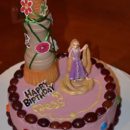
To build the house of the tower, I stacked three 8” round cakes layered with buttercream frosting. I used wooden skewers to secure the layers together. I put buttercream frosting on the house and smoothed it with a fondant smoother and a paper towel. (That trick is one of my favorites!) Then, I added the roof to the house and again secured it with wooden skewers. I made a few fingerprint marks in my frosting as I was putting it together, so I placed the windows in strategic places! I made the windows with white buttercream frosting and the window panes out of rolled out tootsie rolls that I cut into strips. The door was also made from softening tootsie rolls in the microwave and rolling them out. The door knob was made of gray marshmallow fondant I had left over from the tower.
Tower put together 1
Tower put together 2
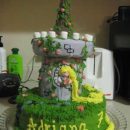
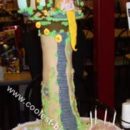
Putting Rapunzel’s Tower Together 2
I decorated the entire tower with green buttercream frosting – creating vines and grass. I added colored marshmallow fondant flowers here and there. My daughter also helped place the flowers. I used chocolate rocks to create a path in front of the door and a few rocks around the grass and pond. To create the pond, I colored some of our homemade marshmallow fondant with blue food coloring. After placing it on the board, I used a little water and a paint brush to lightly brush water onto the fondant. It gave it a wet look. To create the trees around the tower, I decorated cupcakes with green buttercream frosting and marshmallow fondant flowers. The characters on the cake were toys I purchased as gifts for my niece.

Your comment has been sent successfully.