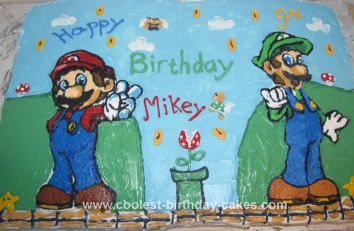
I made this Super Mario and Luigi Cake about three years ago. It was made with store bought cake mix and store bought frosting (I will explain more later) in a Wilton full sheet pan 2x. The idea and technique for cake was found on this great website using a technique that many have shared on their cakes called icing transfer (I believe).
As I stated many have shared it on their cakes, but I will explain how I have used it(if someone has explained it similarly – great minds think alike, let me know so that I can credit you and thank you). Mario and Luigi were icing transfer, rest was remaining icing hand-iced on with images I remembered from game (preplanning is your greatest asset). Like I have stated I use regular store bought frosting (which ever is your fav will probably work too). After coming up with my design and deciding what colors I want I stir and divide my tub (more is always best, in case of touch-ups).
I use basic plastic party cups, plastic spoons and the tub itself for last color(easy clean-up). I use Wilton icing food color, never gel(makes icing too thin for this method). After colors are prepared and placed in Ziploc slide-top sandwich bags (single, not double-lipped bottom), I snip a thin or medium sized corner off depending on design and placing(again easy clean-up and no tips to monkey around with). Have image printed out in size you wish for cake (make sure will fit) and reversed. Place wax paper sized a bit larger on top, I usually tape image and paper onto a sturdy flat cutting board or cookie sheet (again make sure will fit in freezer). Now you are ready to begin.
I prefer holding bag as pencil and basically pretending I am coloring in image. You are basically copying what you see. I do ever so often lift the image up, carefully straight up holding wax paper as tight and straight as possible to check on image. If mistakes are made, you can usually easily lift off with toothpick and a little tissue. Once image is complete and you are satisfied, you need to “lock” it in by outlining in icing that matches to what you will “dirty ice” with. A semi-medium line is best, too thin and it may pull your image away. After outlining is complete you need to cover entire image with that same icing, do this carefully and again in a medium consistency. With hand cornstarched lightly press on icing, this is basically to “seal” it and you will most likely need to recornstarch a couple of times.
Now you are ready to freeze, I prefer overnight. I also “dirty ice” night before. In morning, after deciding exactly where you want image, carefully place transfer, wax paper up, on cake. With toothpick in hand begin gently lifting paper off, the outline line will try to stick (this is why you need toothpick) gently pick at line pulling onto cake. Once that line is down the paper should peel off easily from image, if not again use toothpick. Touch up with any leftover icing you have saved. Finish decorating cake with design you had in mind. Enjoy!
Related cakes:
 Cool Super Mario Brothers Birthday Cake Design
 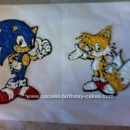 Coolest Sonic the Hedgehog and Tails Cake
 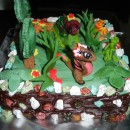 Awesome Dragonvale Cake for 10 Year Old Girl
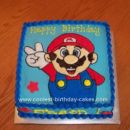
 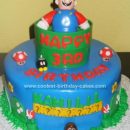 Coolest Super Mario Birthday Cake
 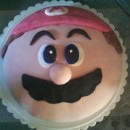 Super Easy Super Mario Cake for a Super Mario Fan
 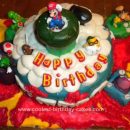 Coolest Super Mario Wii Cake
 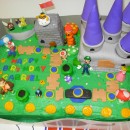 My Son’s Super Idea for a Super Mario Bros. Birthday Cake
 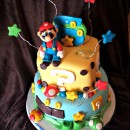 Coolest Mario! Fun 5th Birthday Cake
Your comment has been sent successfully.