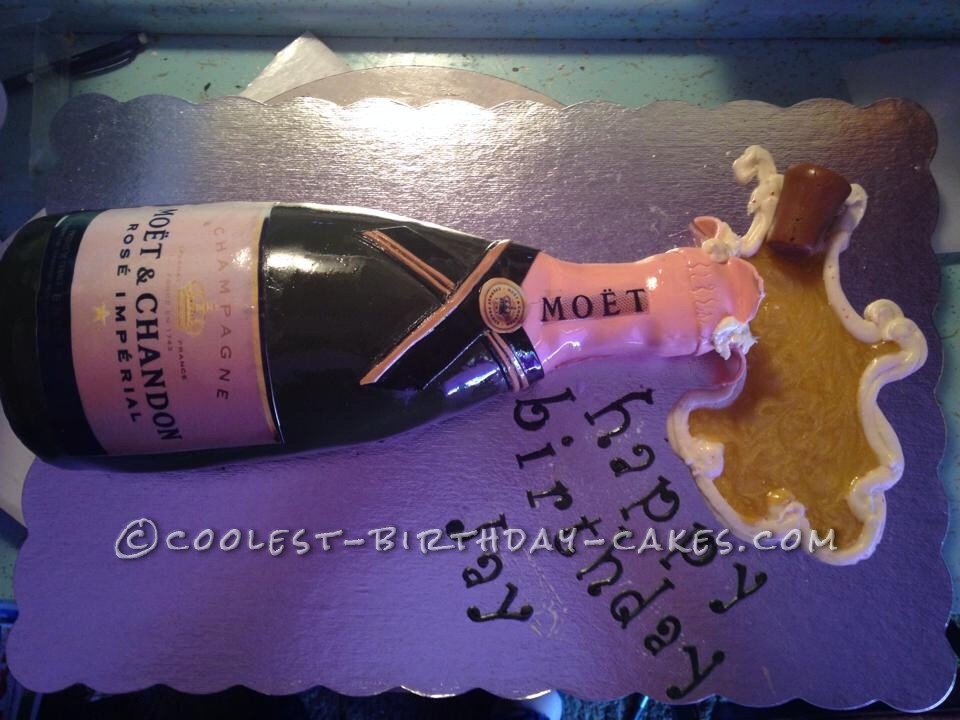
I made this birthday champagne cake for a young man celebrating his 30th birthday! A milestone definitely worth toasting for!
Building the Cake
I started by baking a half sheet cake and a 6″ inch round. Red velvet was the flavor requested by my client. I cut the 6″ in round exactly in half and placed the pieces up right onto the half sheet. I used these halves as a guide to the width of the bottle.
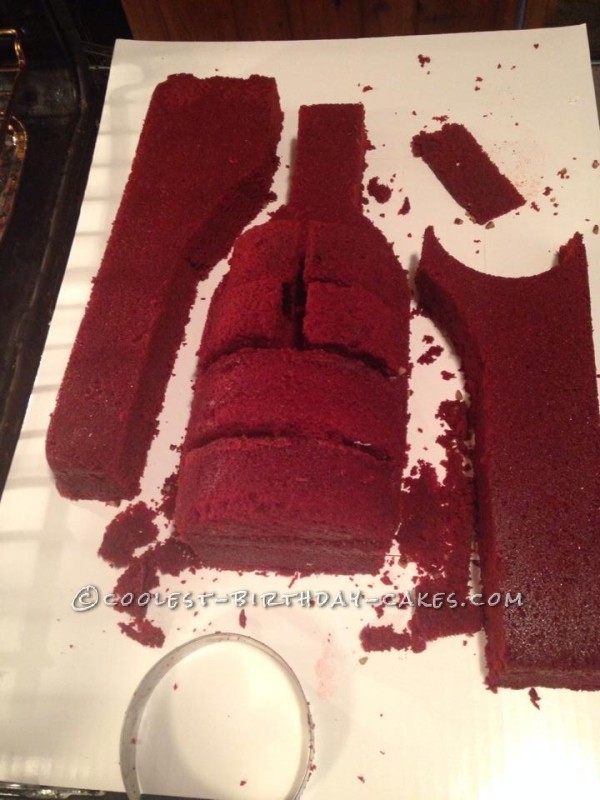
Cutting to shape
Sculpting the Cake
I used the remaining pieces to cut more circles to give the cake a contour of a bottle. I iced the bottom piece and in between each half circle for stability. I then carved the cake to shape. I crumb coated it and placed it in the freezer while kneaded, colored, and rolled out my fondant.
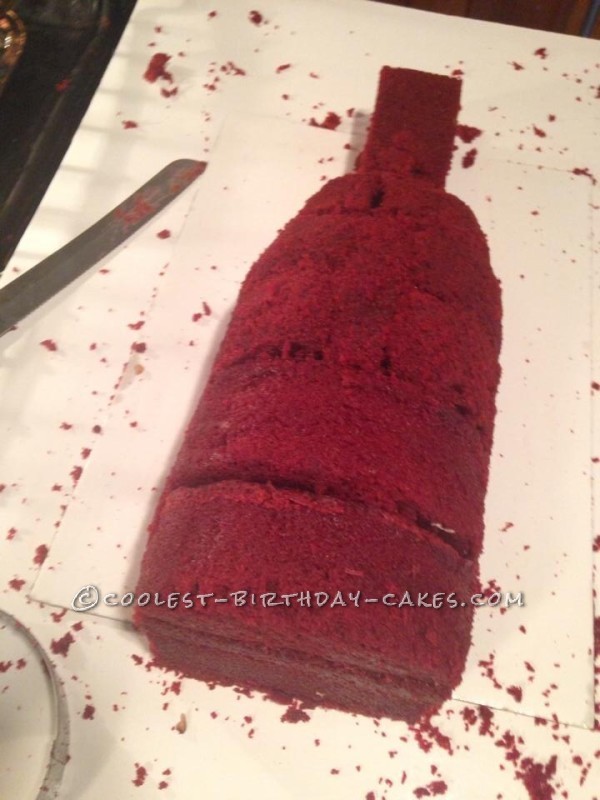
Carving
Covering the Cake
I mixed green and black fondant together to get the dark green bottle color (I use Fondx fondant, my favorite for decorating). I covered the cake up to the “neck” of the bottle and smoothed the sides. I think rolled out a pink piece of fondant as I was making a Rosè champagne bottle. I covered the neck with the pink piece. I then rolled out a black piece of fondant for the ribbon piece. I used an edible image for the bottle label and name.
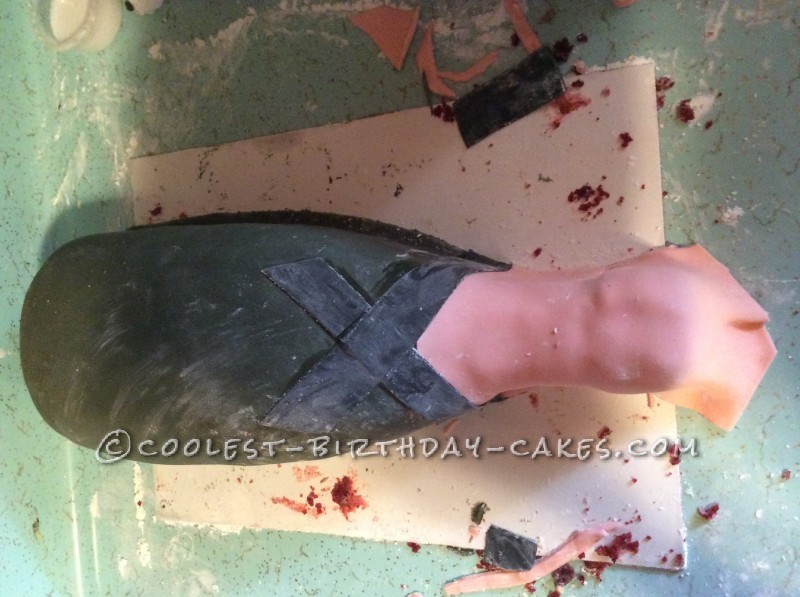
Covering in fondant
Finishing Up
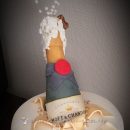
After I labeled the cake I wiped away the excess cornstarch and sprayed the cake with a gloss spray to give it a “glass” look. I cut an X in the top of the bottle and peeled the pieces back to give the effect of an opened bottle. I made the cork out of gum paste. I used cream cheese icing for the foam and sparkling gold gel as the champagne pouring out. I got the gel at party city for around $1.99. Added happy birthday and voila a champagne bottle cake!
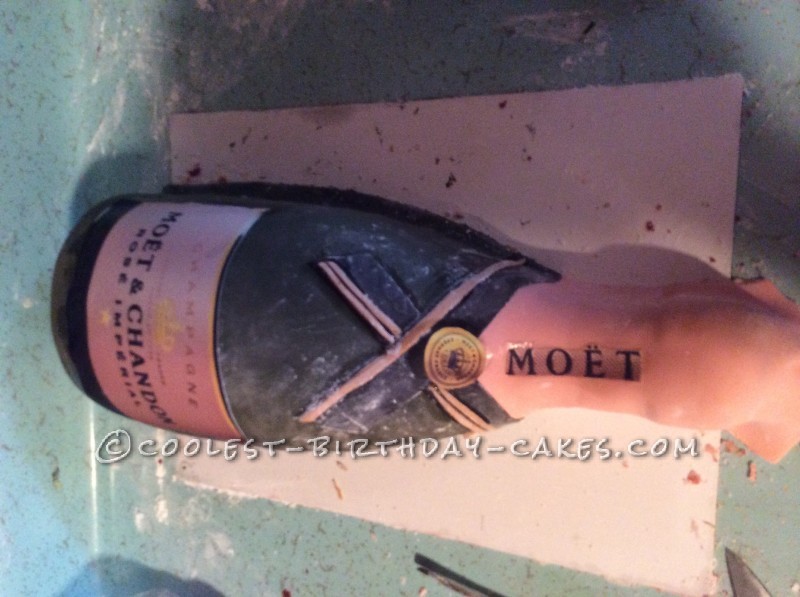
Labeling the cake

Final touches

Champagne pouring
Related cakes:
 Coolest Champagne Bottle Cake
  Amazing Wine Bottle Cake for Mom’s 60th Birthday
  15+ Cool DIY Monkey Cake Designs for the Birthday Cake Enthusiast
  5 Dinosaur Cake Ideas of Jurassic Proportions
  Floyd the Flamingo Birthday Cake
 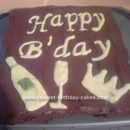 Coolest Champagne Birthday Cake
 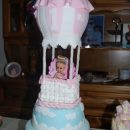 Sweet Hot Air Balloon Cake for Baby’s 1st Birthday
 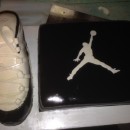 Coolest Jordan Shoe and Shoebox Cake