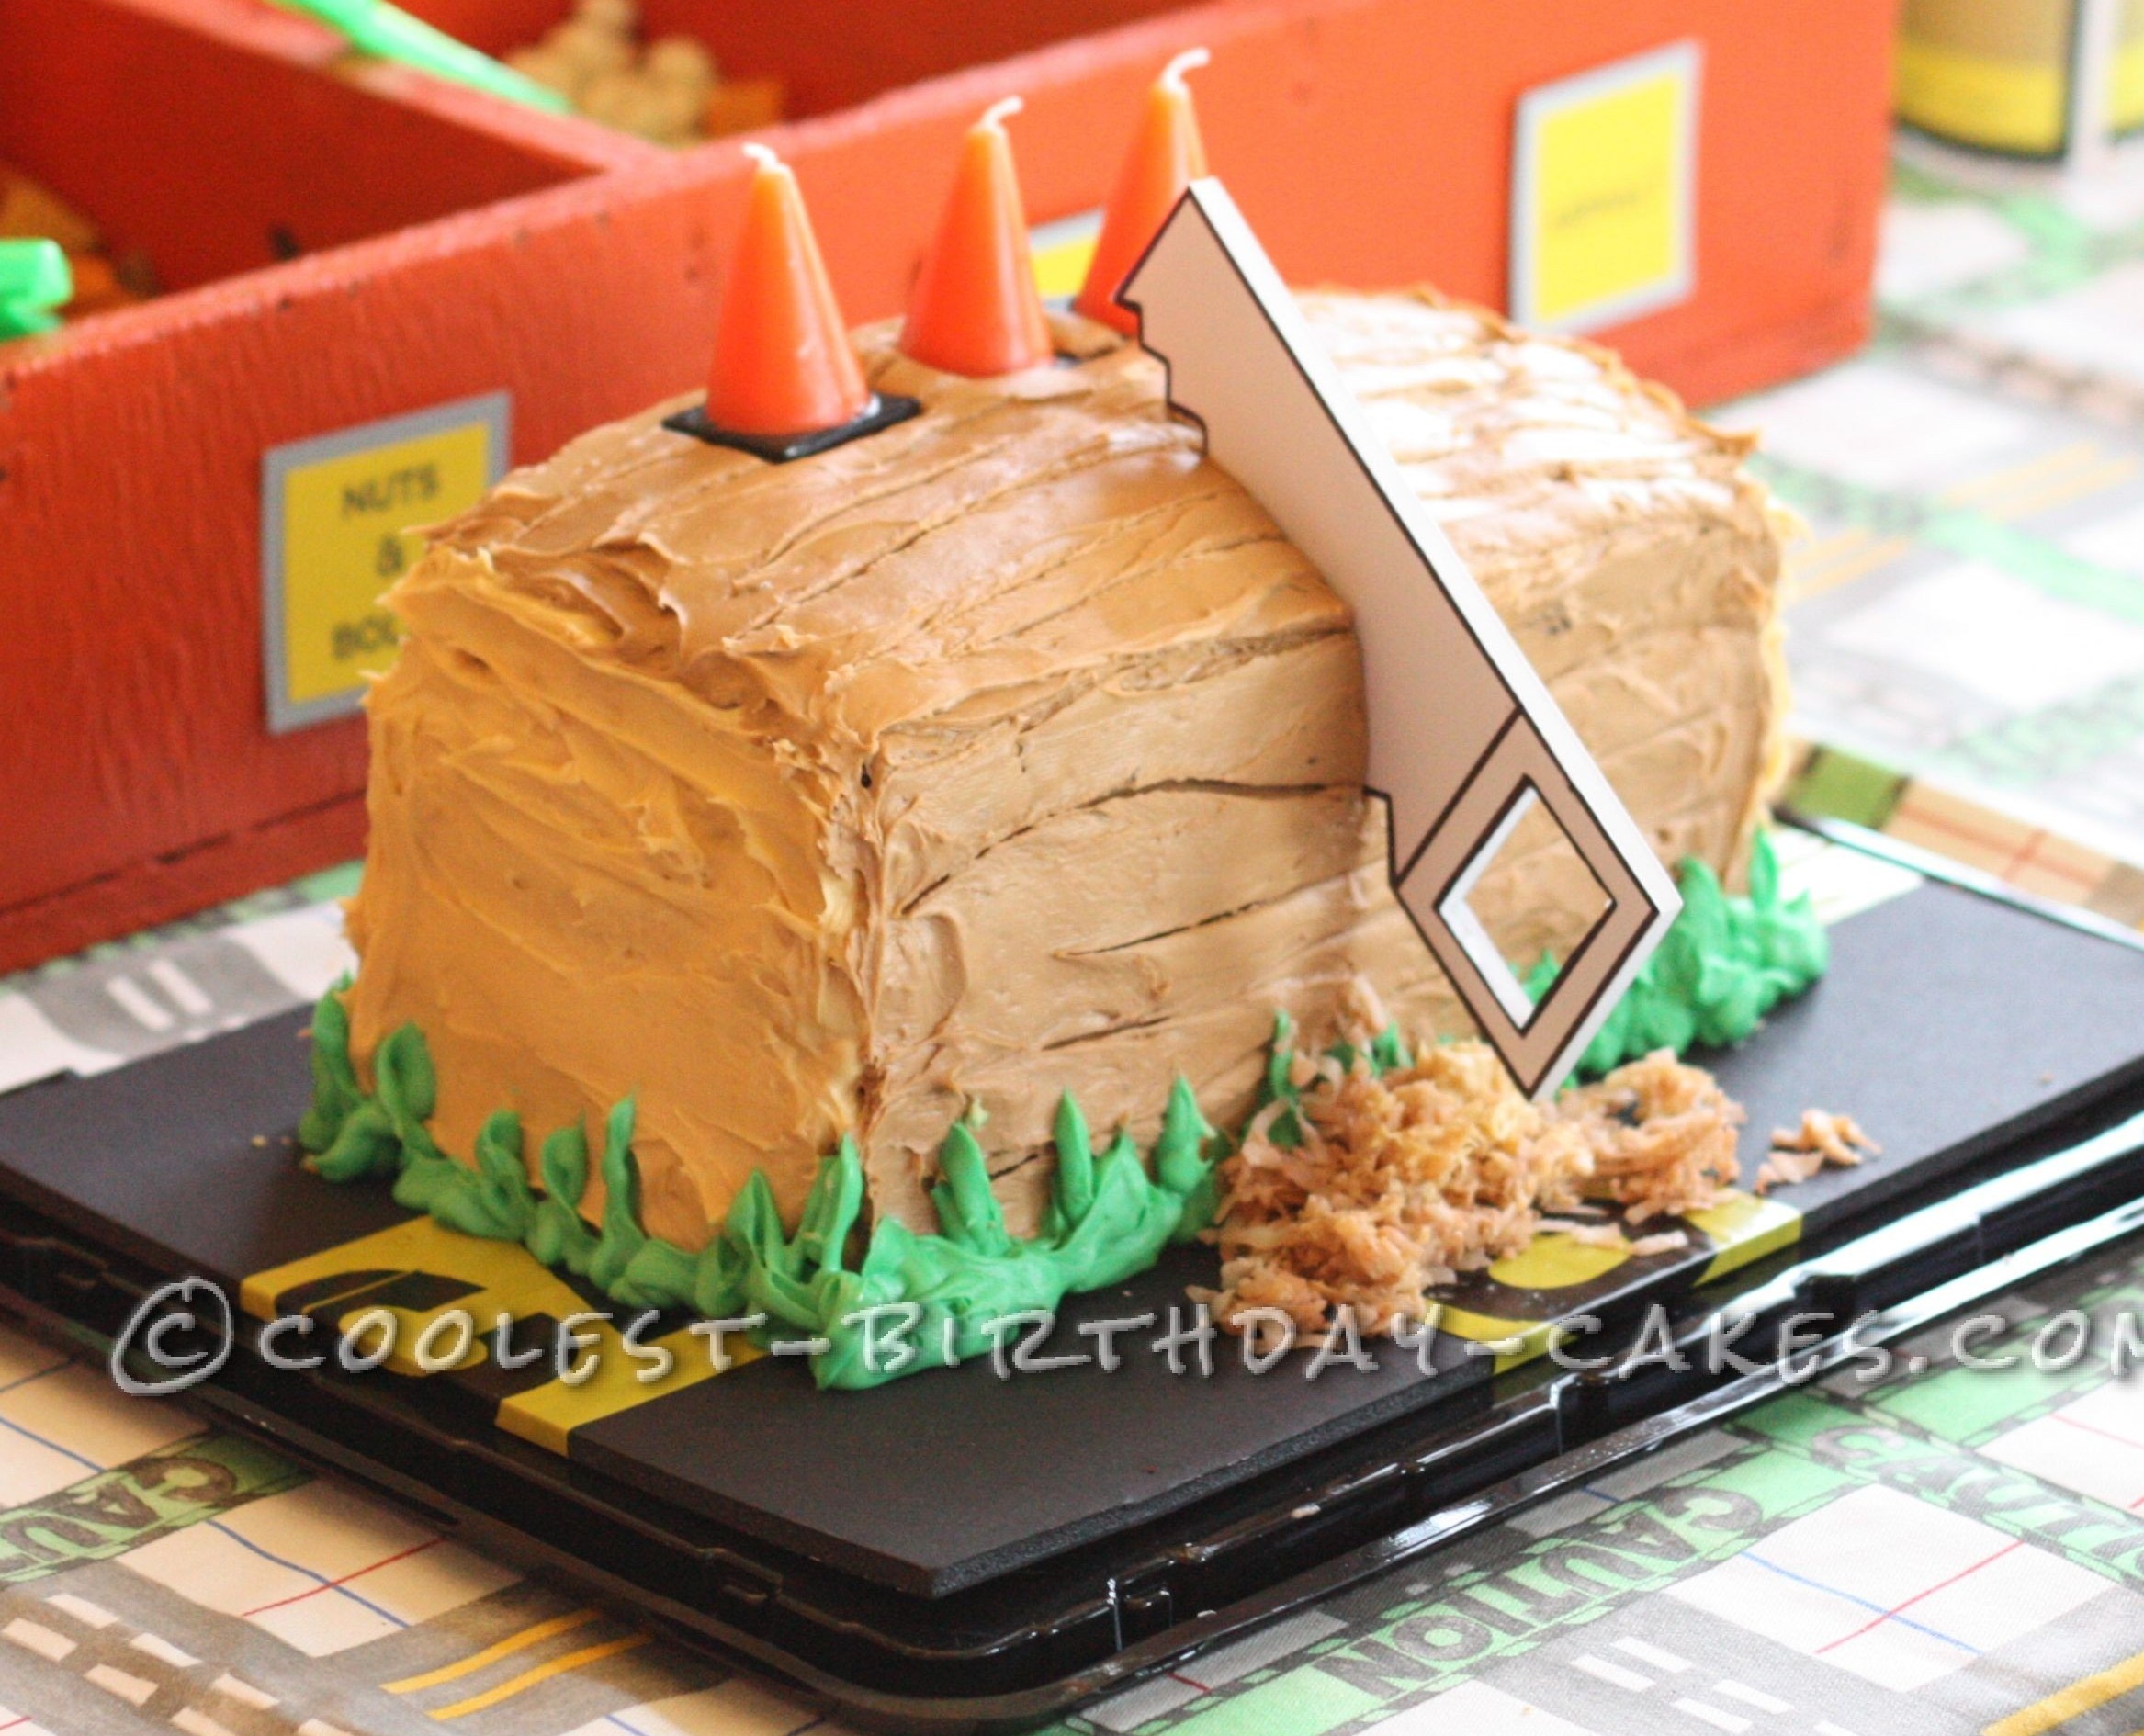
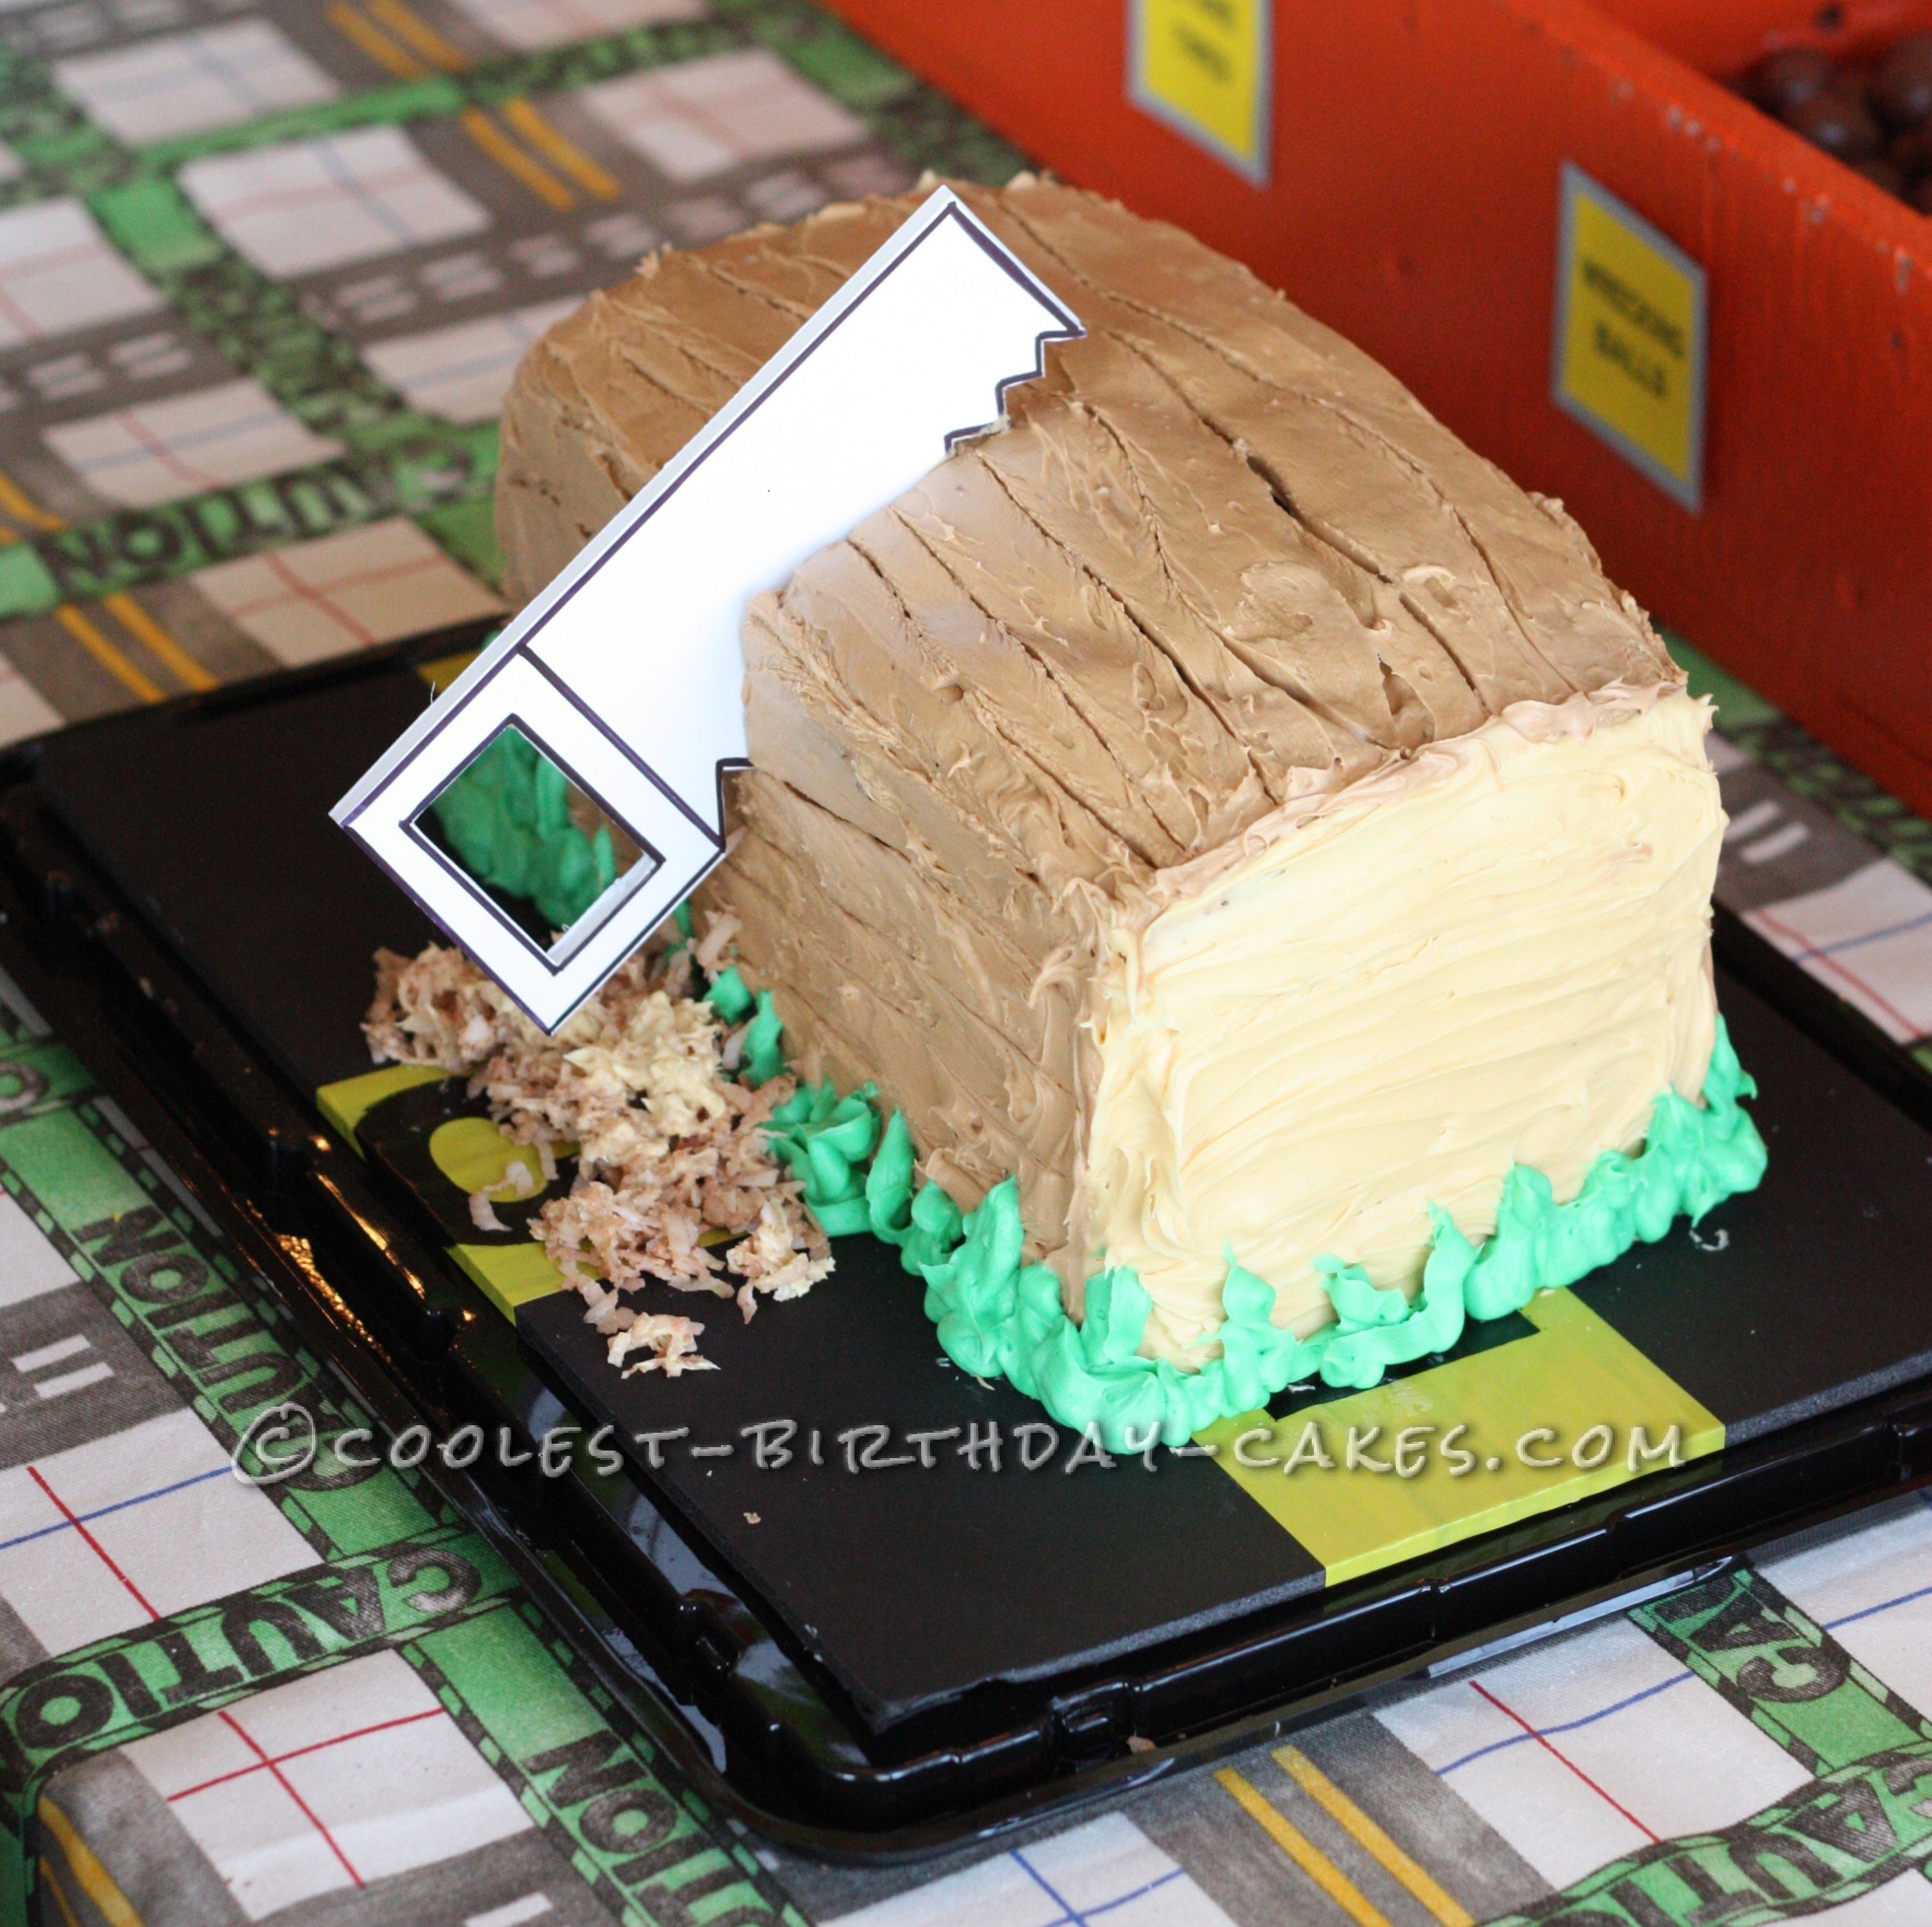
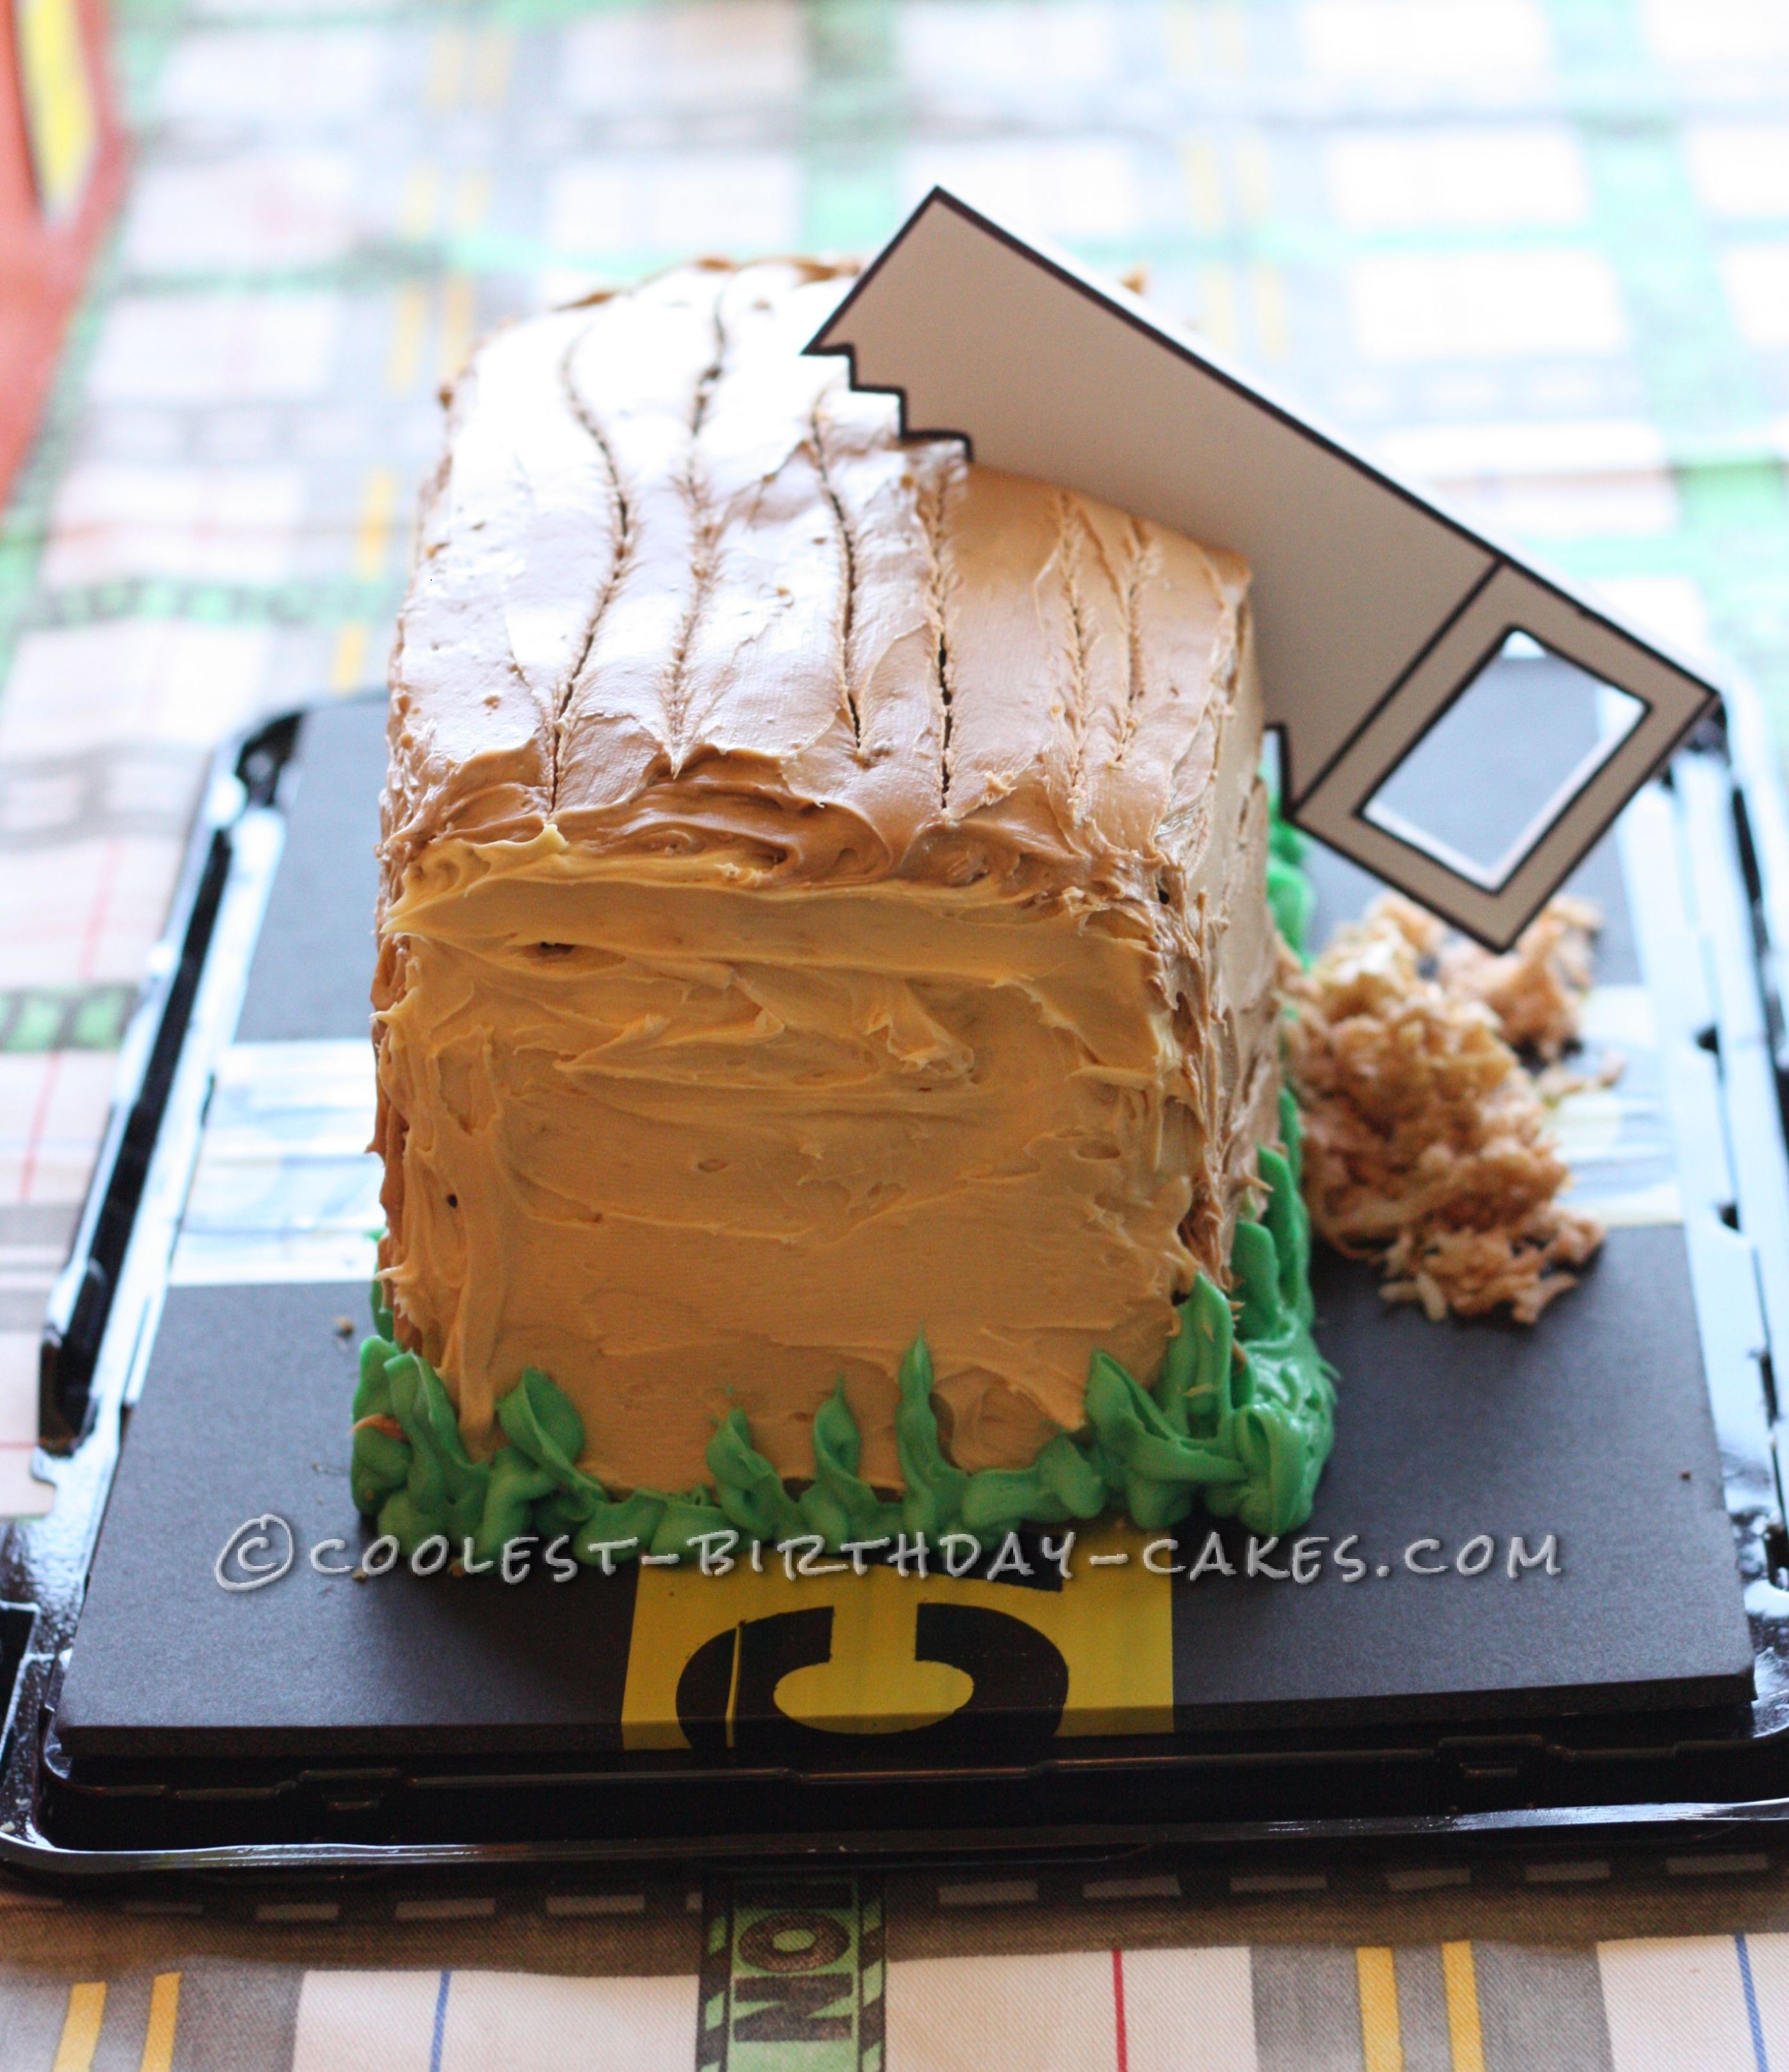
Our son, Barrett, loves anything and everything with construction. So for his third birthday, we went with a construction theme, and I made his cake look like a block of wood.
Honestly, making cakes has always been my struggle. I get sort of freaked out about making one of the most important parts of a birthday party! Why do the work? Maybe it’s because I know my husband and I are too cheap to buy a cake. The other part is I like trying new things and learn as I go. I also pride myself with making really moist cakes – that part, I feel confident about, and it’s the frosting/decorating that I’m an amateur.
A day before I made the cake, I experimented with mixing food coloring to frosting for a brown color resembling wood. I also mixed a color combination for the sides of the cake to look like the inner part of a piece of wood. Then, I made green frosting to represent grass around the wood. As for the area right under the saw, I used coconut to look like saw shavings. The coconut was also mixed with the food colored frosting to make it coincide with the ‘block of wood’.
I also worked on the cake container a few days beforehand. Using black foam core for the base and a few strips of caution tape, it added more to the construction theme. The saw was also created days before and was made of white foam core and accented with a black marker.
The cake was a total of three layers. All layers were made from large bread pans. Each varied in height. The bottom layer was the tallest, middle layer was the shortest with the top layer a little bigger than the middle. We made it an activity too. Our boys helped mix the ingredients and watch the layers bake! The soon-to-be birthday boy ended up taking a nap when one layer was cooling and the other was baking. During the nap time, our oldest boy wanted me to read books, so we sat by the oven and read books so I could still keep an eye on the cakes!
After baked and cooled, I did not cut or shave the layers. It might have made it easier to do this, but my ‘curve’ (cake surface/top) was subtle, so I just flipped the bottom layer over to have the curve against the cake stand and it did not crack. I then put a layer of frosting and placed my middle layer. I made this layer very short (baked to about 1” or so) because I didn’t want the cake to get too high. Since it was more flat, it did not need to flip over. I placed the middle layer on the frosting and then frosted the layer. The top layer was my nuisance. I flipped this over onto the frosting and it did begin to crack a little. I was able to work with it though and fill in with frosting.
After all layers were put together, I frosted the outside with my newly dyed frosting. I then took a toothpick through the frosting to make wood grain. I went around the base of the ‘block of wood’ with green frosting for the grass look. Next, the saw went in place and I sprinkled the coconut underneath the saw to make it look like wood shavings.
This cake was a big hit! If I can do this, anyone can.
Related cakes:
 Cool Homemade 3 Tiered Construction Birthday Cake
 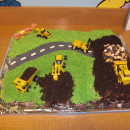 Easy Construction Site Cake
 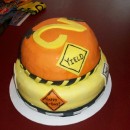 Coolest 2 Year Old’s Under Construction Cake
 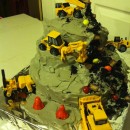 Coolest Construction Zone Cake
 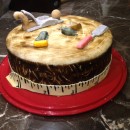 Cool Wood Working Cake
  A Realistic Construction “Wow” Cake that Stole the Show!
 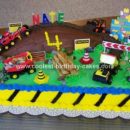 Coolest Construction Site Birthday Cake
 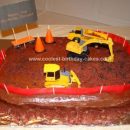 Simple Homemade Construction Site Cake
Your comment has been sent successfully.