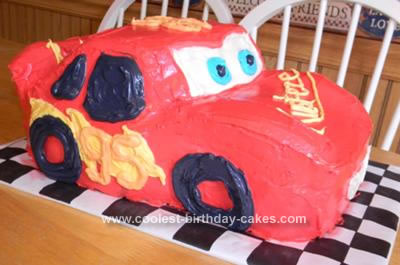
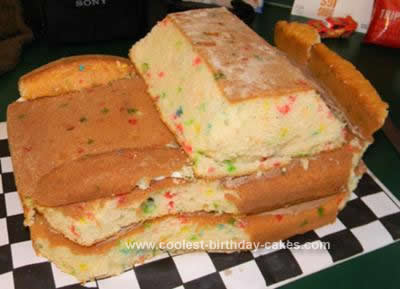
I started off by baking 2 9×13 white cakes and one 8×8 white cake. I then stacked the 2 9x13s on top of each other and filled it with mocha frosting. Then, I stacked the square cake on top of that towards the back of the cake. Then I looked at my son’s toy Lightning McQueen car to get the shape of the cake.
Then I just started carving away! I took a little off of the sides to get the contour right and then took two pieces I cut off and stacked on the front hood of the car to make the bumps. I had a few extra pieces that I just set aside while I carved the top of the car. I cut the square cake at an angle on all sides to get the front and back windshields and the windows of the car.
After that was done it was time to make the wing. I used the pieces of cake that I had set aside to make this. I just used my frosting as glue and attached them to the back of the cake. Once this was done I gave it a crumb coat and after it chilled I frosted it and decorated it using my decorating bags and tips while looking at the toy car for direction. My son LOVES this cake and so do I!
Related cakes:
 12+ Coolest Peppa Pig Cake Ideas
 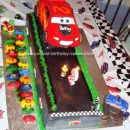 Coolest Lightning McQueen Cake
 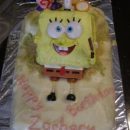 Coolest Easy Spongebob Square Pants Toy Cake
 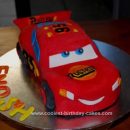 Coolest Lightening Mcqueen Car Cake
 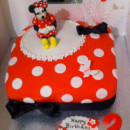 Cool Homemade Minnie Mouse 2nd Birthday Cake
  Coolest Wall E and Cube Birthday Cake
 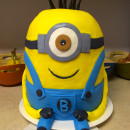 Coolest One Eyed Minion Cake
  12+ Coolest Frozen Birthday Cake Ideas for the Ultimate Frozen Theme Party
Your comment has been sent successfully.