My son asked me if I would make Isobel, my grand-daughter, a Minnie Mouse cake for her 2nd birthday. I said “Yes, of course I will”. I didn’t have a clue where to start, although I have been making cakes for many, many years, I had never made a Minnie Mouse one.
I searched the internet for ideas and came across this site, thank goodness for that! I looked at all the designs and ideas. After lots of thoughts I made my decision. I couldn’t afford to buy a specially shaped cake tin so here is what I did:
For the face I used two 8″ round sandwich cake tins using a basic sponge cake recipe. For the ears using the same cake recipe, I baked another cake in a 12″ x 8″ tray bake (I used a 4.5″ round pastry cutter to cut out Minnie’s ears). I bought some ready made white fondant and colored pastes I needed, black, pink, ivory and red (gels or pastes are best for fondant).
I couldn’t decide how to make the bow as I had a few options, I decided on a solid fondant one, I made this a week in advance so it would have time to dry out (two weeks in advance would be better).
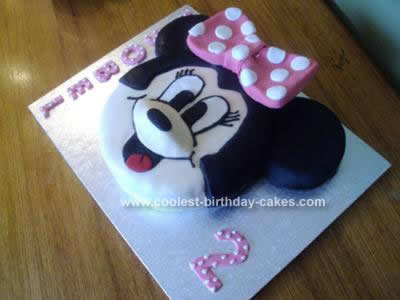
I colored some fondant pink and molded the bow (see picture), it can be as thick as you want. I made a rectangle and pinched it together in the center to shape the bow. Then I made a piece to go over the pinched bit. I left it to dry. I also used two pieces of card shaped upwards to give the bow a less flat shape.
I used a rectangle cake board size 16″ x 12″. I sandwiched the two 8″ round cakes together using butter cream.
The face – I colored some fondant with ivory colored paste. I used thin water icing as a way of adhering the paste to the cake (boiled and cooled apricot jam can also be used). Put the icing or jam onto the cake. I rolled the paste out to the desired thickness and coated the cake fully. I smoothed it out and pressed it into the cake, finally cutting away the excess. I left this to set for a couple of days.
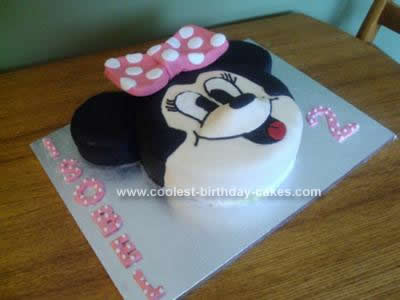
The ears – I cut a small half moon shape out of each ear to that they would fit into the main face. The ears are not as deep as the main cake. I colored some fondant black and molded this onto the cake ears using the same method as above.
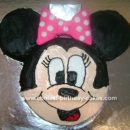
I then colored some fondant black for the face outline. I had previously found a suitable picture on the internet coloring pages to enlarge and use as a template for Minnie’s face. I traced this onto greaseproof paper. I placed the template onto the cake and I then used one of my tools (any narrow blunt item would do) to lightly draw onto the cake for the position of her eyes, ears, mouth etc.
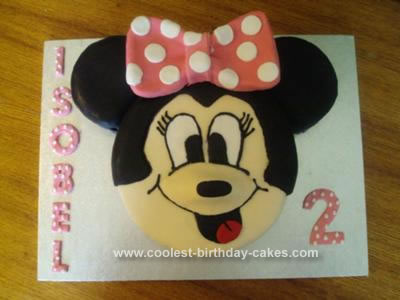
I then rolled the black fondant out and used the same template to mark the outline for the outer part of her face. I used black thin water icing to then adhere this in place on the cake pressing it into the cake (don’t use too much water icing as it will squelch out onto Minnie’s face). I made the eye shapes out of black and white fondant and left them to dry and the mouth and tongue as shown.
The following day I started to assemble all the bits. I then used a royal icing mix (egg white, icing sugar, few drops of glycerin and black coloring) for the detail, eyelashes etc. I then decided I wanted the cake to be more 3D so I molded a nose to protrude up and placed the black snout on top, this looked much better.
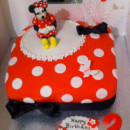
The bow was quite heavy. I placed it between the ears, it wasn’t quite dry so I supported it with some pillars of black fondant. I cut out some white circles for the bow and stuck them on with some white royal icing.
I then decided to cut out some letters in pink to spell ISOBEL and a number ‘2’, I stuck them to the board with royal icing and I dotted them with the same icing to match the Minnie Mouse theme.
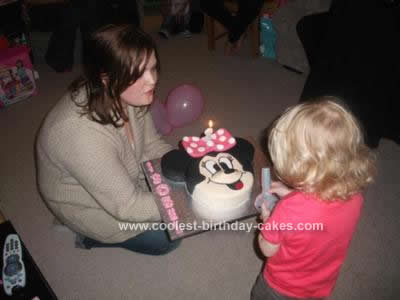
I was thrilled with the result and I hope you all like it too. I can’t wait for my next challenge next year (what will it be?). Everyone thought it was brilliant and tasted scrummy. Isobel loved it as she is Minnie Mouse mad. I did make a few mistakes along the way but hopefully no-one noticed. I really enjoyed the experience.
HAPPY BAKING, I hope you are inspired by my attempt – GOOD LUCK!


Your comment has been sent successfully.