
My Little Pony Cake Instructions:
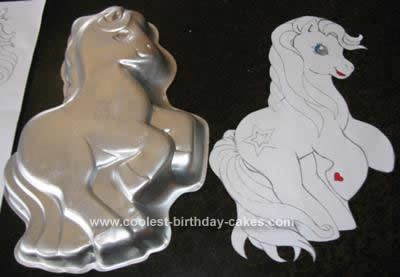
Step 1: I used the Wilton “Precious Little Pony” pan and sketched a “My Little Pony” design to the same size.
Step 2: I purchased white fondant, coloured it and shaped it for the following pieces: heart on leg, stars on bottom, tail hair, mane hair, wings, mouth and eye
Step 3: I coloured butter cream frosting to match the colour of the fondant wings.
Step 4: I used 3 cake mixes (cake mixes in Australia are smaller than cake mixes from the U.S.) and after mixing the batter, I separated it into 3 batches and coloured 2 of the batches pink and purple. I then alternated pouring the batter into the pre-prepared pan (spray oil and batter to coat) and baked at a slightly lower temperature (by no more than 5-10 degrees) and slightly longer than instructed due to the multiple cake mixes. I used the “does it spring back when touched” test to make sure it was done.
Step 5: Once the cake was cooled, flattened and placed on the cake board, I trimmed excess portions off the cake and applied them elsewhere in order to accommodate the My Little Pony design (ie. trimmed the top of the left leg and used butter cream to attach it to the horses forehead to support the fringe and trimmed a small portion along the back and attached it to the bottom to support the tail). I also trimmed a thin layer off the top of the cake to get rid of some of the different extreme levels that were created by the pan. I was left with a flatter cake in the shape of the horse.
Note: You should be able to just use my design on a rectangle cake or cut a rectangle cake to this shape as a possibly easier option?
Step 6: I used a plain white butter cream frosting around the outside of the horse and under where all fondant pieces were going to sit (ie. tail and mane).
Step 7: I used black piping (butter cream) to outline where the horse would be on the cake and then placed on the fondant hair and mane pieces.
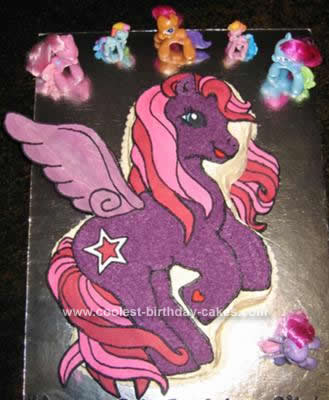
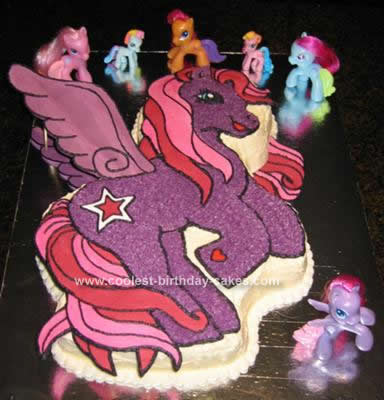
Step 8: I then used the purple butter cream frosting to fill in the horse and then placed on the remaining fondant pieces (ie. eye, mouth, heart, stars and wings).
Hint: I used a portion of wooden skewer to act as an added support between the two wings and also used toothpicks to add support to overhanging fondant hair pieces on the tail.
Step 9: I used a shell piping in the plain white butter cream frosting around the base of the cake except where the fondant pieces were (wings and mane hair).
Step 10: I used black butter cream piping to place outlines on all the fondant pieces and to touch up any other outline needs.
Step 11: I used spare “My Little Pony” figurines to add as accents on the cake board.
Related cakes:
 Coolest My Little Pony Cake!
  Cool Homemade My Little Pony Cake and Cake Template
 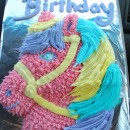 Cool Rainbow Pony Cake
 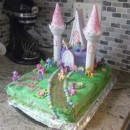 Equestria My Little Pony 5th Birthday Cake
 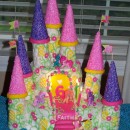 Cool My Little Pony Castle Cake
 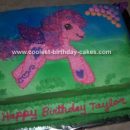 Coolest My Little Pegasus Pony Cake
 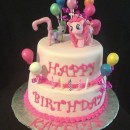 Cool Homemade My Little Pony Pinkie Pie Cake
 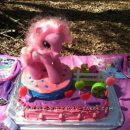 Coolest My Little Pony Cake for a 6 Year Old
love the cake want to do one like this were did you find the pic of he pony