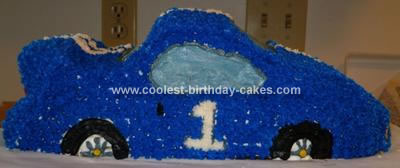
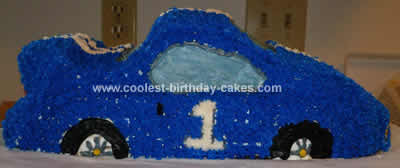
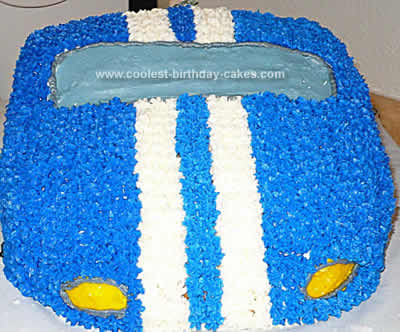
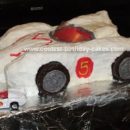
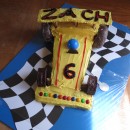
I made this Race Car Birthday Cake for my nephew’s first birthday. His mom asked me to make a race car cake that was NOT from the movie Cars or a Nascar cake. That left me with no cake pan options at my local stores to use.
I started with two 9×13 cakes layered with frosting. Then I free hand cut the shape I had in mind. I used the scraps to build up the tail of the car as well as the main part of the body.
I used a white crumb coat and refrigerated it until set. Then used a toothpick to etch the outlines for the detail of the car. I used a ribbon to create straight lines to trace racing stripes. About 6 cups of butter cream frosting total was used for this cake. The order for frosting was as follows:
1. All flat parts. Windshield and other “glass” parts, headlights, brake lights, and license plate. Using cornstarch and my finger to smooth.
2. A larger round tip to do tires.
3. Piping around the smooth frosted areas, the number 1, and spokes for tires using #3 tip.
4. Used star tip to do white racing stripes and number 1.
5. Used star tip and blue frosting to cover body of car.
This is my first “free hand” cake and it turned out better than I imagined and was easier than it looked! It did take about 3 hours just for the decorating but was worth every minute!
Your comment has been sent successfully.